
Affiliate Disclosure: We earn a commission if you purchase through one of our links at no additional cost to you.
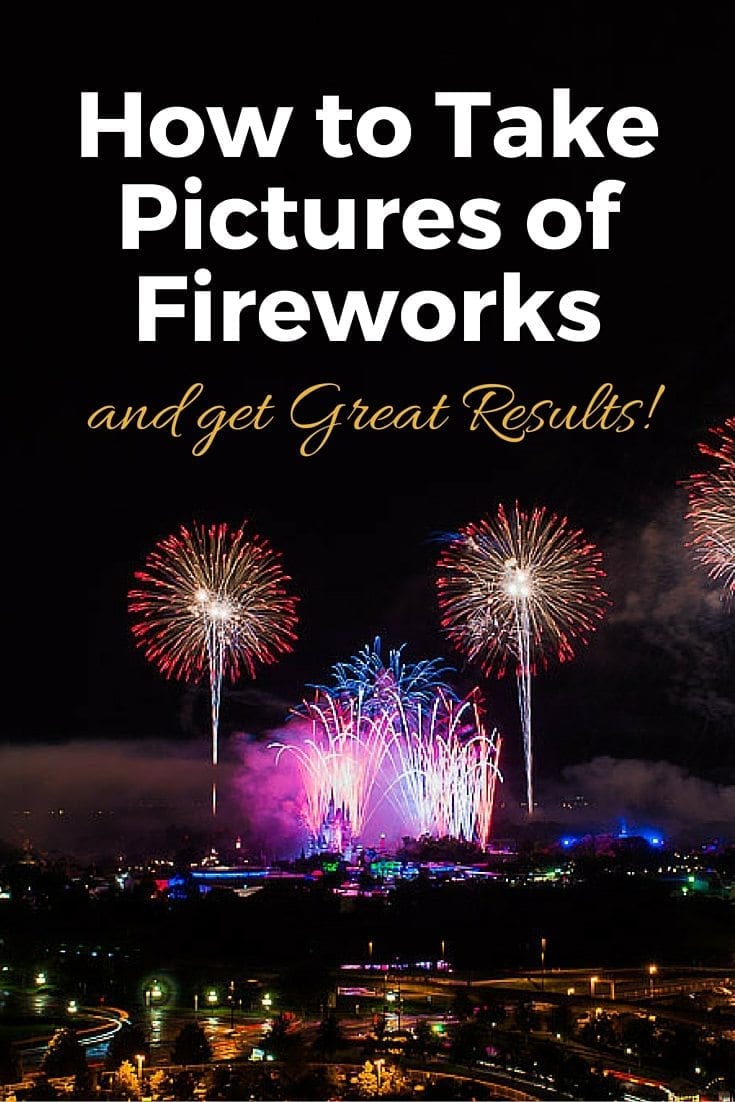
Every summer, millions of people want to take pictures of fireworks, but they don’t always get the results that they want. The truth is that it’s hard to get the perfect shot. However, you can stack the odds in your favor.
The Secret to Take Pictures of Fireworks and Get Great Results
For many people in the USA, you get about two opportunities per year to take photos of fireworks – New Years Eve and Independence Day. Those are the days when we do what Americans have done for years – blow up stuff!
Most photographers face a few problems
1: They don’t photograph fireworks on a regular basis, so it’s like learning all over every time you try it.
2: They don’t know how the show looks. In other words, you have to react to each burst instead of plan ahead.
3: Wind and weather can change the show, even if you know the plan. Fireworks experts won’t launch some explosives if the wind is too high other other circumstances make it unsafe.
Despite all of these unknowns, the secret to take pictures of fireworks that you’ll love is to do as much planning and preparation as you can. Here are a few things to include in your plan.
Planning Your Fireworks Photoshoot
1: Scout Your Location
Start by visiting the location in daylight, well advance of the fireworks show. Look for positions that you like, and consider some fallback positions. Try to include an interesting background for your photos.
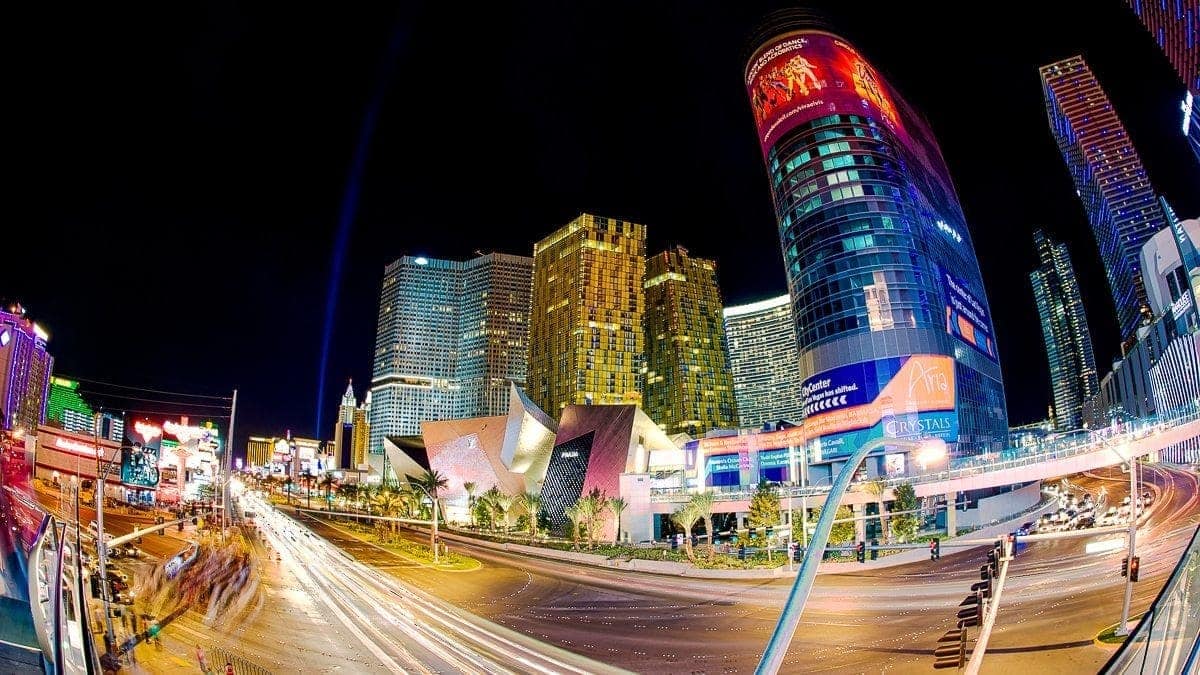
If you’re photographing fireworks in the city, pick a nice skyline or prominent building to give the viewer a sense of location. It’s not just about the exploding fireworks. It’s about a celebration in a given place. I don’t care if it’s the New York skyline or Cinderella Castle. Show where you took your photos.
Claim your location early, because thousands of other people will fill the space around you. If you’re late to the party, you may miss out because you failed to scout a good location and stake your claim before the sun goes down.
Of course, you don’t have to get stuck in a crowd. Sometimes it’s good to go to an area where no one else is getting the same shot as you.

While scouting your location, think about the direction of the wind. Fireworks create a lot of smoke. If you’re downwind of the explosions, you’re going to have a lot of smoke in your photos. Get upwind of your scene for clear fireworks photos.
If there isn’t a good breeze, be ready to shoot right away. Your clearest shots will be of the first few bursts. Then that smokey haze will be in the rest of your shots if there isn’t a wind to blow it clear.
If you’re keeping your shutter open for a few seconds and there is a lot of smoke in the area, you may end up with a very ugly scene.

2: Use a Tripod and Cable Release
A tripod is going to be your best friend. It’s a stable platform for your camera. Not only does that allow you to keep the same composition from shot to shot, but it lets you reduce your ISO to avoid noise and keep the shutter open for a long period of time.
Handheld fireworks shots are blurry.
You want a tripod to minimize any motion to your camera. That’s also why you want to use a cable release. Every time your hands touch the camera, you introduce vibration. That’s another recipe for some blurry photos. A cable release or remote shutter trigger eliminates that vibration.
Before you the fireworks show starts, get your composition right. Take a few photos to make sure that you’re happy and then leave your camera on the tripod.
I also recommend taking some shots just before the show starts, in case you need to do any blending later in Photoshop. Get some shots of your background or foreground subject without any fireworks.
Why? Fireworks generate a lot of smoke. You can clean up your fireworks photo in post-processing if you have a clean environmental image before the first shot.
Here’s another reason. Set your focus and then turn off auto-focus before the show starts. Otherwise, your auto-focus may start hunting while it tries to define a subject during the show. You’ll end up with a blurry mess instead of night photos.
You may be picking up on a trend here. I hate blurry photos.
3: Set Your Exposure
How do you set your exposure when you don’t know how bright the environment will be during the show?
I’ve found that the best way to plan is to use that test shot of your environment before the fireworks start. The key is to know how much exposure time (different than shutter speed) works without under or over-exposing your environment. Shoot RAW to have plenty of data for adjustments in your post-processing.
Here’s an example. I generally start at ISO 100 and an aperture of f/16. My shutter is set to Bulb mode. That lets the shutter stay open for whatever time I deem necessary. Using Bulb mode also means shooting in Manual mode. Photographing fireworks is not something that works well with automatic settings.
Remember, having the shutter open doesn’t mean that your exposure is gathering light. Use a dark cloth or a baseball cap to cover the lens while the shutter remains open.
Your effective exposure may only be 15 seconds, even if the shutter was actually open for a couple of minutes.
Why use this approach instead of just clicking a new photo for each burst?
It’s because there are sometimes gaps and lulls in the shots, particularly if the show is choreographed to music or a story. You don’t want to have your foreground or background subject collecting light on your sensor when there are no shots in the air.
Also, some bursts may be too short for your settings. Given the ISO and Aperture I mentioned above, 15 seconds is roughly the sweet spot for time open. However, some shots that only took 3 seconds or so don’t turn out very well.
Here is an exposure at 2.9 seconds.

Now here is the same location with an exposure taken at 13 seconds.

The first photo didn’t gather much light, so you can’t even see the environment. The second photo had more time to gather light, but it also caught more bursts in the same frame.
Longer exposures allow time for light to gather, but it also allows for multiple bursts of fireworks in the same frame.
Is a long shutter speed an absolute? No. Here is a photo I took at ISO 400 and a 2 second exposure.

What’s the difference between the techniques? It’s something I call “exposure headroom.” When your ISO is higher, you have far less leeway in shutter time to under or overexpose your subject. As an example, here is a shot from the same scene at 3.7 seconds of exposure.

The difference is only 1.7 seconds of exposure, but that was enough to kill the image even on a dark night.
Using a much lower ISO, I can vary my exposure time from about five seconds on either side of my sweet spot and still get usable photo.
Think of photographing fireworks like barbecuing meat. Low and slow is the way to go for the best results. You don’t want to burn out with high settings.
Your camera may have a Noise Reduction feature. My suggestion is to leave it turned off because it takes time to process in-camera. That’s time when you cannot shoot until the processing finishes and your camera is ready to write the result to your memory card. Meanwhile, the fireworks merrily continue and you’re missing the action.
Lightroom and other tools do an outstanding job of noise reduction, and they don’t cause you to miss a shot. Leave your post-processing options out of your camera settings. Get the shot, process it after you get home.
4: Choosing Your Lens and Focal Length for Fireworks Photos
This may seem obvious to some, but I will bring it up anyway.
Leave room in your photos for the fireworks in the sky. The bursts happen at different altitudes. Some are higher than others. If you don’t allow that in your composition, you lose the very thing you set out to shoot.
I’ve watched some people point their camera up at the sky to capture fireworks bursts while completely forgetting about any foreground or background elements. You want and need both in your shot.
Fireworks against a black sky are less interesting than fireworks over a cityscape of landmark of some kind. It may be useful if you want to cut them out later to use in a graphic, but otherwise, fireworks on the night sky all alone are as boring as counting pellets in a bunny farm.
I tend to shoot wide and crop down later if needed. Does that mean you need to use a wide-angle lens?
Nope. If just means you need to consider your entire subject. Move far enough back and you can shoot with a telephoto lens. In fact, that would be really cool at some locations to shoot with compression. You often see that sort of technique in newspapers and magazines displaying fireworks over a city.
Your focal length is up to your sense of creativity. There is no rule that says you must get right up against your location element. You can step back or off to the side for your composition and use whatever focal length works best.
Since you’re stopping down your aperture, almost any lens will do. There’s no need to buy an expensive lens for photographing fireworks. You spend the money for the wide-open aperture. Any kit lens can do great fireworks.
Follow Up With Simple Post Processing
A little post-processing is necessary to get great fireworks photos. I have some good news for you. It doesn’t take that much to finish off your fireworks photos.
Every photo is different, but so is every photographer. Here are the steps that I take in my post-processing in Lightroom to complete my fireworks photos.
1: Open the Camera Calibration panel and make sure the Process is set to the current revision. Then move the Saturation slider under Blue Primary a bit to the right. I start at +50 and then wiggle it to my taste for the photo.
2: Open the Lens Correction panel and check the Enable Profile Corrections box.
3: Open the Basic panel. Hold down the Shift key and then Double-Click the labels for the Blacks, Whites, Shadows and Highlights – in that order. Lightroom will auto-adjust the sliders to the setting it thinks is correct. Most often, it does a good job. Don’t adjust them further just yet, though.
4: Drag the Exposure Slider to your taste. Once that’s done, bump up the Contrast a bit. Now you can go adjust the other sliders in the Basic panel if you want.
5: Add some Vibrance and Clarity. You may want to do these with the Adjustment Brush only on the fireworks trails, or globally. It’s your soup to make.
6: I’m usually satisfied at this point, but sometimes you may want to go into the HSL settings and add more punch to the colors. Drag the Luminance slider for each color to the darker side for richer colors. You won’t need to use all of them, but it’s good to experiment to see what results you get.
7: Finish off with Sharpening. I like to move the Masking to get the bold lines (hold the Alt or Option key as you move the Masking slider) and then sharpen just those areas.
You may need to remove dust spots or make other changes, so don’t forget to include your normal post processing routine. Also, don’t forget the fairly new Dehaze feature in Lightroom. It may help you eliminate some of that smoke.
One Last Tip to Take Pictures of Fireworks
Don’t forget to enjoy the show!
It’s easy to get caught up in your photography details and forget to have a good time. One of the reasons I enjoy using a cable release and a tripod is so that I don’t have to look through the viewfinder while the show is running.
Pay attention to the music, the story and little details around you. You want to share those things with your viewers when you present your fireworks photos.
Make sure you have a good time while you take pictures of fireworks.


Great post!! I have never shot fireworks before and I am doing as much reading as a I can before we go to Disney as I REALLY want some amazing shots of the fireworks show. I am a bit confused though on the mode you used. You said you set your shutter to “bulb” but shot in manual mode. Can I just change my setting to “Bulb” using the dial (similar to if I were to shoot in AP, or AV mode) and then set my ISO and aperture to what you suggested? Or do you mean you shoot in FULL manual mode?