Affiliate Disclosure: We earn a commission if you purchase through one of our links at no additional cost to you.
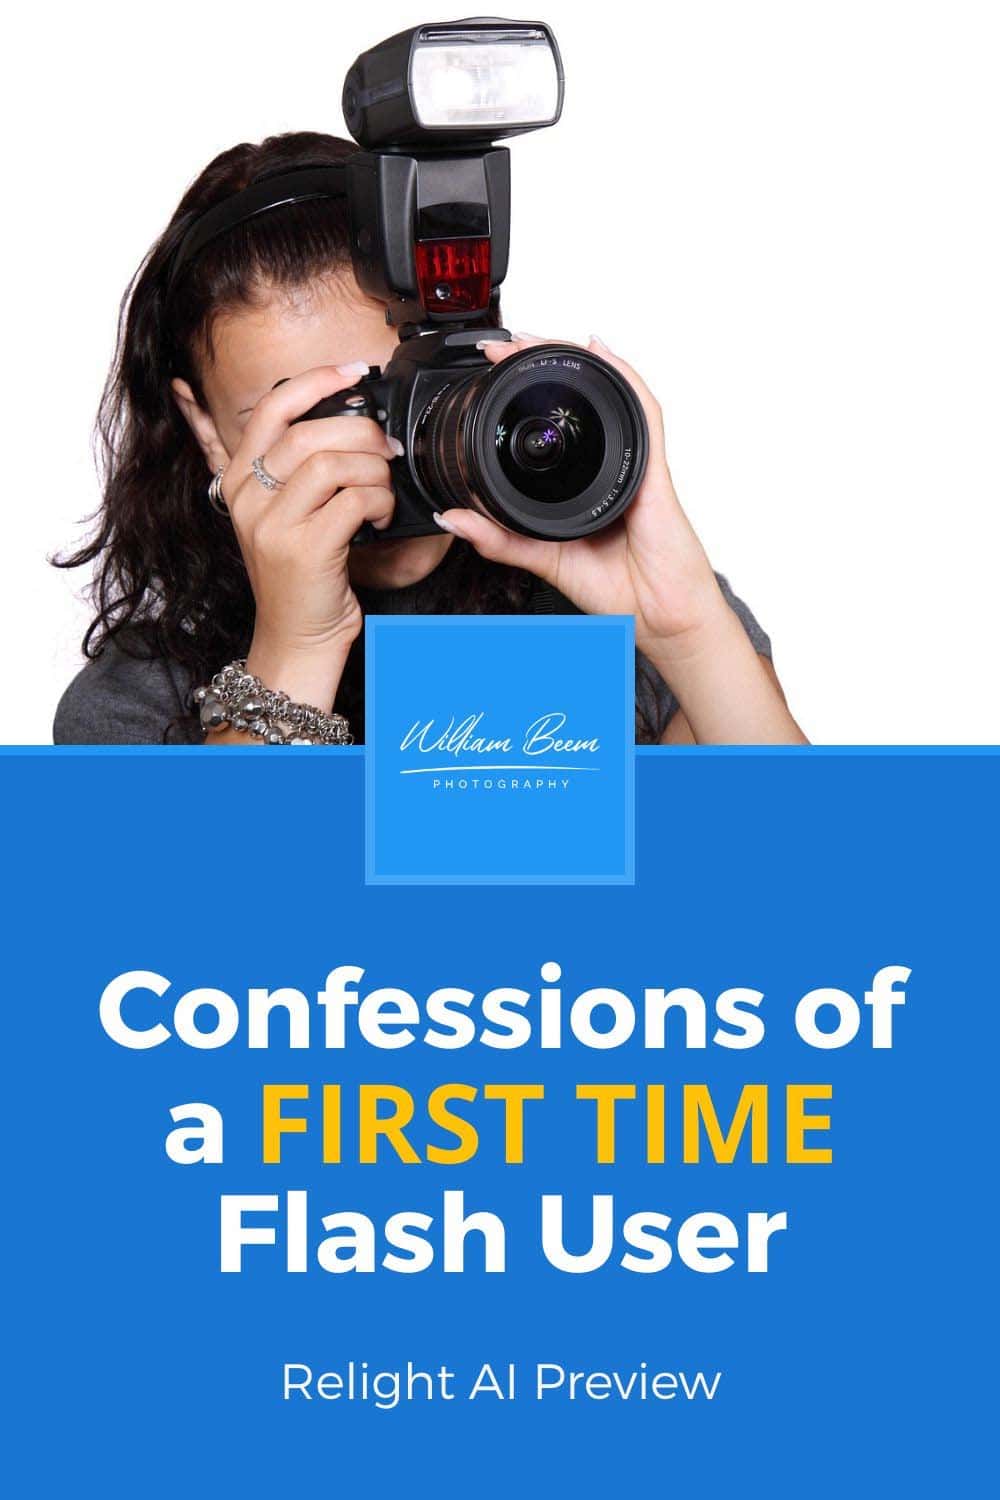
I decided to call this episode “Confessions of a First Time Flash User” because something finally happened. Lee came to me and asked to use flash for some of her product and food photography.
To be honest, I wasn’t sure this would ever happen, but here’s how it unfolded.
Confessions of a First Time Flash User
My name is William, and I am a flash-a-holic. I’ve purchased many lights and related accessories. I have so many that I occasionally trip over them.
In past years, the darkness in my world of flash is that small flash, and studio strobe was incompatible. They didn’t speak the same language. Now I have a series of flashes and strobes that work together, and I love it.
However, Lee never seemed interested and preferred to go outside to use sunlight for her photos. That meant conditions had to be just right for her lighting. No storms or work at night. We also had to round up our dogs and put them in the crates so she could work in peace.
Sometimes nature interrupts that peace with a blast of wind, which brings leaves and sand to her carefully designed set.
1: Why Did Lee Avoid Flash in the Past?
Despite having a lot of gear and my offer to teach her how to use it, Lee preferred going outside. I accepted that because I know she loves her sunshine, so I figured that was part of the reason.
However, it was a bit more than a love of sunshine.
The heart of the matter was time pressure. Lee works with some vendors to create social media photos and uses them for her blog and social media. When she receives a new product to review, she needs to get photos out rather quickly. Given that she also has other work, Lee often has to work to a quick deadline with little time.
Going outside to shoot was what she knew, and she could make her deadline commitment, where learning flash would introduce delays as she learned how to work the equipment.
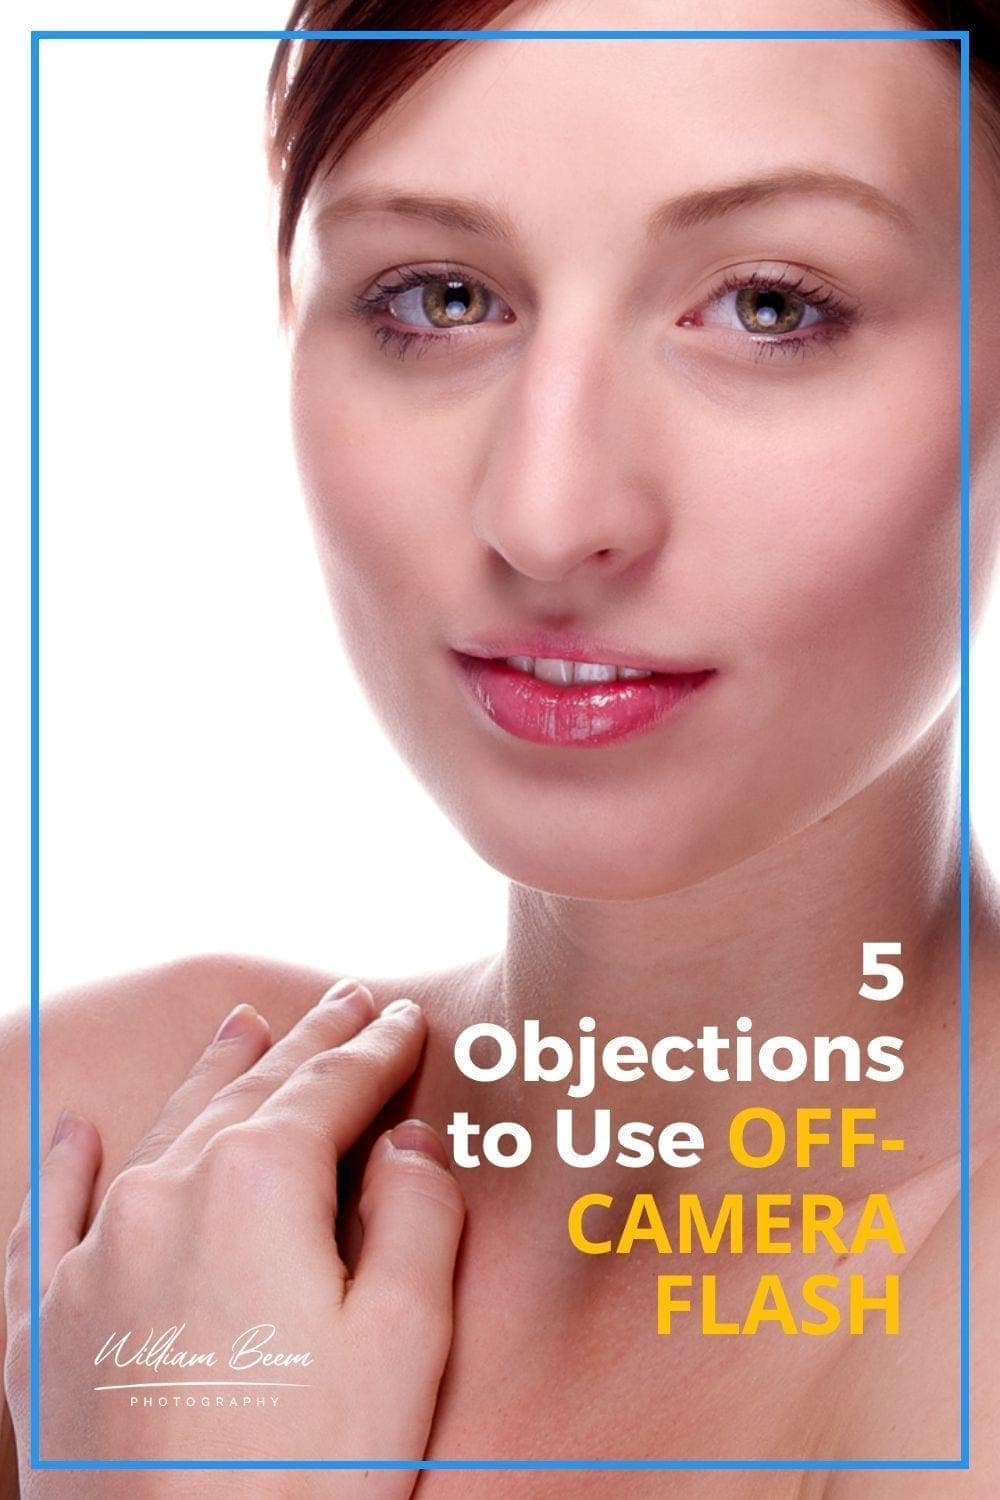
She’s not the only one who feels this way. I get emails from other readers and input from a recent survey (link below) about the things people would like to know more about off-camera flash. These are valid concerns, and so is the worry about buying a lot of stuff.
Lee doesn’t want much gear, nor do many photographers.
2: What Made Lee Change Her Mind About Using Flash?
The answer was simple when I asked her why she should decide to try it or what changed her mind. It was me.
I hate to think I pester her about it, but I know I’ve offered to help her learn more than once. I also promised that it would be simple at first and could lead to more creative lighting.
Keep in mind that Lee is an artist first and a photographer second. She feels her way, and that’s always worked for her. Once we start introducing technology and I “explain” things, her creative mind wants to reject it.
Fortunately, she trusts me. If we do no more than we did in this first session, she will always have the option to continue her product photography with the same quality as her sunlight shots, only now she can do it indoors if it’s raining or dark outside. Now she doesn’t have to work at a specific time to get a specific quality or direction of light.
3: Using Flash Can Make You Apprehensive
On the outside, Lee said she was worried about the time it would take to set up and strike the lighting gear. That’s my fault.
More than once, she’s heard my profane utterances as I set up our home studio. Logically, it must be that lighting is difficult.
That’s not true, nor was it why I was cussing. More to the point, I couldn’t find some of my stuff. That’s a significant source of frustration for me, and I deal with it using some colorful phrases.
It only took us ten minutes to set up the lighting for Lee’s shots and then five minutes to tear it down. That’s mainly because I now know where to find my stuff. No profanity involved, no delays, and the dogs could stay outside.
4: Using Flash for the First Time Was Easy
I’m thrilled that she was happy with the results. We used one flash and a softbox for everything. I set it with some simple default settings, which were nearly bang-on correct for her needs.
We set the flash to 1/4 power. I put her Nikon D7000 at f/8 and shutter of 1/160th second.
The first shot was pretty close but needed a slight adjustment. I showed her how we could make the change in one of two ways:
- We could adjust her aperture
- We could adjust the flash power
Lee tried both, but she knew which aperture she wanted for her photos. I showed her how to set the power from the transmitter on her camera (which she said looked like a sexy little hat for the camera).
The quality of light was great, providing some very soft shadows.
Overall, her first time was a great success. We didn’t spend much time worrying about lights, it wasn’t complicated, and she could concentrate on her set design and taking the needed photos.
5: More Flashing to Come
This first session was easy, which made it easy for her to show interest in using off-camera flash again. I don’t know if or when she may want to get more advanced with lighting, but that’s not the purpose of her needs. This was about creating beautiful light without complications and allowing her to concentrate on her subject.
If you’re curious about what gear we used, I listed it below.
Where to Find the Gear I Mentioned in the Podcast
We didn’t use much to create Lee’s photos, but I wanted to share some links to check out what we used.
1: Godox AD200
I love my decision to switch from Nikon and Elinchrom to the Godox system. It solves many problems for me.
There is a version of the Godox AD200 flash bundled with a few gels, a grid, and barn doors. That’s what I bought, and it cost about $30 extra. I don’t recommend that kit. It’s fair, but I opted to get some MagMod light modifiers.

The AD200 from Godox is a game-changing flash that offers powerful, battery-operated performance in a compact, portable package. This versatile light can be used on or off-camera to provide stunning results in any situation. With its 200Ws of power, the AD200 is perfect for everything from location shoots to portrait sessions.
The AD200's lithium-ion battery provides up to 500 full power flashes, making it ideal for extended use. And with its built-in 2.4GHz radio receiver, the AD200 can be triggered wirelessly from up to 100 meters away.
Note: I own two of these.
- Quick recycle time
- More than one type of flash head
- More powerful than on-camera flash
- Great battery life
- Easy to use
- Only works off-camera
- Rapid-fire HSS causes overheating
2: Lastolite Joe McNally Ezybox 24×24″ Softbox
The Joe McNally EzyBox 24×24″ softbox is one of my favorite light modifiers.
![]() What’s the difference between this EzyBox and the version without Joe’s name on the side?
What’s the difference between this EzyBox and the version without Joe’s name on the side?
The interior lining.
The regular version has a typical silver interior. The Joe McNally version has a white satin interior. What difference does that make?
Joe says it makes the light creamier.
Here’s what that means. The silver interior creates specular light, which may cause some hot spots on your subject’s face. You know, that bright spot on the nose. The white interior bounces the light around a bit more, helping your results end up softer on your subject’s face and reducing the potential for glare.

The Lastolite Joe McNally 24-Inch Satin Ezybox offers an excellent quality of life and is easy to set up. This softbox is perfect for use with shoe mount flashes and gives your photos a beautiful, soft light quality.
The Ezybox folds up for easy storage and has two removable diffusion layers. It's also compatible with Lastolite's softbox accessories, such as grids and creative mask strips. The white satin interior eliminates the specularity that often comes with silver-lined softboxes.
3: Matthews C Stand with Extension Arm
We used a Matthews C Stand with Extension Arm to position the light. There are a few reasons why a traditional light stand wouldn’t work for the kind of photography Lee needed to do, which was essentially product and food photography on our dining room table.![]()
When you put a light on top of a light stand, all you can do is told the head up or down. The Matthews C Stand with an Extension Arm gives you much more flexibility. You can use that arm to reach in and position the light closer to the set since a regular light stand would bump against the table.
It also gave us the ability to position the light directly overhead or pretty much anywhere we needed. You can often position a light lower with a C Stand and Extension Arm than with a traditional light stand.
I have both Matthews and Avenger C Stands, and I prefer the Matthews. It has a better build quality and feels more solid than the Avenger. The turtle base allows you to safely adjust the stand on an uneven surface, where a regular light stand demands an even floor.
TIP: Make your life easier and get a Baby Pin with your C Stand. This metal rod goes into the grip head on the extension arm and allows you to mount your light on the C Stand.

The Matthews Hollywood C-Stand Grip Arm Kit provides outstanding durability and support for your lighting needs. The stand rises to a maximum height of 10.5 feet and has a stable footprint of 27.5 inches. The sliding leg can be positioned anywhere on the riser to balance the stand on uneven terrain, against stairs, sliding under chairs, tables, "apple boxes," or whatever you encounter. The stand ships with a removable 2.5" grip head and another 2.5" head permanently mounted onto the stand's removable 40" arm, with two 5/8 and 3/8" holes that accept flags, scrims, gobos, and other modifiers.

The Avenger Long Double 5/8" Baby Pin mounts in the knuckle grip of a C Stand so you can easily mount your lighting bracket.
4: S-Bracket Mount
The Godox AD200 has a couple of quarter-inch holes that you could use to mount it, but that doesn’t allow you to hold your light modifier.
The Godox S-Bracket allows you to slide your AD200 inside and clamp it down.
In combination with the LastoLite EzyBox, you just slip the edges on the back of the softbox around the round bracket. It works the same as the “lollipop” bracket that Lastolite provides for hot shoe flashes.
The difference here is that this bracket also has a Bowens mount, which means you can use it on a wide array of compatible light modifiers.
Also, note that little flipper thing on the side. Loosen that up, and you can rotate the flash head up or down, similar to traditional flash adapters on regular light stands. Combine this movement with the flexibility of the C Stand Extension Arm, and you can position the light anywhere you want.![]()

The Godox S2 S-Type Bracket Bowens Mount is a great way to add lighting accessories to your existing Godox lights. The bracket is easy to install and features a non-slip surface that will keep your light firmly in place. The mount is also compatible with all Bowen-mount accessories, so you can easily add things like beauty dishes and softboxes to create different lighting effects.
5: Godox X-Pro Transmitter
![]() The Godox X-Pro Transmitter lets you wirelessly trigger your flash or multiple flashes in the Godox line. You have up to five groups where you can manage different settings.
The Godox X-Pro Transmitter lets you wirelessly trigger your flash or multiple flashes in the Godox line. You have up to five groups where you can manage different settings.
The Godox AD200 has a built-in 2.4 GHz radio receiver. It works no matter your camera brand, as long as you buy the correct transmitter.
Just ensure you get the transmitter that works for your camera brand. I’ll list them below for the major brands.
This is a great transmitter. Not just because radio works better than optical systems, like Nikon CLS, it has a very clear menu and is easy to use.
You don’t have to go to the flash to change anything. There are plenty of channels, so you don’t interfere with other photographers using the Godox system, and it has five groups per channel.
This transmitter works with the Godox AD 200 and other lights in the same family. For example, I also use it to trigger my Godox AD600 Pro.
One transmitter to rule them all!

The Godox XPro Wireless Trigger can communicate and trigger any Godox flashes, making it universally effective for flashes and strobes.
With its ability to control Nikon original flashes, Godox camera flashes, and studio flashes, this trigger gives you a wide range of options to choose from regarding your lighting set-up. Featuring multi-channel triggering and stable signal transmission, the XPro is a reliable and user-friendly choice that will help you take your photography to new heights.
IMPORTANT: This is the Nikon version. Make sure you get the version of this trigger that works with your camera brand.
- Easy to use
- Works with all Godox (Flashpoint) flashes and strobes
- 16 Groups and 32 Channels
- 100-meter range
- Modeling Light Status Control
- The Sony version seems to have a fragile hot shoe connector
Skylum Coupon Code
At the start of the show, I mentioned that you can save 10% (or $10) on Skylum software using my coupon code. This is my affiliate code, which means that I make a small commission if you purchase from me, but it also means that you save money.
For Skylum products like Luminar AI and Aurora HDR, you save $10.
For other Skylum products, like the Creative Kit, you save 10%.
Just visit: https://williambeem.com/skylum
When you check out, use my Skylum coupon code: BEEM