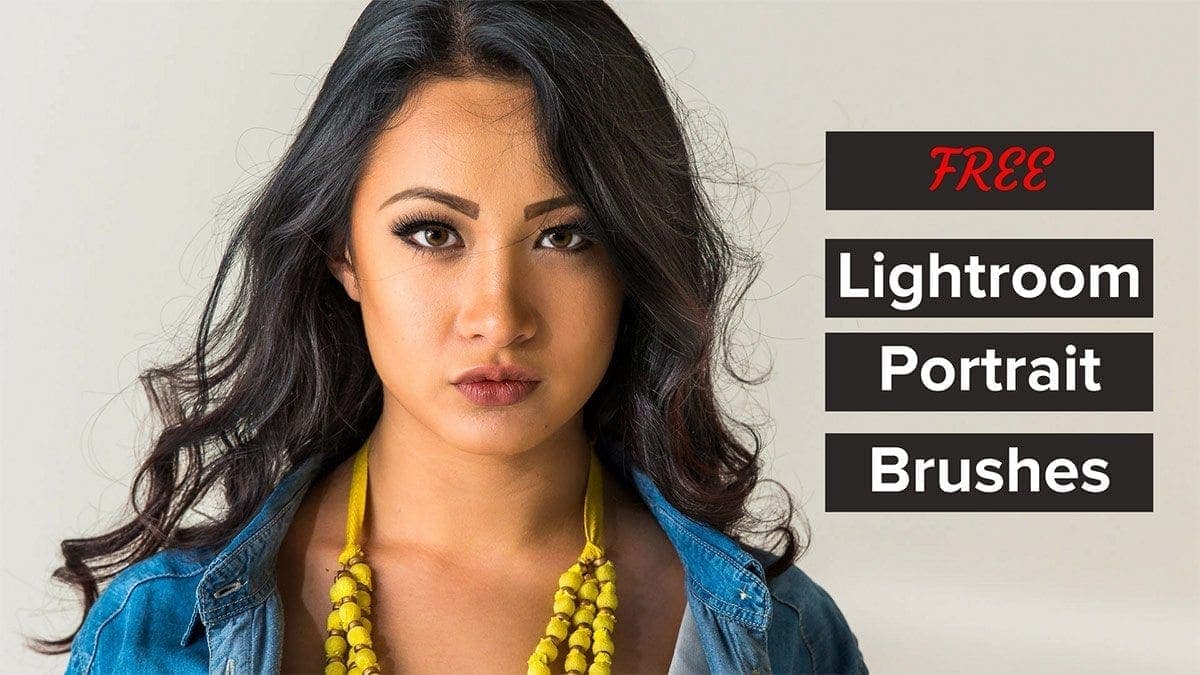
[bgsection pex_attr_title=”Enhance Your Portraits Quickly and Professionally” pex_attr_subtitle=”Get my FREE Lightroom Portrait Brushes for Immediate Results” pex_attr_undefined=”undefined” pex_attr_style=”section-light-bg” pex_attr_bgcolor=”f7f7f7″ pex_attr_image=”” pex_attr_imageopacity=”0.5″ pex_attr_bgimagestyle=”static” pex_attr_titlecolor=”252525″ pex_attr_textcolor=”373737″ pex_attr_height=”” pex_attr_cssclass=””]Lightroom is an incredibly powerful tool for portrait retouching. With one brush stroke, you can enhance exposure, color, contrast, clarity and more. You can save time and get professional results with these FREE Lightroom Adjustment Brushes for Portraits. The download pack includes brushes for:
- Light Skin
- Dark Skin
- Teeth
- Eye Whites
- Blue Eyes
- Green Eyes
- Hazel Eyes
You can easily control the amount that each portrait brush applies in two ways. First, I set the default flow of each brush to 40%, so you can build up strokes as you go. Second, you can reduce the Density slider to lower the application of each adjustment brush.
Get these free Lightroom Portrait Brushes now to achieve professional portrait retouching results just by painting a few brush strokes.
[/bgsection]
Lightroom Portrait Brush Examples
Here are a few sample portraits so you can see the results of the brushes. These photos were only edited in Lightroom Classic CC. Each photo had a lens correction adjustment, sharpening, and Auto adjustment for the global development. The rest of the portrait retouching only included the Lightroom Portrait Brushes in this FREE download.
[pexcontentslider pex_attr_sliderid=”3468″][/pexcontentslider]
[pexcontentslider pex_attr_sliderid=”3469″][/pexcontentslider]
[pexcontentslider pex_attr_sliderid=”3471″][/pexcontentslider]