Affiliate Disclosure: We earn a commission if you purchase through one of our links at no additional cost to you.
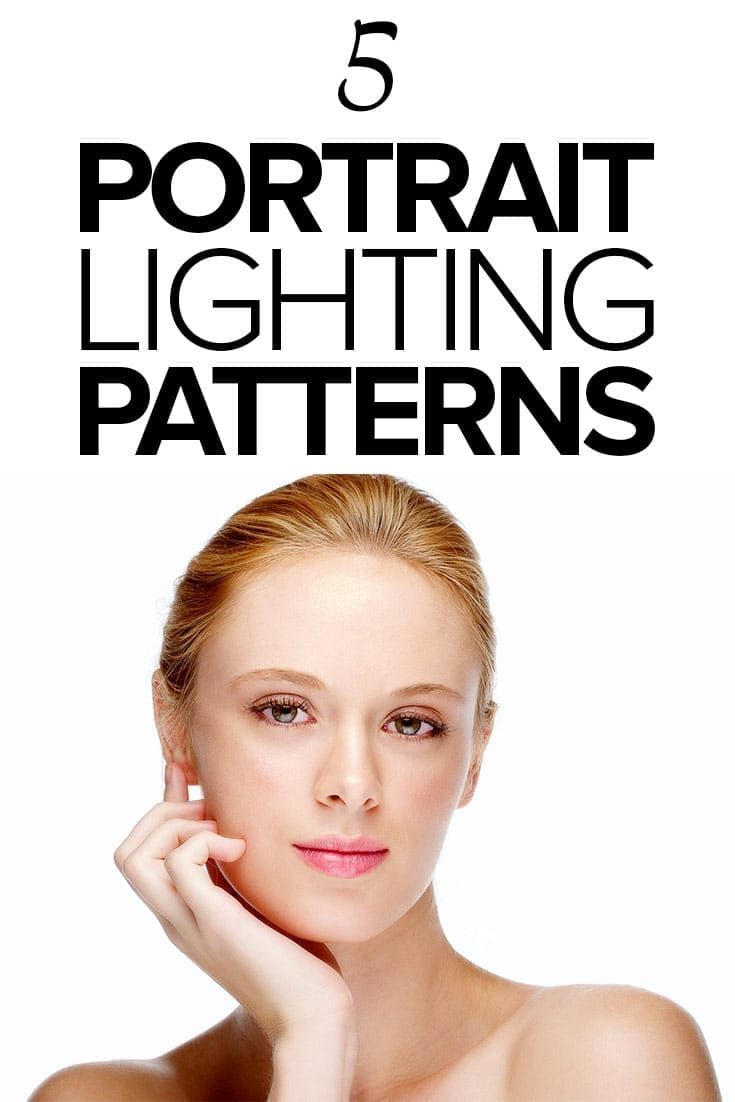
I wanted to share a post on portrait lighting patterns to answer a common question I receive. People who are getting into portrait photography ask “Where do I put the light?”
While that’s an interesting question, I don’t think it’s right. Here’s the question you want to ask:
“Where do I want the shadows to fall on my portrait subject’s face?”
What is a Portrait Lighting Pattern?
A portrait lighting pattern is all about answering that question.
A portrait lighting pattern is all about how the shadows appear on your portrait subject’s face. Do you have shadows under the nose or to the side of the nose?
Do you have any shadows at all?
As you’ll see below, the type of shadow you want instructs where you place your light or light source. You can do almost everything here with one light, but you may want to use multiple lights to control shadows.
Remember that a light source doesn’t mean you must use a flash, strobe or continuous light source designed for photography. You can use available light, fill cards, reflectors or anything that casts a beam of light in your desired direction.
You can use these portrait lighting patterns in your home studio or in the field.
Why a Portrait Lighting Pattern is Different Than a Lighting Setup or Recipe
There are some things to consider here.
First, not every portrait is a headshot or featuring the subject’s face. Plenty of photographers photograph couples or groups and never get into these patterns. It’s hard to decide issues about shadows when a bride and groom are kissing each other in a portrait on a staircase, or some other large background.
Second, a portrait lighting pattern is not the same as a lighting recipe or setup. We’re not talking about cross-lighting, silhouettes or any of that stuff.
We’re also not discussing lighting ratios. That’s a topic for another time. For now, we’re talking about the placement of shadows and why you want to use some of these portrait lighting patterns.
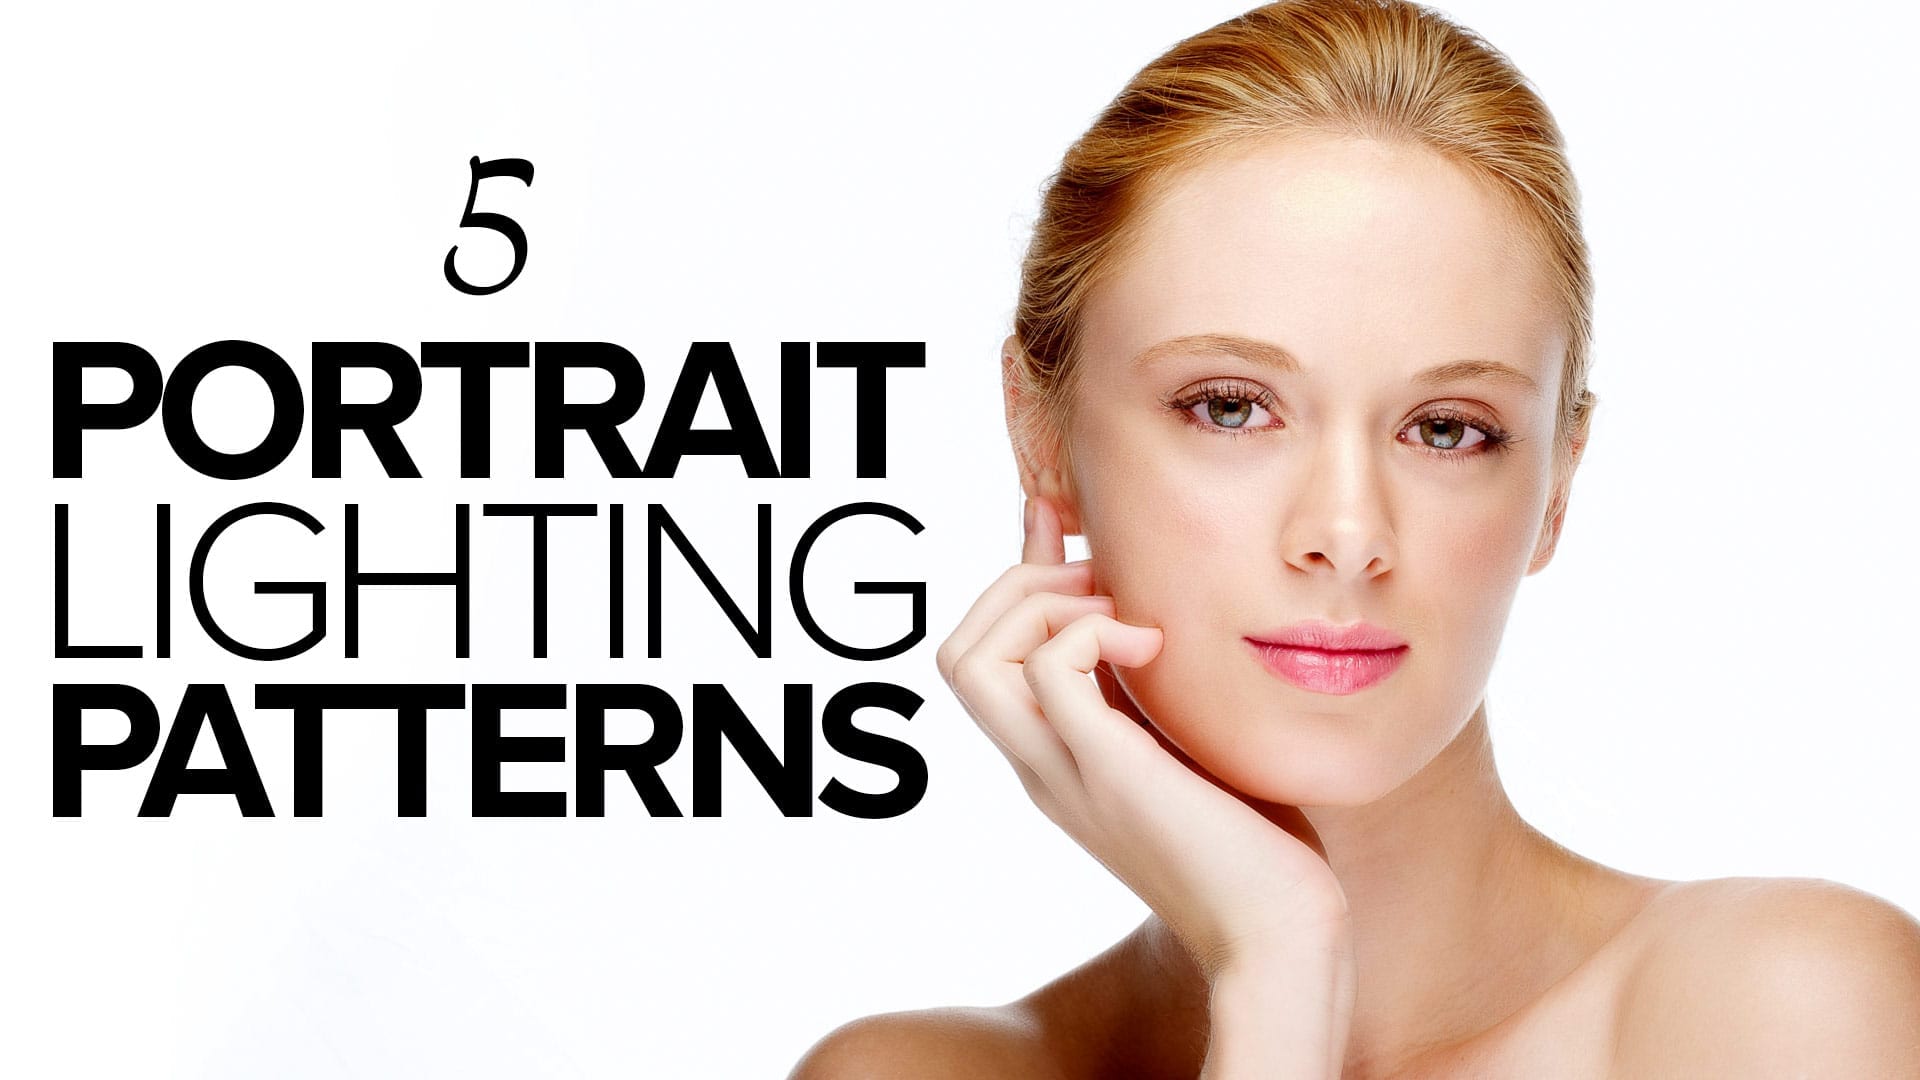
What Are the 5 Portrait Lighting Patterns?
Portrait lighting defines the human face. This may be a game of inches to control the direction and depth of those shadows. While I can give you some starting points to place your lights, you’re going to find that you need to observe the shadows that result and then make adjustments.
Small adjustments.
Big moves may cause big problems. You’ll get your best results when you just pick a place to start and then make subtle moves. That could mean moving your light, directing your subject to raise her chin, or moving his face slightly to the left.
You decide how to make it work.
All of the photos below are my work, except one. I used a stock photo for the Split lighting example. That’s because this isn’t a pattern that I like for my own portraits, so I didn’t have one handy to show.
1: Flat Lighting
Flat light is often best for headshots. The job here isn’t to look dramatic. It’s meant to present yourself so people can see you well.
You can do this with a very simple and inexpensive setup. Find a large, diffused window and put your back to it. Then photograph your subject using that window light.
Another cheap way to go about it is on a cloudy day. No shadows, just flat light.
The problem is that you can’t always count on those methods. However, you can build something with a similar effect. Place a large (50″ or more) soft box behind you as you take the photos. You’re looking for even light that doesn’t cast shadows under the nose or mouth, or to either side.
Some photographers create flat light with three or four strip boxes and they shoot between them to get that flat lighting appeal. Remember, diffuse the light coming at the subject from the camera’s position.
2: Split Lighting

OK, here’s the stock photo.
Split lighting is something typically used for men. It’s often a hard edge with a split down the center of the face. It evokes a bit of mystery but also a bit of strength.
I don’t find this look flattering on women. Perhaps I’d change my mind if I had an athlete I wanted to make appear intimidating or mysterious, though.
The idea for this one is pretty simple. Place your light to the side of your subject. The closer your light is to the subject, the harder the shadow fall-off will appear in the result. If you like that sudden split of light down the middle of the face, bring your light in close.
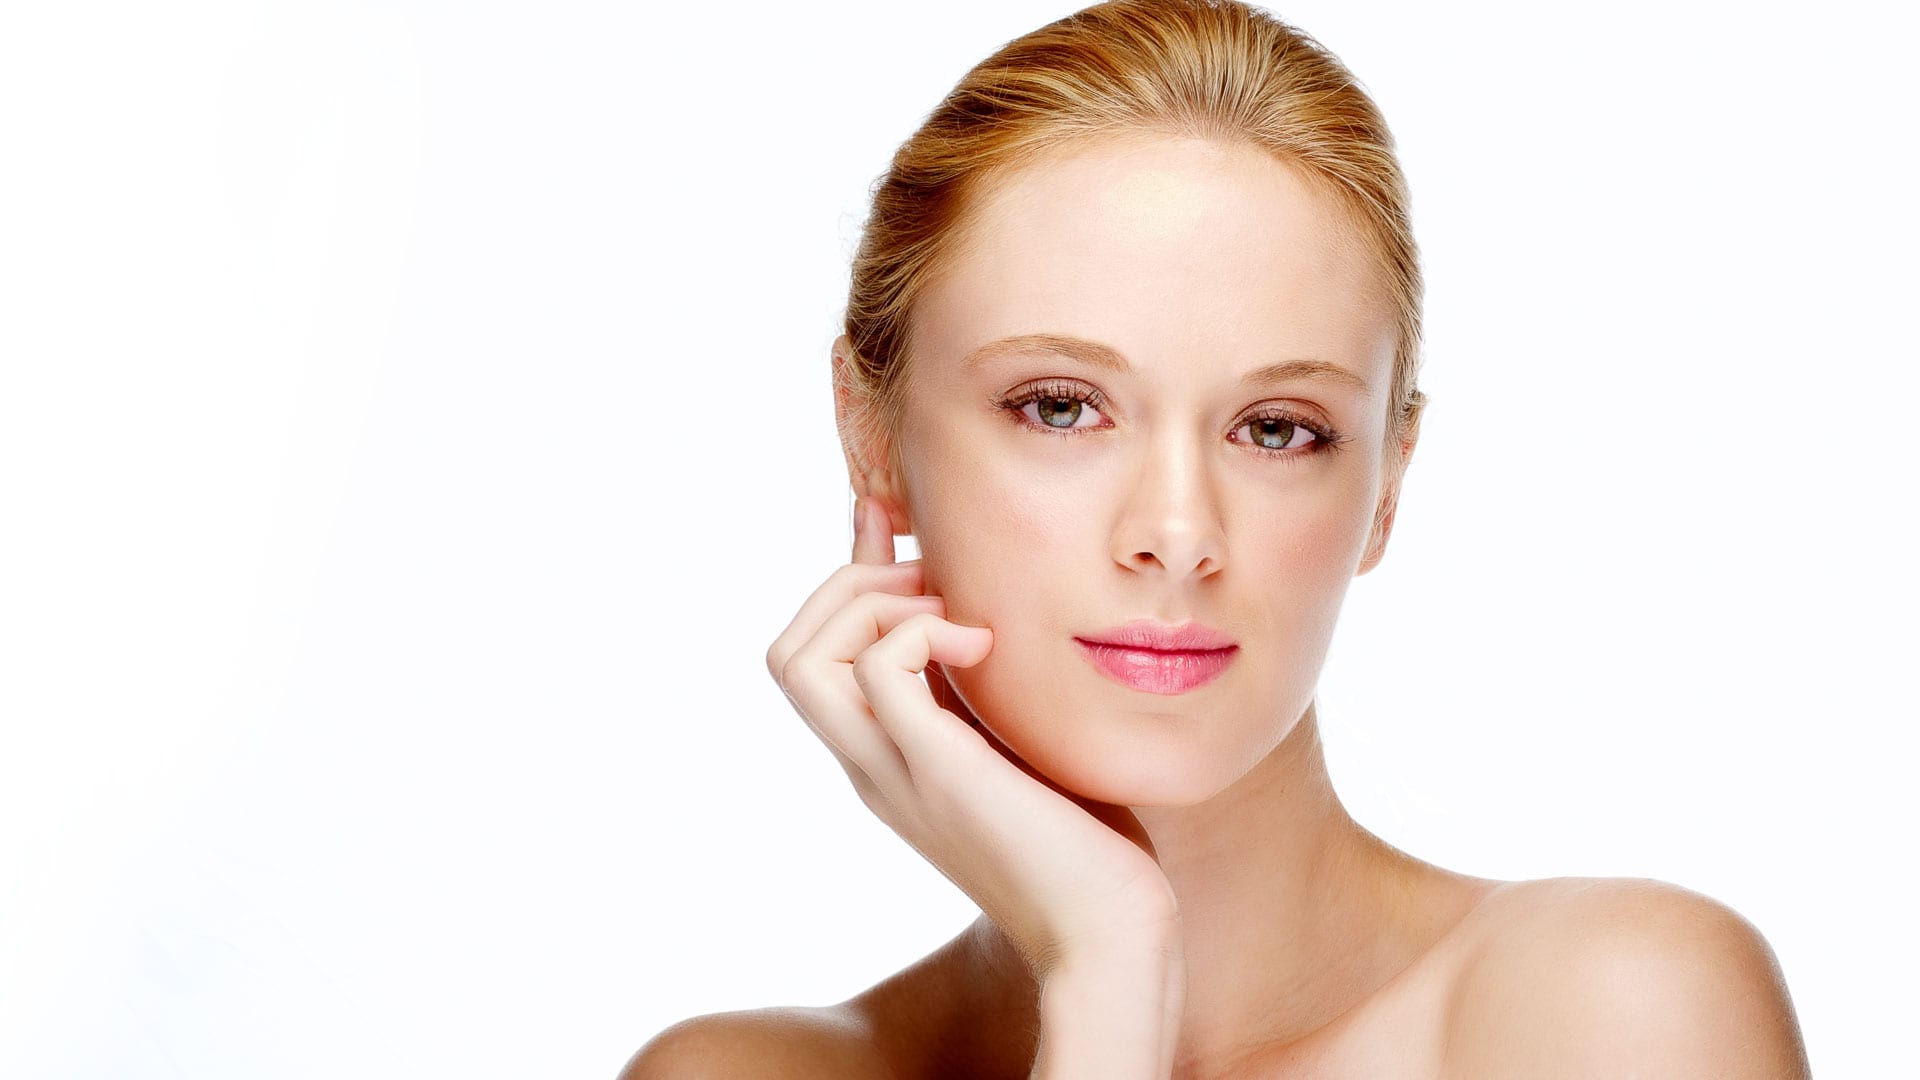
3: Butterfly Lighting
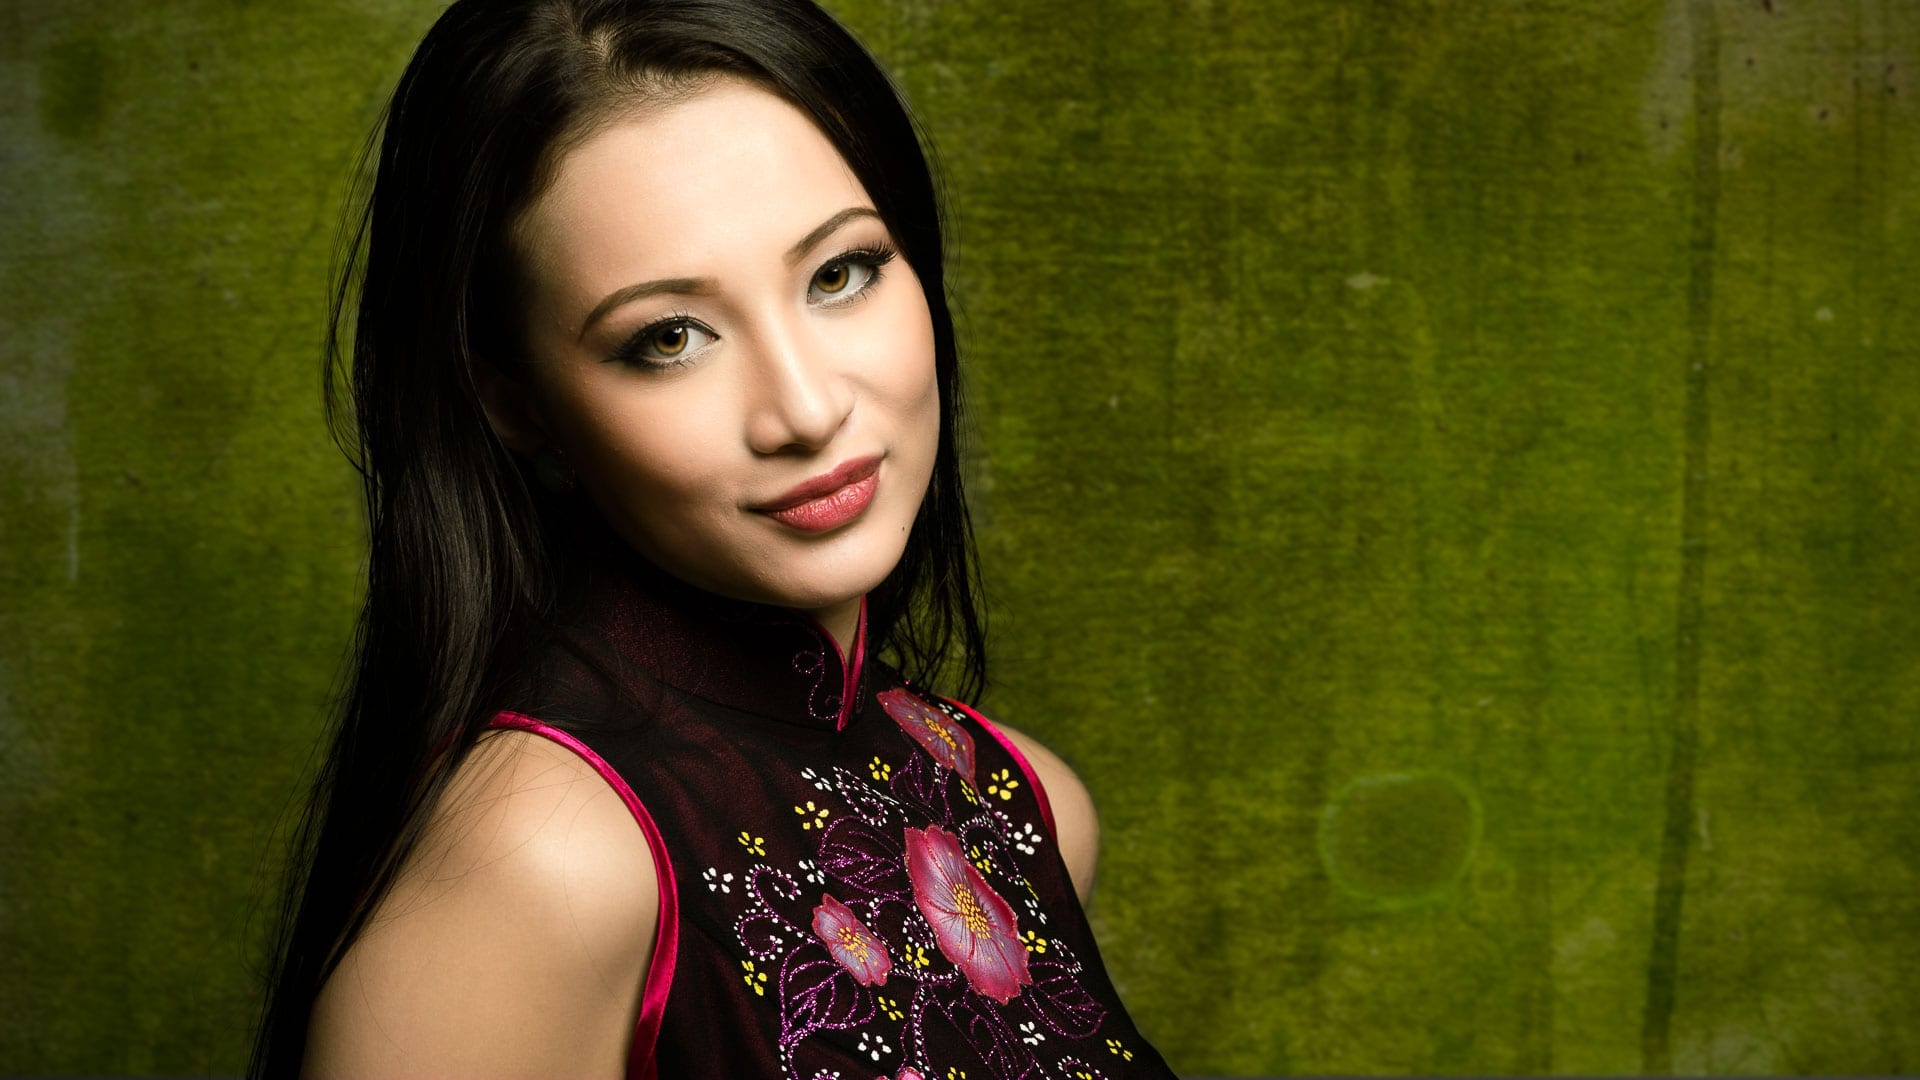
Butterfly lighting, also known as Paramount lighting, is a type of glamour lighting best used for females. If you ever look at those old Hollywood portraits of women in the first half of the 20th century, you’ll see a lot of this style.
The telltale signature of butterfly lighting is a slight shadow under the nose that’s somewhat similar in shape to a butterfly. A lot of photographers use very hard shadows with this setup. I prefer something with just a bit softer and smaller butterfly shadow.
The benefit of Butterfly lighting is that it helps shape the face by emphasizing cheekbones.
You want to place the light above the camera, perhaps using a Beauty Dish, aiming down at your subject. Not so high that the nose shadow meets the lips. As you can see in the image above, I go a bit lower than most photographers to have a subtle nose shadow.
The challenge with this lighting style is that it tends to create a hard shadow under the chin. You may want to reduce that shadow with a bounce of light from a fill card or reflector or use a small softbox with lower lighting power than your key light.
The subject typically faces straight at the camera, but I used a head tilt in this example to minimize the shadow under the chin.
4: Loop Lighting
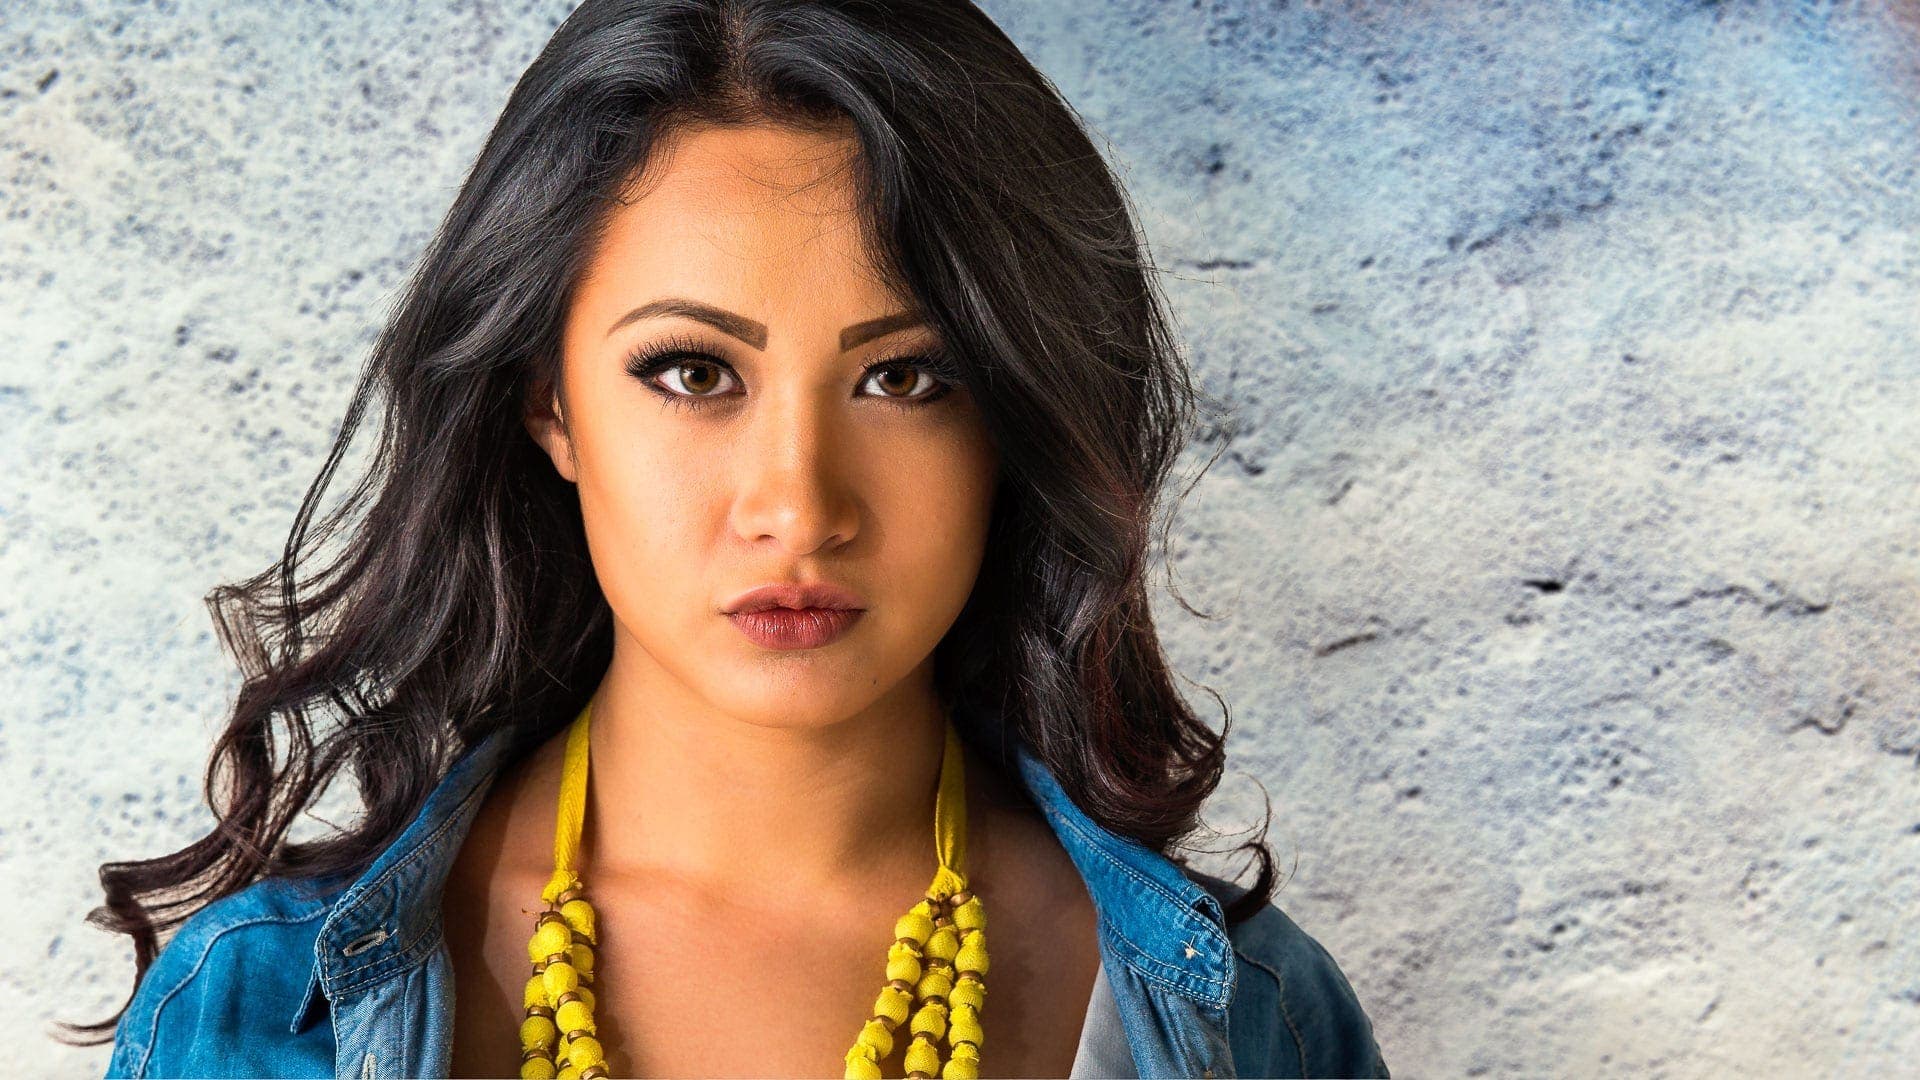
Loop Lighting is the most popular portrait lighting pattern photographers use. It’s very easy to set up and works for male or female subjects.
Loop lighting has a shadow on one side of the nose. Sometimes it’s very pronounced with hard light. The nose shadow should not be so long as to cast across the face to other areas of shadow on the cheek.
The easy way to get this lighting pattern is to place your key light at roughly a 45-degree angle from your subject. Then raise the light just to the top of your subject’s head so the direction of light comes down at a 45-degree angle.
At least that’s a good place to start.
You may think of this as a clock setup. Your subject is in the center. You’re at 6:00 o’clock. Place the light at either 4:00 or 8:00 o’clock. It’s a place to start, and then adjust the position of your light or subject to your taste.
You can control the length of the nose shadow by controlling the angle of light to the subject’s face. Sometimes that means moving the light. Other times it means adjusting your subject’s position.
I have to say again that I do not like very hard shadows on portraits. Your light modifier can control if you have a hard or soft shadow. You can also use some fill light to reduce the shadow.
However, be cautious with using fill that’s too strong. Otherwise, you may get shadows competing on both sides of the nose or eyes, which looks like a hot mess.
5: Rembrandt Lighting

Portrait photographers love to talk about Rembrandt light.
You’ll tell this kind of lighting by the triangle of light under one of the subject’s eyes where the rest of that side is in shadow. Think of Rembrandt lighting as something between Loop and Split lighting.
Remember how I told you when Loop lighting not to let the nose shadow cross over to join the shadows on the dark side of the face? Well, that advice still applies. Rembrandt lighting has a slight twist to it, though.
Place your light in the same position I mentioned in the Loop Lighting section. Then, ask your subject to turn his or her body slightly away from the light. I would suggest again using a 45-degree angle away from the key light.
Observe the results, then make small adjustments to your light position or subject to suit your style.
The triangle of light doesn’t have to be as large as it is in my example above, but this is one of those cases where you want most of that side of the light to fall into shadow.
Sometimes Rembrandt used nearly a hard split light difference between the light and shadow sides of the face. Other times the shadow was a bit softer and had some slight fill. There is only one important thing to remember when you use Rembrandt lighting.
Rembrandt is dead, and you can do it any way you please.
Broad Lighting vs. Short Lighting
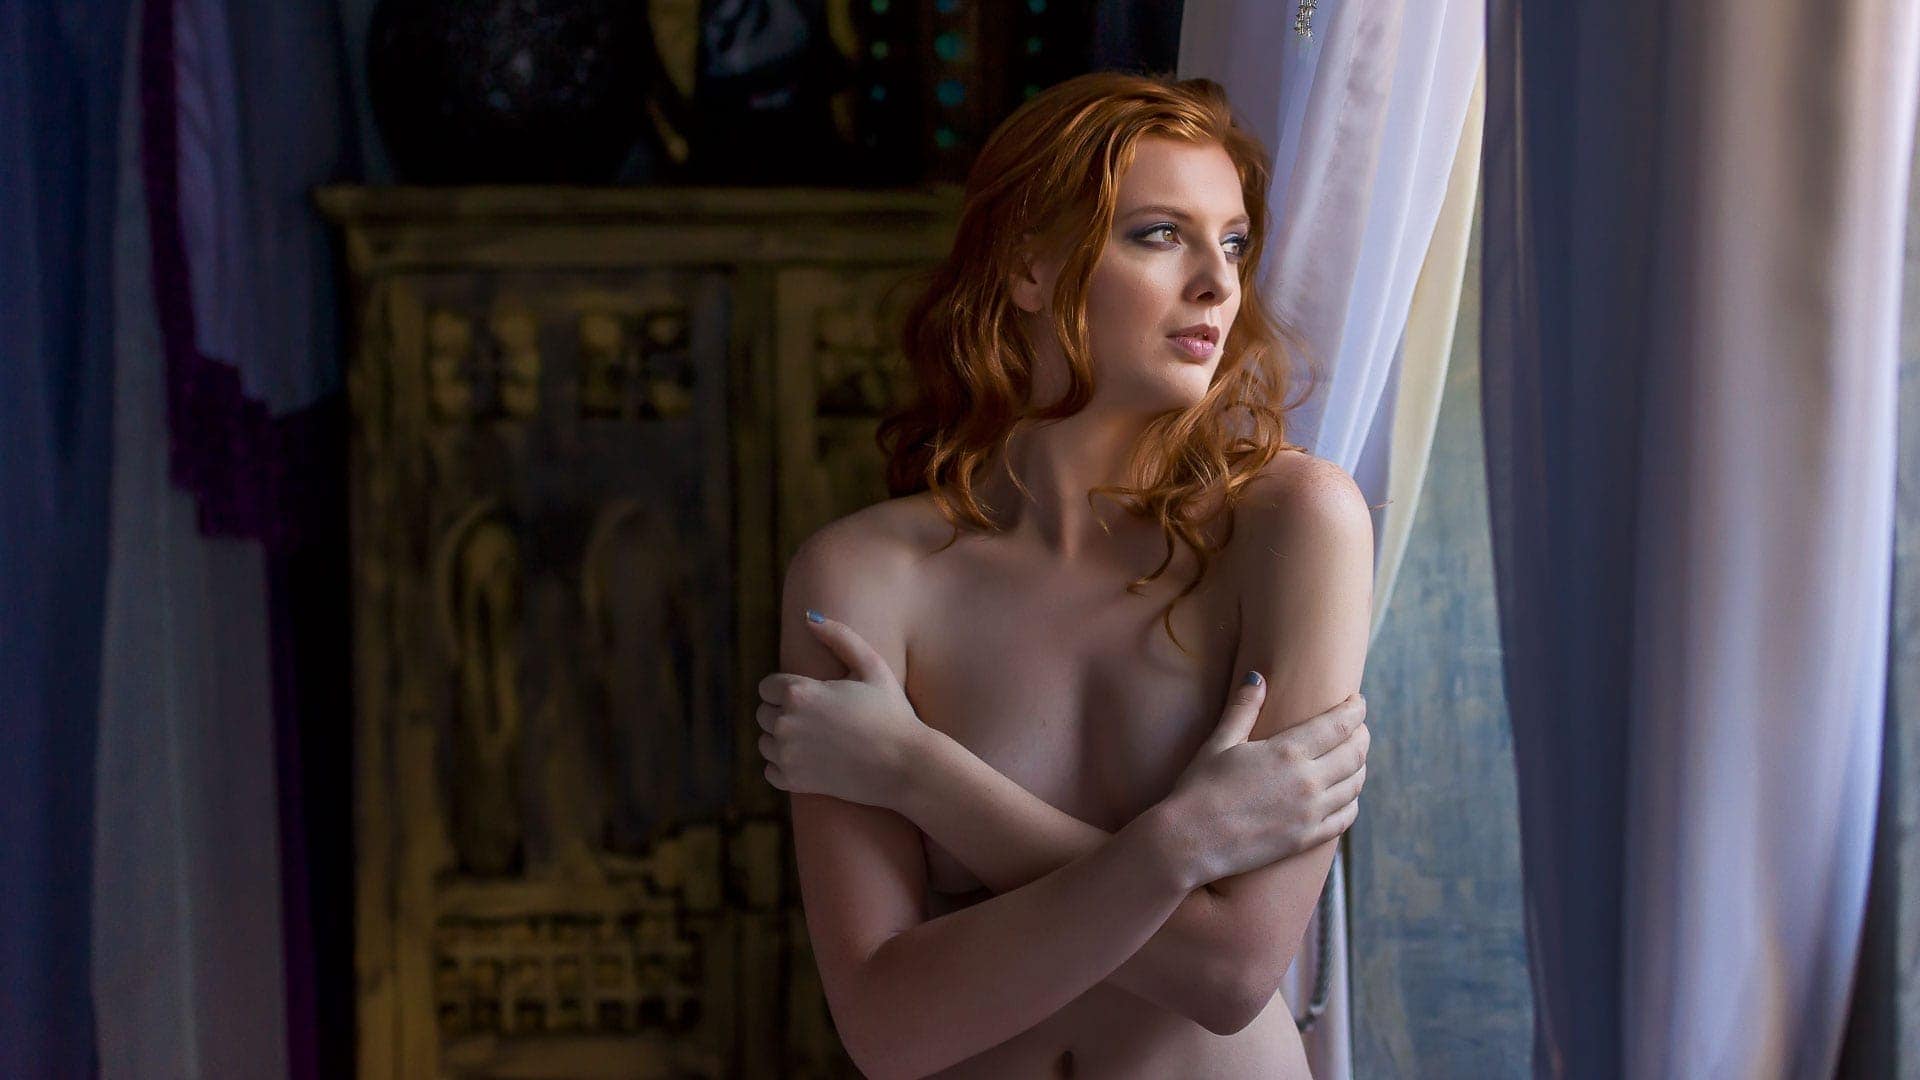
Broad lighting and Short lighting are a couple of terms you may hear. These are not portrait lighting patterns. Instead, it’s a choice of photographing your subject from either the Bright (Broad) side of the face or the Shadow (Short) side of the face.
In the example above, I used Short lighting on the subject to emphasize the direction of light. It was also part of the storytelling for this photo. Inside is dark and she’s using closed body language. The light is outside, signifying what she wants or wishes to be.
If you notice, this is a Loop lighting pattern. The shadow falls on the side of her nose. Most of the light is on the opposite side of her face from where I took the photograph.
That’s why Broad and Short lighting aren’t actually lighting patterns. We still see the Loop shadow, but I just chose the darker side for this photograph to help emphasize my story. Short lighting is typically a bit more mysterious – or even a bit more sad – than Broad lighting.
Use Portrait Lighting Patterns to Serve Your Subject
Each of these lighting patterns has its use. As you can tell, some may be edgy and mysterious while others can be bright or cheerful. Lighting is a wonderful way to tell your story.
It’s up to you to choose how you’ll use shadows in your portraits. Hard or soft, long or short. You can tweak the shadows to serve your subject and develop your own style.
Go practice and have some fun!