Affiliate Disclosure: We earn a commission if you purchase through one of our links at no additional cost to you.
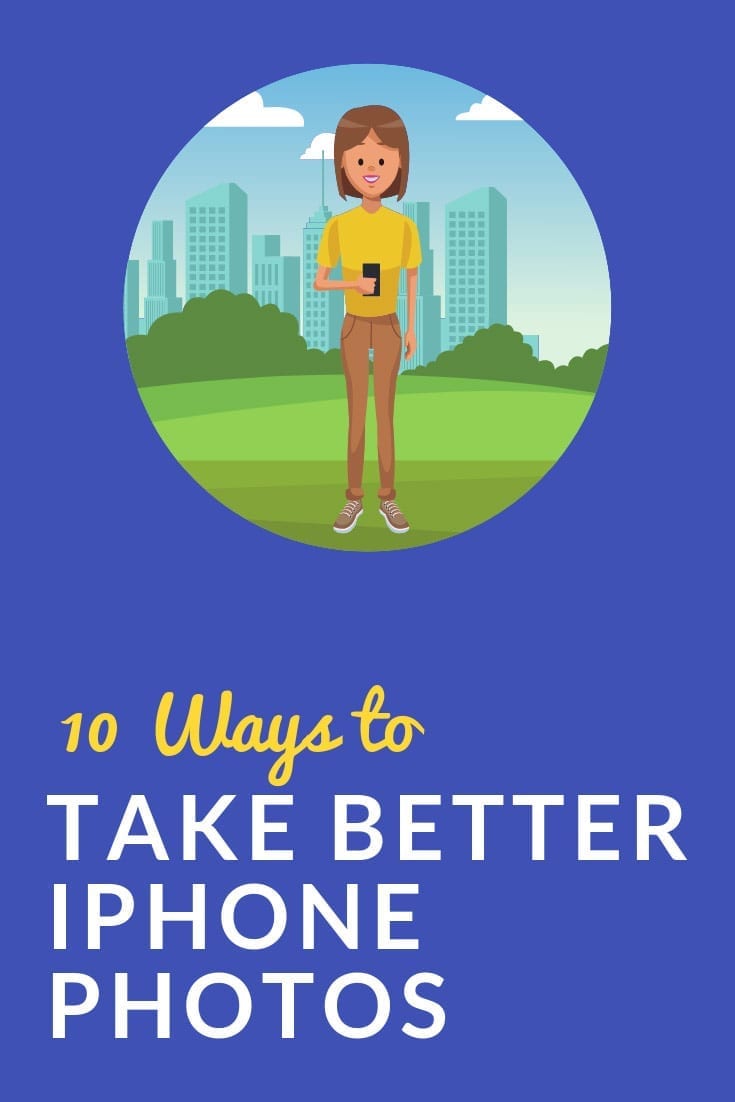
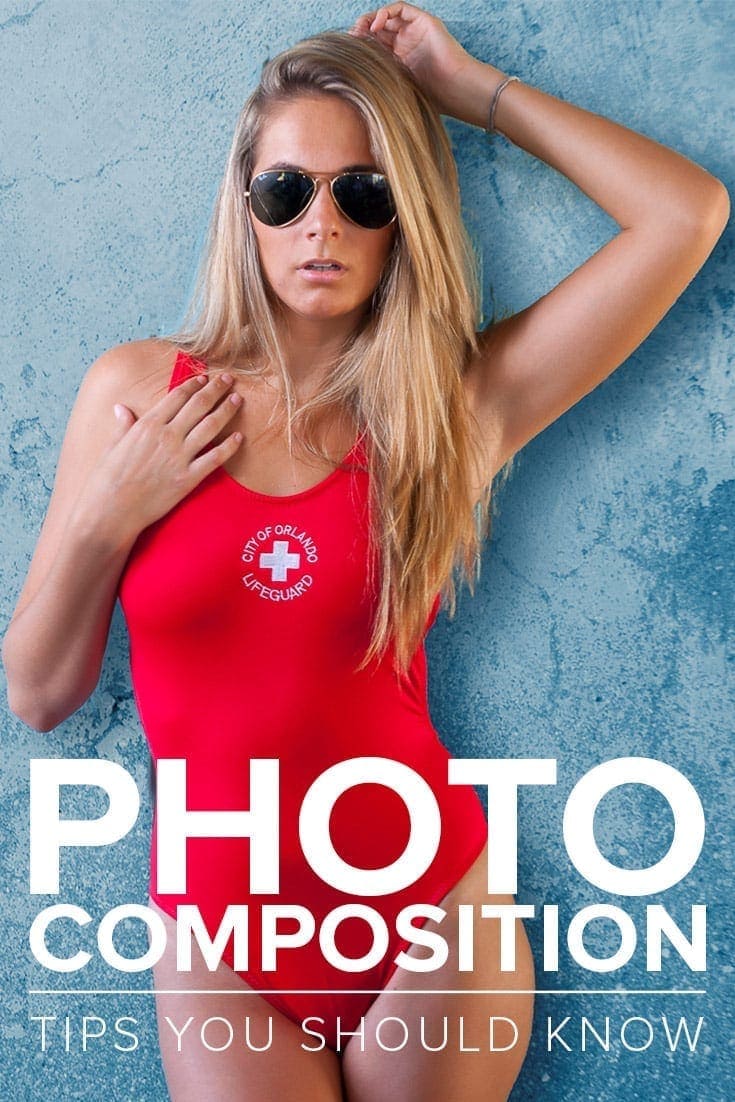
Learn how to take better iPhone photos with 10 easy tips. We’ll show you how to make the most of the camera in your iPhone or Android smartphone. Everything from how to set it, choose your compositions and learn which angles are most flattering for your selfies and portraits.
Your iPhone, or other smartphone, has a unique ability to get shots that other cameras probably can’t get. Due to its small size, you can put your camera in places that most other lenses just won’t fit. You can easily shoot from high or low perspectives to get some unique and memorable photos.
1: It’s a Camera, Not a Phone
Rule #1 to take better iPhone photos: Think of it as your camera, not your phone.
It’s a simple thing, but it’s very important. You can be just as creative with your iPhone as you can with a larger camera. There are apps that allow you to control your exposure triangle. There’s no reason why you can’t be as creative with your compositions on an iPhone as with a larger camera.
You just have to treat it like something you use for art, rather than just taking quick snapshots.
Take your time to get the right composition. Turn off the distractions. Don’t you hate it when you’re trying to take a photo and someone calls your camera? Use that Do Not Disturb feature when you’re out for some iPhone photography.
Your mental state of mind ought to be in creative mode. If the iPhone (or other smartphone) is what you’re using to take photos, then treat it like a camera. Take your photography a bit more seriously than a snapshot, and you can get better results.
2: Go Horizontal
People have this nasty habit of taking iPhone photos in vertical mode – for everything. That works for Snapchat, but not for everything.
Turn your iPhone horizontally and compose your photo as if it were going to display on your TV or computer screen. Make the most of those pixels.
Are there times to go vertical with your shots? Sure, get some nice portraits that way. Otherwise, go horizontal.
When I take photos, I look at both horizontal and vertical compositions. The majority of the time, I prefer the horizontal composition. It’s the way most people prefer to view a photo, also.
Vertical snapshots just seem like tacky, throw-away photos because the photographer didn’t put much thought into them. Hold your iPhone with both hands, turn it to a horizontal frame and start working your magic.
Your viewers will appreciate it.
3: Use Video Most for Still Photos
I learned this tip from Kalebra Kelby, because Apple didn’t tell me.
Did you know that you can take still photos with your iPhone while shooting a video? You can. Now, do you know why you may want to do this, even if you don’t want a video?
Sure you do.
When you shoot with the Camera app on the iPhone, your composition fills about 75% of the screen. There’s a bar at the top with some icons. On the bottom (or left) side, there is a black area with a big white shutter button, a sliding menu to change modes, and some other stuff.
If you’d like to see a full screen view of the subject you want to photograph, switch to video mode and start recording.
Now those black boxes and bars go away. You’re presented with a full screen view of your subject or scene. It gets you a bit closer to your subject because you have more room to see your composition.
As the video runs, you’ll notice a little white circle on the edge of the screen. That’s your shutter button. Start taking photos with that button while recording the video.
It works for both horizontal and vertical shots, also. I hate vertical video more than I hate vertical photos, but here’s the thing. You don’t have to keep the video. If you don’t want it, just delete it.
If you want the video, but also would like to get some still photos, this works perfectly.
So thank you, Kalebra, for a great tip.
4: Beware of Wide Angle Portraits
As a portrait photographer, I typically like to shoot from a lower perspective than my subject. It gives them a sense of presence. People look better if you shoot slightly lower than if you shoot down on them from a higher perspective.
Except if you use an iPhone.
That’s because smartphones use wide angle lenses. Those lenses tend to emphasize whatever is closest to them. That can be a very bad thing if you take a portrait from a low angle.
For example, a full length portrait shot from the subject’s waist height will emphasize their waistline. That’s just not a flattering area of the body to make bigger, wider or sadder.
If you’re going to take some portraits with an iPhone, stand up and take them from the subject’s eye level. After all, you want to emphasize their face, not their waist.
It’s OK if the rest of their body seems a bit smaller. That creates a slimming effect, which most people appreciate.
Go ahead, do some tests with a forgiving friend. You’ll find the angles that work best to flatter your subject.
5: Turn Off the Flash
Apple puts pride in its True Tone flash. That’s nice.
It’s still an incredibly small source of light and it’s going to create harsh light on your subject. Also, that tiny little flash isn’t going to travel very far.
I took my family to a Brian Setzer Orchestra concert in December. The lady sitting next to use wanted to take photos with her iPhone, and she used flash. That gave her outstanding clarity on the back of the head in front of her. Didn’t do anything for the performers on-stage.
Your iPhone wants to think for you. Don’t let it. The iPhone has no idea that you don’t want to take a photo of the back of someone’s head. All it knows is that it’s dark there, so it turns on the flash automatically.
Turn off the flash. Then the stage turns out to be the brightest thing and your iPhone exposure works nicely.
Not all times when you want to use flash are at a concert, but the same rules apply. It’s a hard light source that doesn’t travel very far. You can probably do better if you give it some thought.
Also, you get the look of “on camera flash” with the iPhone flash. Never a flattering look. Bad shadows and generally useless for anything other than merely documenting a subject.
It’s mug shot lighting.
So turn off the flash. Find better light. Use something to bounce the light. Anything is better than that tiny flash.
6: Eliminate Distractions
Nothing ruins a photo quite like elements that don’t belong in the photo.
We’re so quick to whip out our iPhone and take a snapshot. Instagram is full of young women who do that in their bathrooms, complete with the mess they haven’t cleaned up yet. Maybe they can’t look past their own image in the mirror, but the rest of us can.
Take some time to think about your composition. Eliminate anything that doesn’t help or support your subject. Get rid of hot spots, bright lights, dirty laundry, messy beds, tourists wandering in the background, etc.
Does this mean it takes longer to get a photo?
Damn right, Skippy. Just like we do with the big cameras. The size of your camera doesn’t matter. It’s the quality of the image you provide that makes a difference. To get that quality, you have to scrutinize your subject AND the background. Sometimes that means waiting and sometimes it means moving.
Do what it takes to get a great photo, and you’ll improve your odds of getting a great photo.
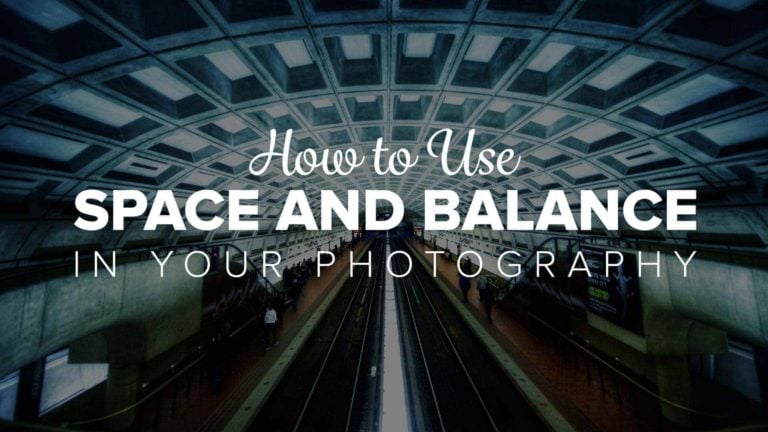
7: Use Different Perspectives
When we talk about perspective, we’re discussing the point of view from your iPhone’s camera. High, low, left or right.
We walk around all day long and see things from the same perspective – the height of our eyes. It’s boring.
Try shooting from a small child’s perspective. The view looks like a different world, and it’s a memory that’s tucked deep back in our memories. Everyone looks so tall. Some things that adults don’t even notice are right in front of your face when you’re five years old.
What about a bird’s eye perspective? Imagine looking down on your subject instead of straight at it.
Some old advice I got years ago can help you with finding new perspectives.
You can hold your iPhone overhead and get a shot of a crowd, or just get a view that no one in the crowd can actually see very well.
Try moving your camera around instead of just holding it in front of your news. Work your composition from either side of your subject. Basically, move the thing around as you take photos.
8: Get Some Post Processing Apps
Let’s give Apple some credit. They covered the basics with the Camera and Photos app. There are rudimentary tools to tweak your photos after the shot.
Of course, we can do better than rudimentary.
Start with the Lightroom CC mobile app. Not only does it allow you to adjust your exposure settings while taking photos, but it gives you the power of Lightroom to process your photos. If you have a Creative Cloud subscription, you can sync your photo library to & from your iPhone. That’s like having a portfolio in your pocket.
Check out Proshot. It’s another app that gives you manual control over your iPhone camera. Adjust your own exposure, take some time-lapse photos or create a video. There’s a slow motion setting that makes it easy to work with different frame rates available with resolutions from 720, 1080 or 4K.
Photo Pills is a great tool for calculating the angle of the sun, your depth of field, hyperlocal distance and much more.
Pixomatic is like a miniature Photoshop for your iPhone. You can clone, heal, blur and perform other corrections. It allows you to change perspective, flip your images vertically or horizontally. On top of that, you can get access to plenty of filters (like presets) and other tools to style your photos. It even has blend modes.
9: Get Closer to Your Subject
Fill the frame.
That’s old school advice, but it serves a purpose. People don’t want to squint to see your subject. Doesn’t matter if it’s a person, place or thing. Fill the frame. Get closer to your subject so your viewer can have an immersive experience.
People who take snapshots always try to get everything in their photo.
What they miss is that people don’t want to see everything. We really just want to see one thing. Doesn’t matter if that one thing is as small as a dime or as big as the Grand Canyon. All that superfluous space around your subject is wasting pixels.
I always say that your photograph should tell a story. Every story needs a protagonist, a hero. It’s a story about someone or some thing. Make sure that your story doesn’t get watered down with extraneous material.
One of the best ways to do that is to get closer. Fill the frame. Let us see what inspired you to capture it.
10: Use Backlighting
Silhouettes are dramatic.
We recognize a lot of shapes without needing all the details filled in properly. If I showed you an outline of the New York skyline and the San Francisco skyline, you could likely tell them apart.
Remember the three elements you need in a photograph:
- Light
- Background
- Subject
There’s no rule that says where to place the light.
You can look for opportunities with backlight and get some photos that most people with an iPhone will ignore. Find some amazing light, preferably with color and direction. Put something in front of it, or find beautiful light behind something you want to photograph.
The idea is to learn how to become creative with light. Use shadows and highlights to your advantage. Just as photographing from your eye level is boring, so is photographing everything in flat light from the front of the subject.
Be a little creative and daring with your lighting.
Bonus Tip: Fit Your Lens in Small Spaces
Here’s a shot of the Las Vegas Strip that most people with a DSLR, Mirrorless or other “pro” camera won’t get.

If you aren’t familiar with the Las Vegas Strip, there are pedestrian bridges to safely get across the street without venturing into traffic. The problem with these bridges, at least for photographers, is that they’re lined with very tall plexiglass. Those panels are covered with scratches, they’re filthy dirty, and generally not pleasant as a filter for your camera lens. On top of that, they often catch reflections at night from the video signs all over the place.
However, there are small gaps between the panels. Too big for a DSLR lens, but perfect for an iPhone lens. No glare, no scratches or other filth. It’s a wide open shot to take if you have a smartphone.
Sometimes it’s nice to have a camera that fits in your pocket.
Subscribe to The Photo Flunky Show
Thank you for listening to The Photo Flunky Show. Make sure you get every episode by subscribing.
iTunes – https://williambeem.com/itunes
Stitcher – https://williambeem.com/stitcher
Google Play – https://williambeem.com/googleplay
Blubrry – https://williambeem.com/blubrry