Affiliate Disclosure: We earn a commission if you purchase through one of our links at no additional cost to you.
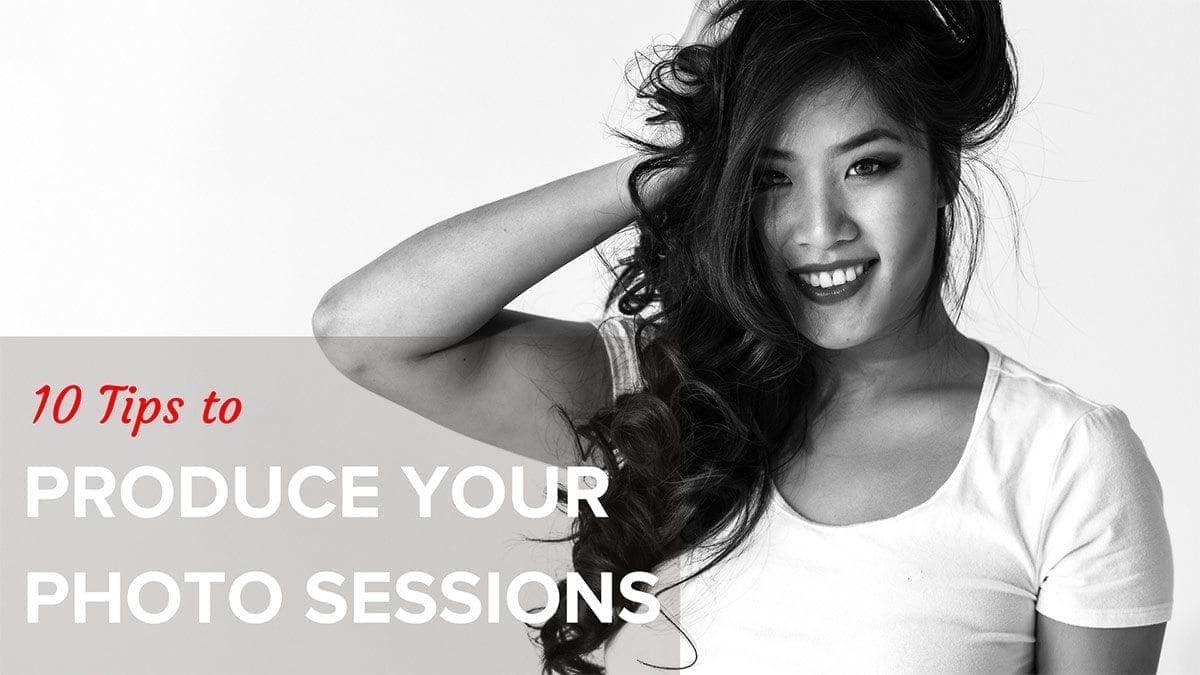
We came up with 10 tips to produce your photo sessions and improve your results. Think of these tips as a format to help you visualize your result and think of all the details necessary to make it happen.
You’re Not a Photographer Anymore
People love to claim they are a photographer. That’s OK. You don’t need to be a professional photographer who makes a living at photography just to call yourself a photographer.
If you can take a photo, you’re a photographer.
Of course, we now know that even a monkey can take a photograph. It’s just not that hard. If you want to get great results, it’s time to stop thinking of yourself as a photographer. Photography is a technical skill.
The real art of photography is knowing what it means to be a producer, and how to bring elements together to make your vision come to fruition.
What is a Producer?
You often see movie titles for a Producer or Executive Producer. Just what do they do?
The simple explanation is that they are the people with financial and managerial responsibility to make something happen.
The producer may develop the concept, work with a script writer, oversee casting and manage many other aspects of the development of a movie, stage play or other form of entertainment.
There are photographers on movie sets, but they aren’t the ones calling the shots. If you want to improve your photography, then you need to start working harder to call the shots.
You need to produce your photo sessions.
Our 10 Tips to Produce Your Photo Sessions
OK, poof! You’re a producer. Now what do you do?
Don’t worry. Our 10 tips to produce your photo sessions will help you make the decisions necessary to create some of your best work. These tips are high level processes, and you have to fill in the blanks. That’s OK, because your photo session is your creative darling.
Now let’s see how to get started.
1: Understand Why You Need This Photo
Let’s start with your motivation. People don’t do their best work without understanding why they’re doing it. There are plenty of reasons to want to create great photography.
- You want to demonstrate your ability
- You enjoy the process
- Serving others with a great photo
- Giving people a reason to raise your rates as you raise your talent
Understanding your motivation and making a commitment to it will drive you through the process. Some sessions may be quick, others may be arduous. Knowing why you’re going through the process helps you make decisions during the process.
Maybe you just need a graphic for a blog post or social media post. Perhaps you want to create a new portfolio to show your skill. You could take on a photo session because you want to try a different genre of photography.
If you’re serving clients, keeping them happy and earning their recommendation for future clients is a great motivator.
Know you’re “why” when you start to produce your photo session, or else you may end up failing.
My purpose lately is to develop a new portfolio of work that will earn a place in a gallery showing.
2: Develop Your Message or Story
Photography is communication. We take photos to make a statement. Sometimes it’s a memory. In other cases, it’s a sale tool. Your photos ought to say something.
The message or story behind your photos need to support your motivation.
As I mentioned, I want to create a portfolio for a gallery showing. That means I need a body of work with some unifying theme or element.
In my case, I’m choosing to photograph athletes doing what they love.
I want to show passion, drive, integrity, athleticism and the pursuit of excellence. It’s something I appreciate in others who work hard to attain something, which inspires me to attain my goals for this portfolio.
Of course, your photo session doesn’t have to be that intense. You could just as easily do what Lee does and take a selfie after each run or gym session to share with your social media audience.
Those photos serve a reason for creating them and they tell a story about her fitness journey.
3: Visualize Your Concept of the End Result
Now that you know why you need a photo and what you want it to say, it’s time to decide how it should look.
We often hear photographers talk about visualizing a photo before you capture it. That simply means that you’re creating all the elements that will appear in your photograph, rather than reacting to uncontrollable events around you.
Let’s think in terms of sports photography.
When you take team or player portraits, you’re controlling the environment, lighting and directing your subject. In effect, you produce those portraits.
When the game starts and you’re on the sidelines shooting the action, you don’t really have control of events. Some cases may allow you to position some cameras and maybe some lighting, but you’re not in charge. You’re a witness who is trying to capture something where you have absolutely no control.
That doesn’t mean you can’t visualize a shot that you want and prepare to capture it should it happen, but you can’t direct the players during a live game to get the shot you want. Anticipation is a wonderful thing to get those shots, but it can only take you so far.
As a producer, you come up with the concept. You are the one with the vision of how the final result should appear.
That vision will drive you through the rest of the production process to make it happen.
4: Assemble the Team
Every production needs a team, even if you’re a team of one.
Start by deciding the roles that you require to make your vision come to life. If you need a portrait photo, then someone has to fill the role of subject. You may also need someone to serve as a hair and makeup artist to prepare the subject. Where will you get the wardrobe for your subject?
Some projects may have a lot of complications, so a good photo assistant can definitely help. If you’re busy directing and photographing the scene, it helps to have someone else take care of the technical details, setup lights or hold a reflector for you.
As you consider your vision, think about the roles you need to make this work out. On a large photo session, that may even include catering, someone to get permits or negotiate location access.
Someone has to do it. Pick the right people to help you create your vision.
5: Gather Your Resources
The resources for your photo session are all of those elements that help you make it happen. Behind the scenes, that includes gathering your camera gear, lighting and support structures. You may need a backdrop, wardrobe, a car, access to a location, or even a picnic basket.
If it shows up in your photo or is necessary to create your photo, it’s a resource.
Sometimes you can’t get a resource without already having something. If you want to shoot in a private business, the owner would be smart to require you to have general liability insurance and workman’s comp in case of any accidents. You may need a permit for some city or public access locations.
Scout your location. Make sure you know how it looks from multiple angles. Check out the potential for reflections, obstructions or ambient lighting. If something makes a noise at a particular time or the place gets a rush from a crowd, you want to know about it.
Remember, a resource is anything you need to make your photo happen.
6: Schedule Your Photo Session
If you have a lot of moving parts and other people involved, then you need a schedule. Quite simply, you need to know what must happen, when it must happen, and have all your people and resources in place at a specific time to create your photograph.
There may be external factors that impact your schedule.
For my next photo session, I’m shooting in a working gym during business hours. Those hours depend upon my subject’s availability and when the gym can allow us space to create our photos.
If your photo session is outdoors, timing may matter due to lighting conditions, time of year, or weather. Its hard to photograph a scene that requires a beautiful blue sky on a grassy hill if you don’t coordinate the time and plan for fair weather.
7: Confirm Everything and Everyone is Ready for the Schedule
For most of my photo sessions, I need to plan well in advance. The problem with that is life happens. Something could go wrong, someone may have to bow out and I need to get a substitute.
Or I may have to scrub the whole thing and try later.
The point is that it’s better to know about any last minute issues before showing up on location for the photo session. You want to check your gear to make sure you have everything in place and that it’s in working order.
Charge the batteries. Get your memory cards. Make sure you have those little bolts that you need to mount a strobe or flash to a light stand.
Trust me, it’s often the little things you forget that make you feel stupid and stop you from getting your photo session off the ground. I’ve made some real boners in the past.
The worst was going on a cruise with an Olympus SLR body and Minolta lenses. Gear don’t fit together, and I didn’t get any photographs.
Don’t assume everything is in place and will work as expected. Make sure your team is ready to go and be there on time.
[clickToTweet tweet=”People don’t plan to fail. They fail to plan. I hate it when that happens.” quote=”People don’t plan to fail. They fail to plan. I hate it when that happens. #photography”]
8: Execute Your Plan
Now it’s time for your photo session.
You know why you’re here. There’s a story to tell. You know what you expect to achieve. Your team is ready to do their part. All of your resources are in place.
Execute your plan and get the shots that you expected.
Don’t worry if everything doesn’t go to plan. You’ve prepared as best you can, and that goes a long way toward executing your vision. However, sometimes you find something out of your control.
Don’t panic.
Analyze the problem. Adapt to use the people and resources at your disposal. Execute your plan with those changes in mind.
9: Allow Room for Creative Input and Additions to Your Session
Photography is a creative endeavor. One of the things I truly enjoy about photography, whether I’m collaborating with others or working on my own, is that opportunities arise do add something to your photo session.
Why gather other creative people and not entertain their input? Maybe the environment offers you something you hadn’t expected, but it adds an interesting twist on your message?
Get the shots you planned first. Then start working with what you have available. Let the people around you show what they can add to your vision. Look for new opportunities and put them in the bag.
You’re still working within the framework of your motivation and story. Just be open to some additions that may be better than what you expected, or at least different.
It gives you more options.
10: Post Processing Time and Delivery
Your creative vision may require some specific post processing. That could be color grading, black and white conversion, maybe some liquifying in photoshop or portrait retouching.
As part of your schedule, you need to plan time to edit (select) your photos and then process them for delivery. Your photo session doesn’t end after the photography stops.
You need to deliver your results.
That may mean sharing photos with the team, delivering to a client, or just posting on social media at a specific time. You aren’t done until you’re done and delivered.
Understanding Why You Need to Produce Your Photo Sessions
I know there’s something satisfying with discovering something new and taking a photograph. I wouldn’t suggest that you should stop living in the moment and capturing memories.
However, I think your best work may come from the planning and preparation it takes to produce your photo sessions. You play a larger, deeper role in the results.
I know that our 10 tips to produce your photo sessions requires more work and effort. Yet it also gives your more control, better results, and perhaps a bit more pride when you show the photograph that you produced…not shot.
Macphun Coupon Code
I mentioned at the start of the show that you can save 10% (or $10) on Macphun software using my coupon code. This is my affiliate code, which means that I make a small commission if you purchase from me, but it also means that you save money.
For Macphun products like Luminar and Aurora HDR, you save $10.
For other Macphun products, like the Creative Kit, you save 10%.
Just visit: https://williambeem.com/macphun
When you check out, use my Macphun coupon code: BEEM
Subscribe to The Photo Flunky Show
Thank you for listening to The Photo Flunky Show. Make sure you get every episode by subscribing.
iTunes – https://williambeem.com/itunes
Stitcher – https://williambeem.com/stitcher
Google Play – https://williambeem.com/googleplay
Blubrry – https://williambeem.com/blubrry
Social Media Links
We love seeing your photos and keeping in touch with you on social media. Here’s where you can find us.