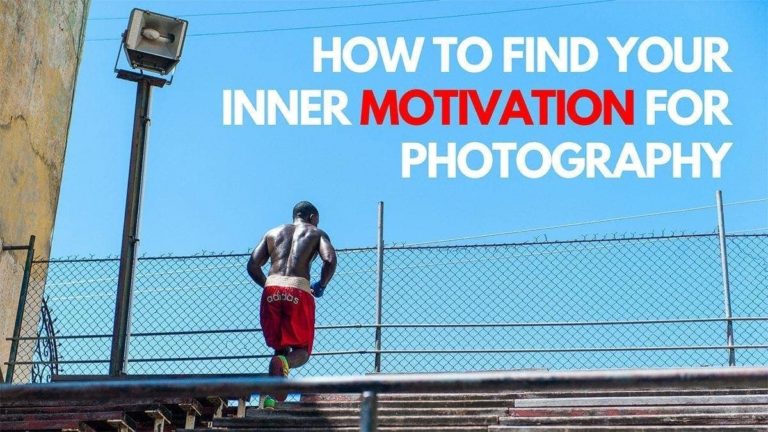
Affiliate Disclosure: We earn a commission if you purchase through one of our links at no additional cost to you.
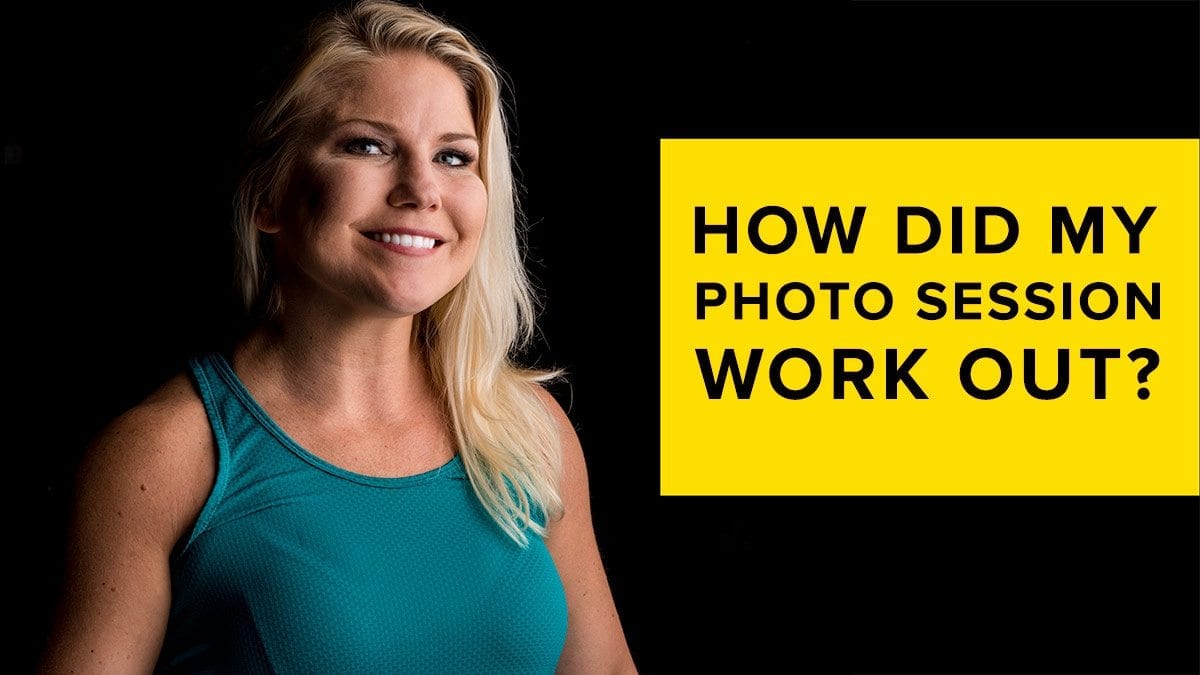
Last week, we spoke about 10 Tips to Produce Your Photo Session. Then I had a photo session. So, how did my photo session work out?
Let’s Cut to the Chase About the Photo Session
The photo session went very well. It wasn’t without some apprehension and profanity (before, not during), but we came away with a variety of shots that pleased both of us.
If everything went perfectly, there wouldn’t be a reason for me to create this post and pat myself on the back. Instead, I want to discuss some of the things that I could improve. Hopefully, this review will help you on your next photo session.
What Was Different About This Photo Session?
This photo session was a kick-off of a long term project for me. I want to create a portfolio of work that’s worthy of a gallery showing. This session was a bit of a shake-out for me, and I treated it differently than most of my other sessions.
Here’s what usually happens in my portrait sessions. Either I invite someone over to my home studio where I have a lot of gear and studio strobes, or I go with a small flash on a location session.
In this case, I decided to bring my studio to the location so I would have both quality lighting and plenty of options.
That worked out both to my benefit and consternation.
Gathering My Resources
Step 5 of my 10 Tips to Produce Your Photo Session says to gather your resources. Seems like sound advice. I just had one problem in this step.
I’m a tad disorganized.
The problem with having so much gear and few places to store it means that it tends to scatter all over the place. Some of my gear is in my home office, other pieces are in my garage. Generally speaking, I know where to find everything. This time, I had difficulty locating some items.
This is where the profanity came about.
Ultimately, I found everything. It seems that some items – like my Tether Tools Table – didn’t go back to its proper spot after it was last used about three years ago. Lee found it stuffed between a chair and end table in our living room.
Another frustration was an Elinchrom strip box I recently bought used online. The good news is that I stored that in the right place. The bad news is that I didn’t fully inspect it when it arrived. As I started to assemble it, I realized that it had the wrong speed ring for a strip box.
It’s an Elinchrom speed ring, but the joints to accept the poles in the strip box are in the wrong place. I ordered a new speed ring, but it wouldn’t arrive in time because I discovered this problem the night before the photo session.
That means I had to fall back on some older gear – a pair of Photoflex LiteDome Medium soft boxes. Each comes with a grid and produces lovely light.
I hate these soft boxes with a passion.
The reason I hate them is because you have to assemble the poles into the speed ring by hand. No spring joints or umbrella action here. Put pole in hole and repeat. Then reverse that process to strike the boxes down.
Quite simply, it’s a pain in the neck and increases the time to setup or strike your equipment when on location.
I should have examined things sooner than the night before, but I was sick and let it slide. Lesson learned.
I Forgot a Few Things
Despite bringing a lot of gear, I let myself forget a few things.
First, I generally use an Calibrite ColorChecker Passport Photo 2 Portable Color Calibration Kit for Photo and Video, 4 Target Set for White Balance, Exposure and Camera Profiling, Protective Folding Case with Lanyard (CCPP2) (affiliate link for Amazon) to make sure that I have accurate and consistent color on my photos. Though I had it with me, I forgot to use it.
Fortunately for me, I already have a camera profile using the lights and lens combination I used on this shoot. Still, it’s a good practice to use this for every new shoot and I plain forgot to pull it out of my bag.
Next, I didn’t think to get a decent photo of my lighting setup. I typically like to do this for some behind the scenes posts, and also to use as reference if I come up with a lighting scenario that I may want in the future. It’s also handy when you look at some photos years later and wonder just how you lit it.
How do I fix this in the future?
Checklists. I need to create a checklist of things I want to do and photograph on future shoots. It’s easy to do, particularly since I use Evernote and always have an iPhone with me. The checklist would always be with me.
I Overlooked Something Obvious
There is an aspect of this project that should have been obvious to me, but I overlooked it.
While the model and I did a great job of coming up with photo concepts, we never discussed our preferences for post processing. As it turns out, we had different ideas of how to process the final result.
That’s not really a problem that we couldn’t overcome, but it’s something that should have been part of the initial discussions. We talked about ideas, shared images on Pinterest and other places to get some ideas. We discussed lighting, poses, composition and other aspects of capturing the session. Unfortunately, we didn’t talk about post processing.
There are two clients on this kind of photoshoot. She has her needs and I have mine for the portfolio. As a result, I need to process the images differently for our disparate needs.
It’s not something that we can’t correct, but it’s something that goes on the checklist for discussions with future subjects.
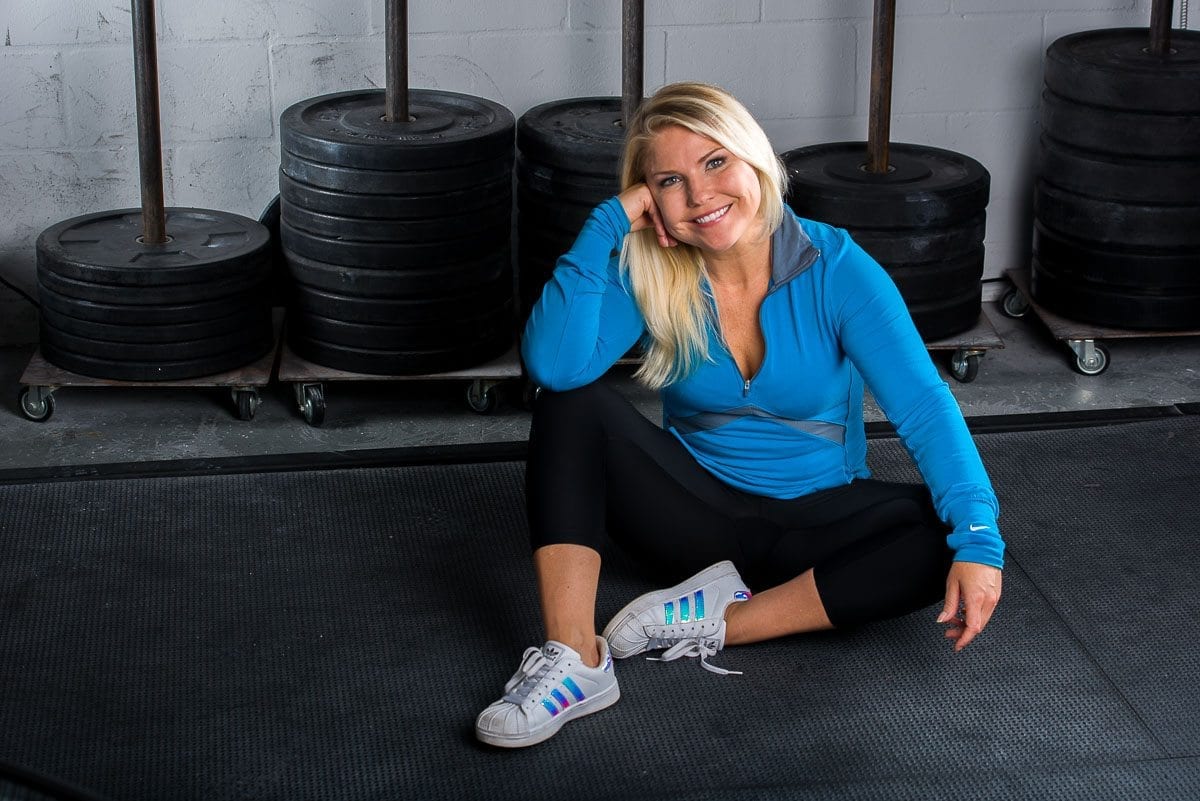
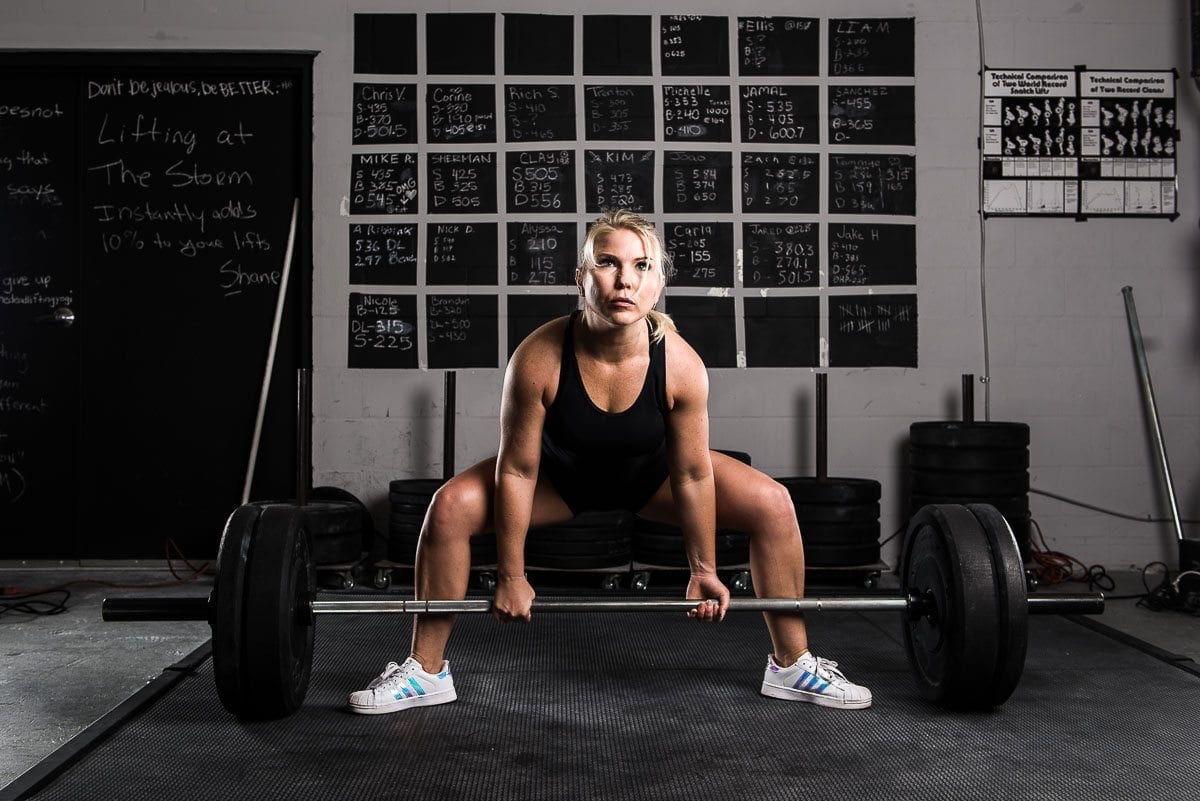
Most of the Photo Session Went Well
While I’m talking about the things that I could improve, I don’t want to lose sight of the fact that the photo session went very well. We tried some things that ultimately didn’t work, but we got the shots we expected and desired. We also got a few shots that appeared in the moment.
I’m not sure how I would grade my own work, but I have a happy model. My wife loves our selects, and I’m also happy with them.
One thing that was very important to me was to get some images to my model right away. I exported the photos at 1920 pixels on the long end and zipped them up. The reason I didn’t share full size files was to keep things small and manageable so she could review before I did any post processing.
This was the editing step to cull out the keepers.
It also gave her something she could immediately share with her friends and audience. Now that I have her answers about the photos she likes, I can work on post processing to deliver final images for her.
How Did My Photo Session Work Out?
As I said, it was a positive experience. I have some keepers and may have some that qualify for my portfolio project. I won’t know for sure until I build a larger body of work and start selecting which images can make the cut.
For now, here are some of the images from the photo session.

Subscribe to The Photo Flunky Show
Thank you for listening to The Photo Flunky Show. Make sure you get every episode by subscribing.
iTunes – https://williambeem.com/itunes
Stitcher – https://williambeem.com/stitcher
Google Play – https://williambeem.com/googleplay
Blubrry – https://williambeem.com/blubrry
Social Media Links
We love seeing your photos and keeping in touch with you on social media. Here’s where you can find us.