Affiliate Disclosure: We earn a commission if you purchase through one of our links at no additional cost to you.
If you’re wondering why anyone wants to make their HDR photos really suck, stick with me. There’s a method to my madness.
One of the photography blogs I read – A Photo Editor – has a post that contains some serious wisdom. Stated nicely, photographers should show their bad photos. We all have them. Lots of them. We just should’t show them. I’m going to break that rule for a couple of reasons:
- I’ve already shown these ugly photos.
- I hope you can learn something from my mistakes.
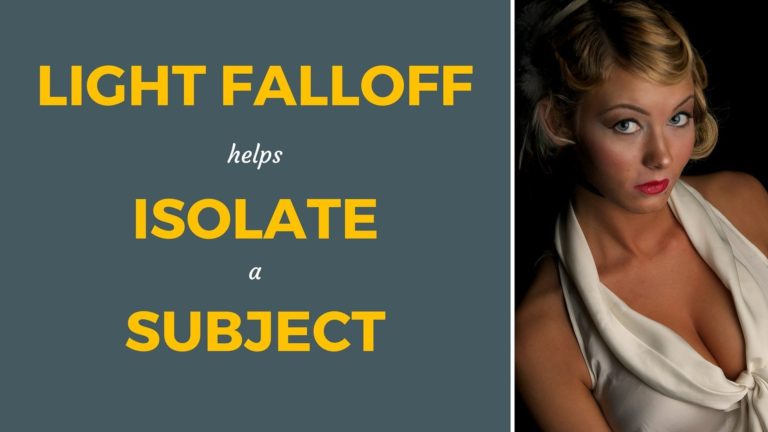
Why HDR Photos Suck
All HDR photos are remarkable. Some are remarkably good and the rest are remarkably bad. I strive for the former, but I’ve landed in the latter description more than once. As painful as it is to show these photos again, I can honestly say that I benefited from the experience. If I hadn’t tried and failed, I wouldn’t learn what to do on the next HDR photo, and the next, and the next, etc.
I took this photo at Downtown Disney when I was just beginning. Some of you may remember my other bad experience there with Disney Security, but that’s not really the topic for this post. That’s when I captured one of the world’s uglier HDR Photos. Here it is.

Your eye quickly tells you this HDR photo sucks, but let’s enumerate some of the reasons so your mind can understand just why it sucks.
- Halos – You never see such a glow around the tops of trees or buildings like you see in so many HDR photos
- Black Clouds – It may be a dark and stormy sky, but that dingy sky is just unnatural
- Electric Colors – I love green leaves on trees, but I don’t expect them to shock me like these bright colors
If we want to throw in a bonus problem, it’s all the ghosting from people moving around in the foreground. Sometimes we can fix that later in post processing, but it’s much smarter to avoid the problem when you’re taking your photos.
Dealing with HDR Problems in Photoshop
One of the easiest ways to deal with HDR problems is to use Photoshop Layers. No matter which HDR tool I use, I always end up taking the resulting image, along with the original photos that created it, and loading them in in Photoshop via Bridge – like the screenshot below.

You don’t have to load every original photo, just the ones that you think you may use to mask into the HDR photo. I tend to load them all out of habit, but may only use a couple to fix problems. Once all of the files are loaded in Photoshop as Layers, then you can start blending them together.
- Drag your HDR photo to the top layer.
- Add a layer mask.
- Look at the top (HDR) layer and decide what’s wrong with it.
- Turn off the top layer by clicking the Layer Visibility icon (looks like an eye).
- Examine the file in the next layer. Decide if parts of it would look better in the HDR image.
- If nothing in that layer works (too dark, too bright, etc), delete it.
- When you find a layer with a section that looks better than the top (HDR) layer, then turn on the top layer’s visibility.
- Change your brush color to Black and select the Layer Mask
- Paint over the area of the image that you want to replace from the layer beneath it.
- When you’ve blended everything from the next layer that you need, Merge Down
- Repeat the process until you’re satisfied.
- Delete any remaining layers that you don’t need to use in the Layer Mask
To fix the halo in the sky, I use a large, soft-edged brush to gradually blend the difference between the trees and the sky. As for those dark, dingy clouds – just replace the whole sky from one of the layers that you think works best. There’s no law that says your HDR photo has to be 100% tonemapped.
In many cases, layer masking will also eliminate the electric colors like those bright green leaves in the photo above. If that doesn’t work, then the Hue/Saturation Adjustment is your friend. Here’s what I do:
- Grab the Lasso tool and make a loose selection around the color you want to adjust.
- Add a Hue/Saturation Adjustment Layer. You’ll see that your selection is automatically part of the layer mask.
- Change the color from Master to the color that is closest to the area you want to adjust – in this case, Green.
- Start by reducing the Lightness to bring the brightness out of the color until the section you selected looks right to your taste.
- Now switch to your Brush tool and paint over other area of the color you’re adjusting.
- If you’re satisfied, stop here. If not, slightly lower the Saturation to eliminate any hot spots that remain.
- Repeat for other colors that need to come down a notch or two.
 From the image above, you can look at the layer mask to see my selection was a loose circle in the trees on the left side of the photo. After I pulled the Lightness almost all the way down, the tree leaves in the selection looked a bit more natural. After that, I grabbed my Brush and painted over the other bright green spots in the photo.
After doing some layer masking and adjusting colors, we end up with something like this photo.

What did we get for our post-processing?
- The Halo is gone
- The sky no longer works in a Ghostbusters movie
- The leaves aren’t electric enough to power a small city
- Even some of the people in front of the building aren’t as “ghosted” as in the first photo.
Did all of this turn a bad photo into a good one? No, of course not. It’s still an uninteresting photo with too much activity and no real subject to define it. HDR won’t make up for a poor composition.
Remember, I took this photo to practice HDR. Although I’ve never been happy with the result (after all, it’s just not an interesting photo), I’ve been amazed by how much it has to teach. While I can’t do anything to really save this photo, it’s helped me when working on other images to avoid the mistakes I made here.