Affiliate Disclosure: We earn a commission if you purchase through one of our links at no additional cost to you.
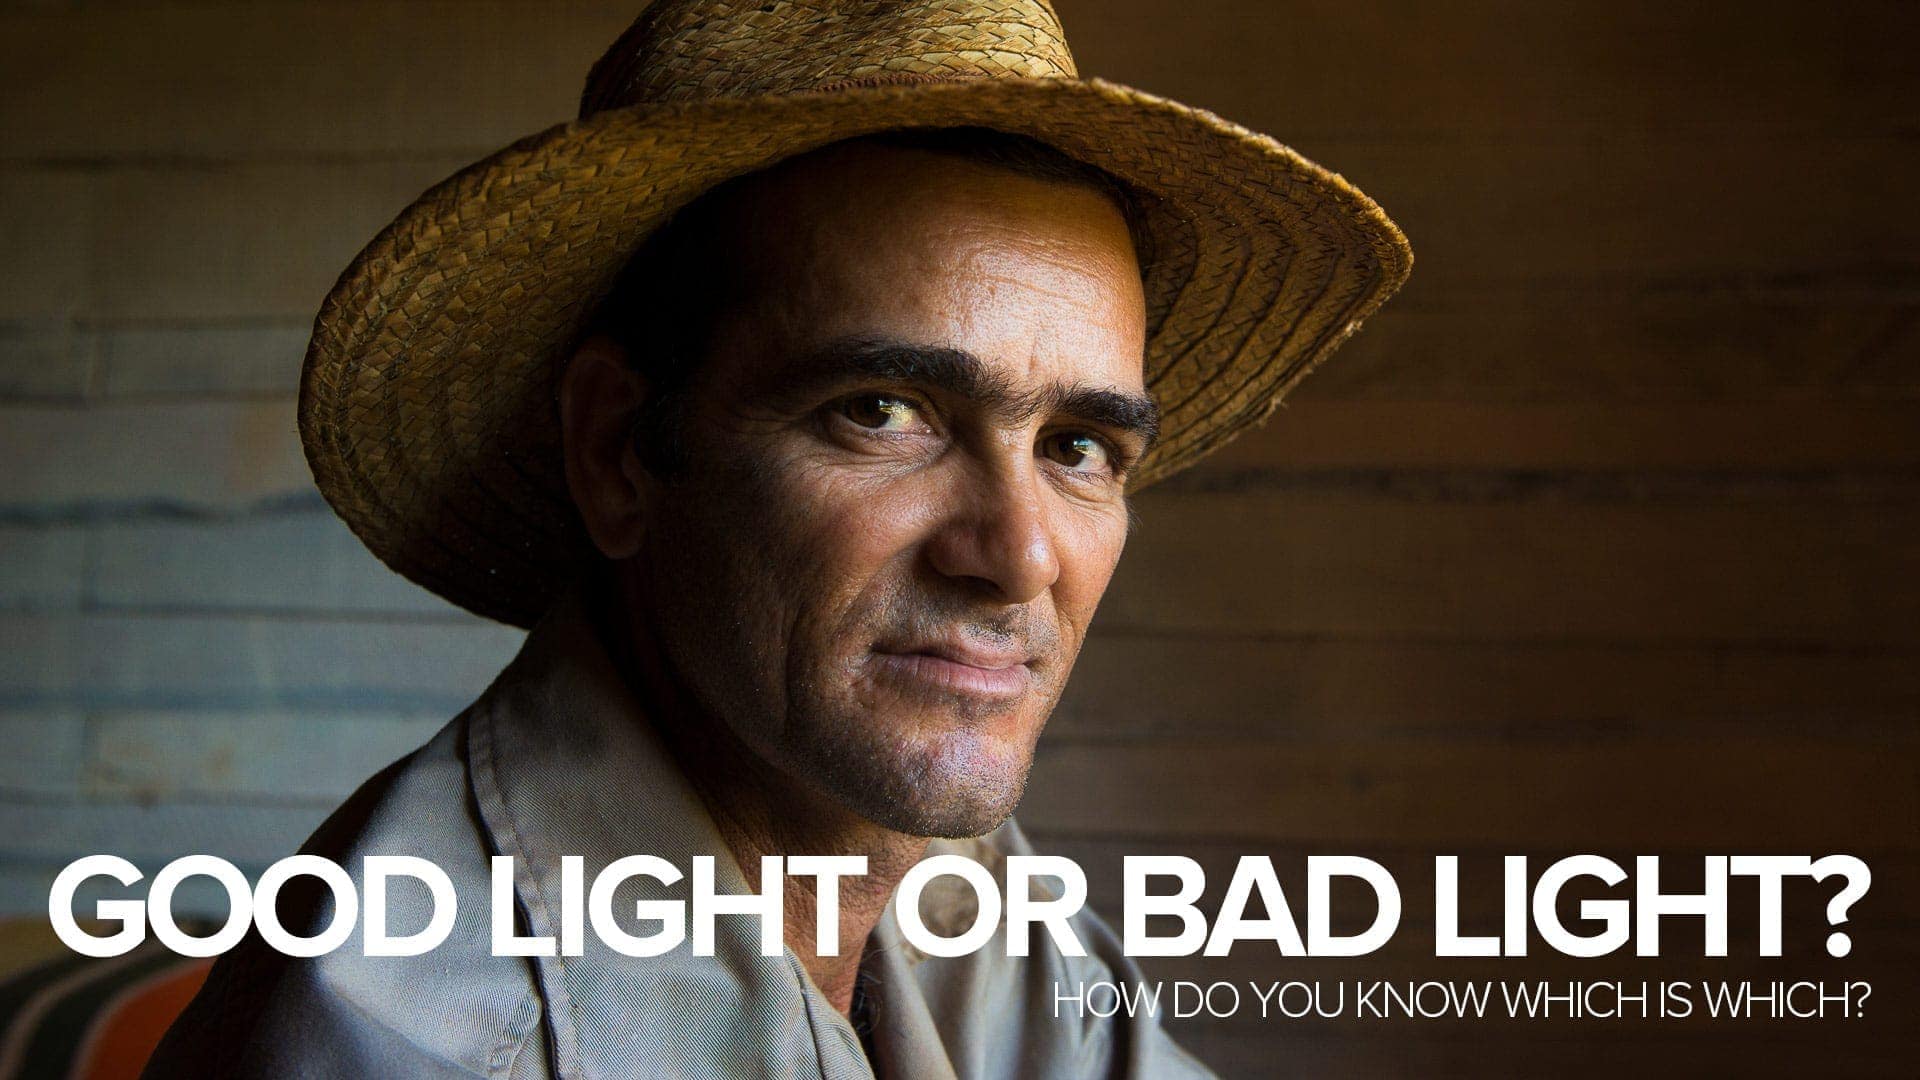
Photographers love to talk about good light or bad light, but how do you really know which is which? I tend to think light is situational. In other words, I don’t believe there’s any such thing as bad light. It’s more like an evaluation of whether the ambient light is appropriate for your subject.
For portraits, you also need to think about your portrait lighting pattern to determine how light falls on your subject.
What Does Good Light or Bad Really Mean?
Light is light. It doesn’t matter what source creates it. Instead, there are five things you need to evaluate to see if the light suits your subject.
1: Quality of Light
This is the big one. It’s the difference between hard light and soft light. Hard, or harsh, light creates very defined shadows. For many situations, that’s considered bad light. That’s because those shadows aren’t flattering for some subjects.
Yet we need to remember that shadows are your friend. They define your subject. A subject bathed in light from all over is flat and boring. Light is interesting for where it goes and where it doesn’t.
When I’m working with athletes and bodybuilders who spend years defining their muscles and refining their body, I’m going to use hard light to show off their work.
However, I’m not going to use that same hard light on an elderly person that highlights the wrinkles in their face.
There’s an appropriate kind of light for every subject – whether it’s a person, landscape or building. Hard light may be useful for showing definition of many subjects. It allows you to create some interesting shadows on the background, too.
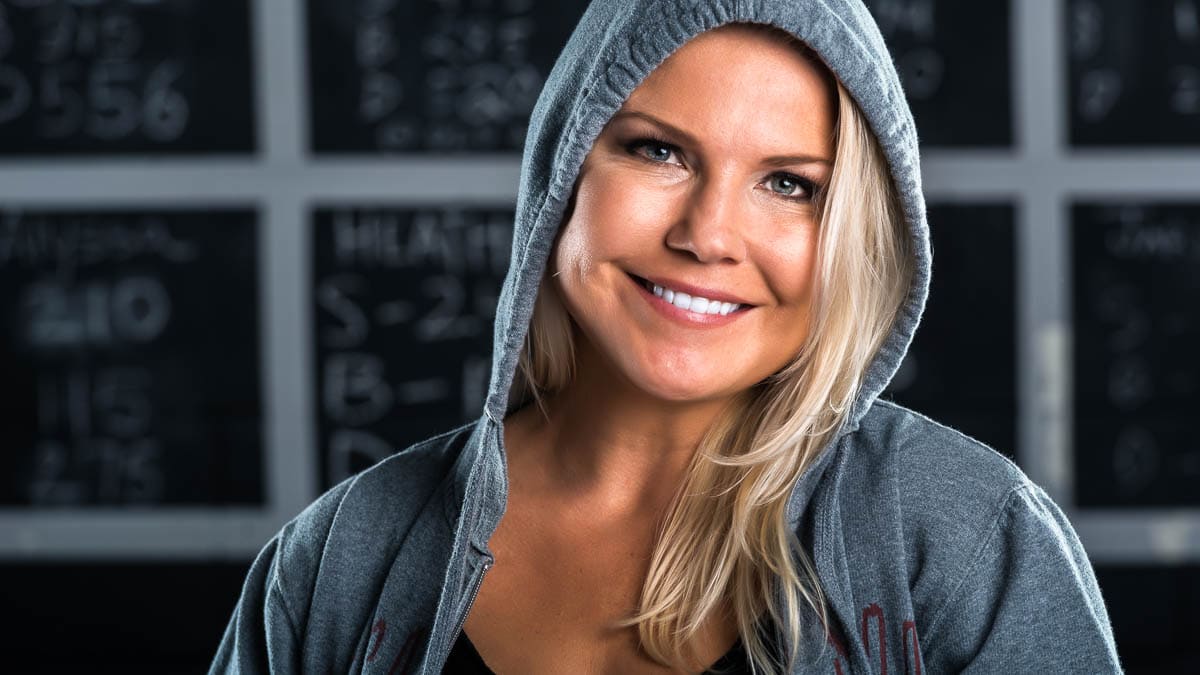
Soft light allows for a gentle transition from light to shadow. It’s more flattering for softer subjects – babies, puppies, etc.
2: Quantity of Light
If there’s something I consider to be bad light, it’s when there is insufficient light to make a decent exposure. I love some good low light photos, but there has to be enough light to create your image and show some contrast between light and dark.
When you’re evaluating the light for your subject, ask yourself if there’s enough light.
Low light can be great for some atmosphere or moody subjects. It could be death for subjects that ought to be happy and bright.
If there isn’t enough available light for your photo, don’t be afraid to add some of your own. Light is light.
3: Direction of Light
We mostly think of light coming from above. The sun spends most of the day above us. Most lights in buildings are overhead lights. We get used to the appearance of people and things lit from above.
That’s what makes photos so interesting when you change the direction of light.
Sidelight is often beautiful, as we get at sunrise or sunset. Backlight gives us silhouettes, emphasizing shape of detail. You can have fun playing with direction of light.
Put a flash on your camera, which probably makes your subject look horrible. It’s there to create a document, not draw interest. If you want to replicate a mug shot or maybe someone caught in a seedy encounter, that direct on-camera flash works great. It reminds us of on-the-spot journalist photos. No art, just document the subject at the moment.
However, take that light and put it on almost any other side of the subject and you start getting creative. Switch up the quality of light and you can play with shadows or replicate a sunset.
Not all backlit subjects are silhouettes, though. A lot of food photography has a primary key light coming from behind, with bounce cards to fill in the rest. It reminds you of food by a kitchen window.
4: Color of Light
Light picks up the color of whatever it hits. Doesn’t matter if it’s because you bounced the light off a wall with color or if the light passed through a gel.
That gives you incredible opportunities to mimic sunlight, neon signs or anything else that you remember because of the color of light.
You can change light color to correct for an imbalance between available light and flash, or you can do something incredibly creative. Sometimes lighting the background with a gelled light is enough to change a photo from drab to dramatic.
5: Duration of Light
This isn’t one you tend to think about, unless you’re using flash. How long will your light be available? For flash, it’s measured in milliseconds. For long exposure, you may still need to think about the duration of light.
Time lapse photographers who want to transition through the stages of day to night or back again need to think about the duration of their light, which also ties to the amount of light. Your exposure value expects a fixed amount of light. If you’re running out of light on a long exposure, the duration of light becomes pretty important.
It’s also important for freezing motion when you use flash. The flash’s light duration is much shorter than your shutter speed, and that often does the trick.
However, it would be best to remember that you get a shorter flash duration at lower power settings. That flash duration isn’t consistent from one power output level to the next. Knowing that could be the difference between success and failure if you need to freeze a fast moving subject.
So what happens if your flash doesn’t output enough light at the shorter flash duration you need? Simple. Add another flash or two to increase the output while maintaining the short flash duration.
No wonder photography gets expensive.
Controlling the Light Around You
I’m a fan of off-camera flash because it allows me greater control of light. Yet that doesn’t mean I can’t appreciate ambient light in a place like a smoky bar or a dusty barn at sunset. The combination of light color, direction and amount can make for some great photos.
Then there are days when you have to get a shot in harsh sunlight; that just isn’t what you need. Or maybe you want to get a great photo of your food in a dark restaurant with all the wrong colors in the light.
There are a few things you can do.
Diffusion is your friend for taming harsh sunlight. So is bounced light. Diffusion could be anything from a large scrim between the sun and your subject, or even just a white bedsheet. It’ll turn that harsh light into something you’d get from a nice soft box.
Likewise, finding a wall to reflect that harsh light can create something that looks like a soft, cloudy day. Effectively, that wall just becomes a large light source.
In other cases, you need to bring your light.
I told a story on the podcast about shooting food in a dark restaurant environment. Direct flash just didn’t work because it was harsh and the color didn’t blend with the light.
Trying to shoot through a napkin didn’t work. It made the light slightly softer, but it still didn’t match.
However, adding a slight color gel on the flash and bouncing it off a white napkin worked great. It provided the right color to blend with the restaurant lights and the bounce created a larger light source without too much power to create an amount of light that overwhelmed the subject.
How to Tell if You Have Good Light or Bad Light
Like so many things in photography, it depends. Never be afraid to test shooting in light that most think is bad light. You learn something from the test even if you don’t get the photo you want. Sometimes you learn that you can use light in ways you never considered.
Just remember to evaluate these five characteristics of light:
In many cases, all you need to do is hold up your hand before the light to see the results. Move your hand around and see how the light changes as you move.
If you master these 5 elements of light, you can be creative in any situation.