Affiliate Disclosure: We earn a commission if you purchase through one of our links at no additional cost to you.
Creating a home studio setup for portrait photography doesn’t have to be complicated or expensive. You can create some amazing portrait photography with just five basic elements.
Why a Home Studio Setup Makes Sense for Portrait Photography
When you think of a photography studio, you probably imagine a large space filled with white walls. It’s a very basic setup and you have to fill it with your imagination.
Surprisingly, that big space surrounded by white walls can be pretty dark for your photos. That’s why you need to bring lighting with you. Not just for your subject, but also to make those boring, dull white walls have some kind of energy.
If you don’t light those white walls, they don’t add much to the photo, and they aren’t exactly white.
There is nothing magical about going to a studio. You spend money to rent the place. You lug in your gear at the start of the day and you lug it out when you’re done.
Your model and makeup artist need to use part of the time to prepare and you need time to setup your gear, which means you’re paying for time when you aren’t shooting. Don’t forget that you have to leave time to break everything down and pack it up to leave.
Every moment in the studio is billable. You may get a day rate that’s saves on the hourly rate (which often has a minimum time commitment). Mostly, you’re paying to use someone else’s space.
Don’t expect that there are great amenities or choices of gear to use. There places are empty boxes, for the most part. If they have gear for you to use, it’s an additional cost to rent.
Studios need to make money to pay for their overhead. It’s a business and you have to treat everything you do there as another professional. That means shelling out your cash for space.
When you think about it, do you really need a dedicated photography studio to take nice portraits?
Maybe not.
It could be that you could convert part of your home into a temporary studio. It could be your living room or a garage.
Think of the advantages you have when you create a home studio for your portrait photography.
If you’re doing a big shoot for a business that needs catering and a large team of people to make the photoshoot work, a studio is a great idea. It’s also something to consider if you don’t want your subjects coming to your home.
Of course, not everyone who loves portrait photography has those constraints. Many of us do it because we enjoy it. We like the collaboration with our subjects, and sometimes it makes sense to invite other photographers over. You can take turns assisting each other and shooting.
If you’re still with me, here’s how I create my home studio setup for portrait photography.
Some of the links below are affiliate links. There’s no extra cost to you, but I may receive a small commission if you make a purchase using those links. It helps us keep the lights on here.
My Home Studio Setup for Portrait Photography
I don’t have a dedicated space for a studio, so I have to improvise when I want to do some portrait photography. Fortunately, I have what I need.
1: Find Your Home Studio Space
It may seem obvious, but let’s go over it anyway. You need room to shoot. How much room depends upon your style and the shots you want.
While it’s nice to have a dedicated home studio space, I don’t. My home studio is in our living room, which means that I need to set up for every portrait session and tear down whe
One of the things you’ve likely heard is that you want a long focal length for portrait photography. Ideally, you do. Shooting with a wide angle lens can create distortion. Well, so can longer focal lengths. The trick is to know what causes the distortions.
If you’re shooting with a lens that is wider than you prefer, try to keep your subject on an even plane. If they move part of their body toward you, then that part of their body gets exaggerated with distortion.
Sometimes that can work for you, particularly if it’s for comedic effect.
For the most part, don’t get hung up on focal length if you don’t have the room. It isn’t impossible to take a nice portrait with something other than a 200mm lens. I can get a full length portrait with a 70mm focal length in my living room.
If I rack out to 200mm, I’ll get something like this headshot of my wife, Lee.
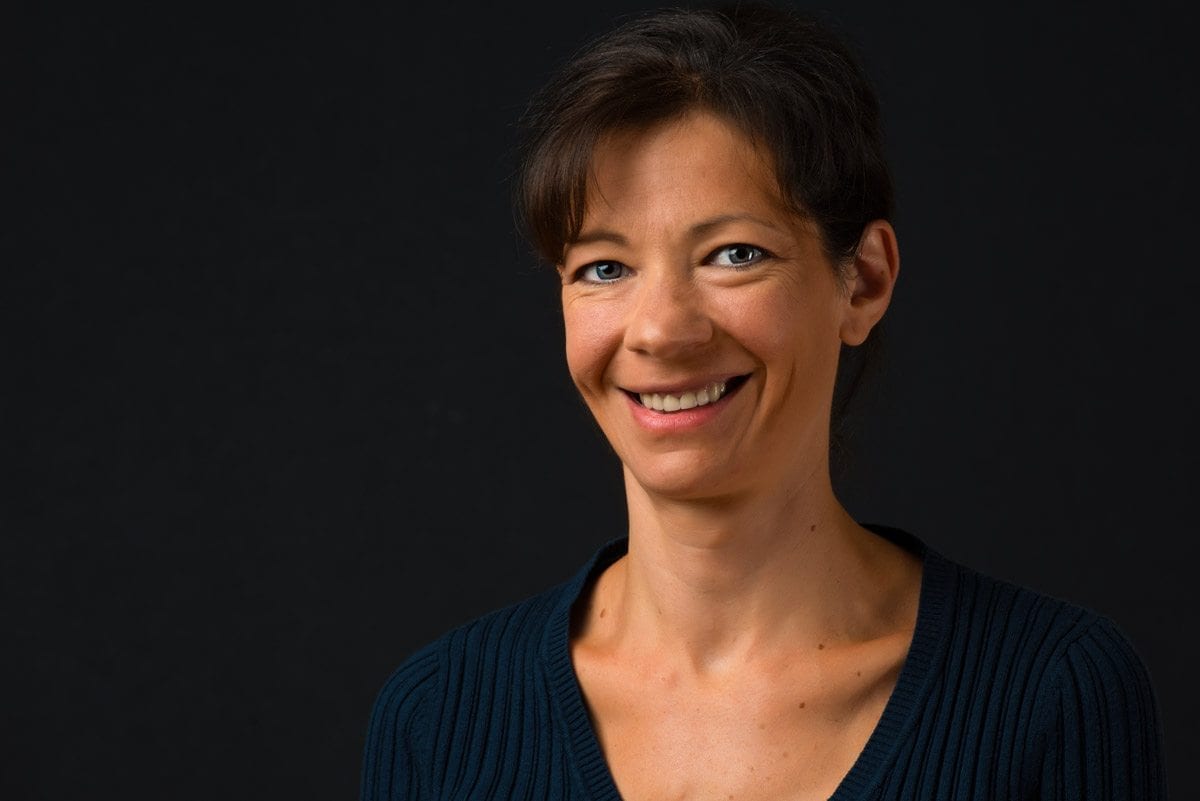
I’m shooting from one end of the living room to the other, but I can go from full length to headshot with my Nikon 70-200mm lens in that space. My house is only 2000 square feet, so it’s nothing huge. Plenty of people have a home studio setup in their garage. You can back up as far as your driveway will allow.
In my living room, I have 28 feet to use between walls.
2: Choose Your Background
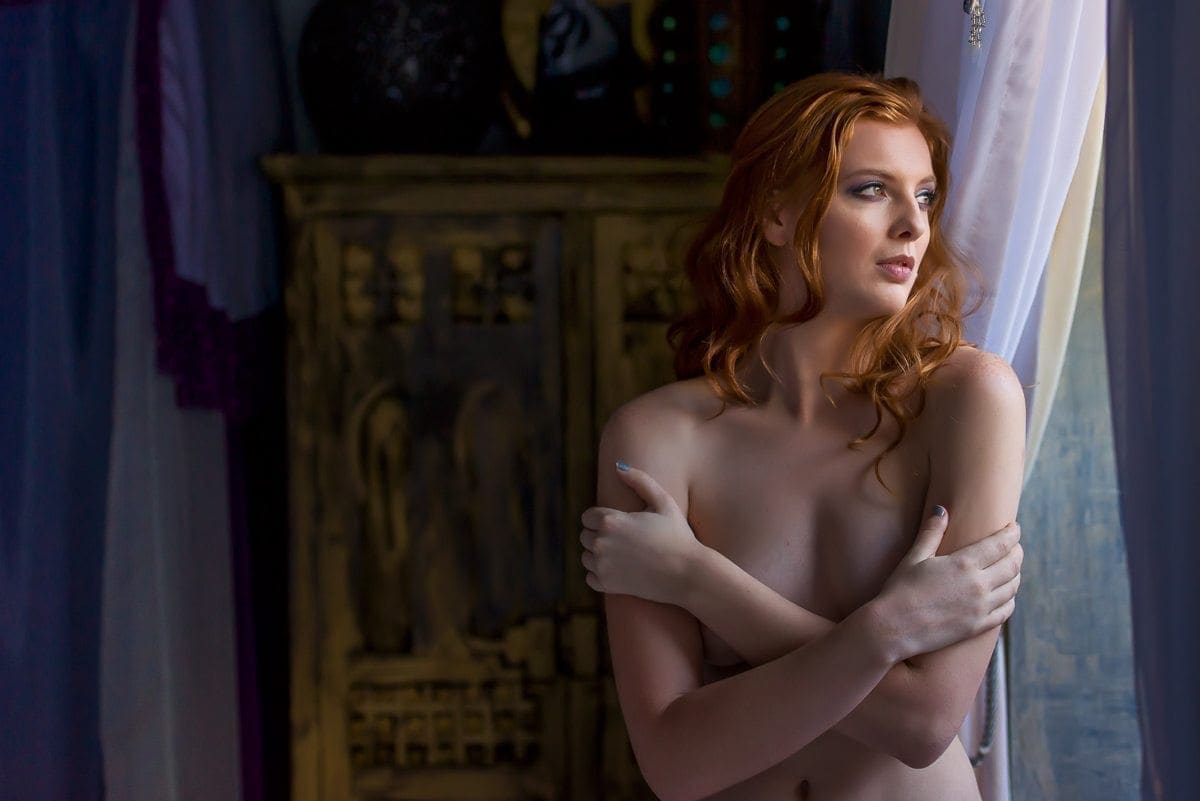
When shooting from a home studio, you ought to have plenty of options for your background. No rule says you have to shoot on a white wall or a backdrop. Some of my favorite shots were taken in a house.
Just a bit of window light in the master bedroom can work very well. Imagine if you had to decorate a rental studio for your shoot?
You can also go with a roll of seamless paper, like this one I use for my home studio setup.
This roll is a 107″ roll of Savage White Seamless paper.
My support for the seamless paper is pretty simple.

The Manfrotto 1005BAC light stand is a must-have for any photographer or videographer. Its lightweight, compact design makes it perfect for on-the-go shoots, while its Quick Stack System allows you to connect multiple stands for easy storage. With a pack of three, you'll always have a spare stand on hand when you need it.

The Manfrotto 272B is a high-quality, three-section telescopic pole that extends from 3.7 to 9.8 feet (112 to 298cm). It's perfect for anyone needing a reliable background support system, and its black aluminum construction is both durable and professional-looking.
Lighting Doesn’t Have to be Expensive
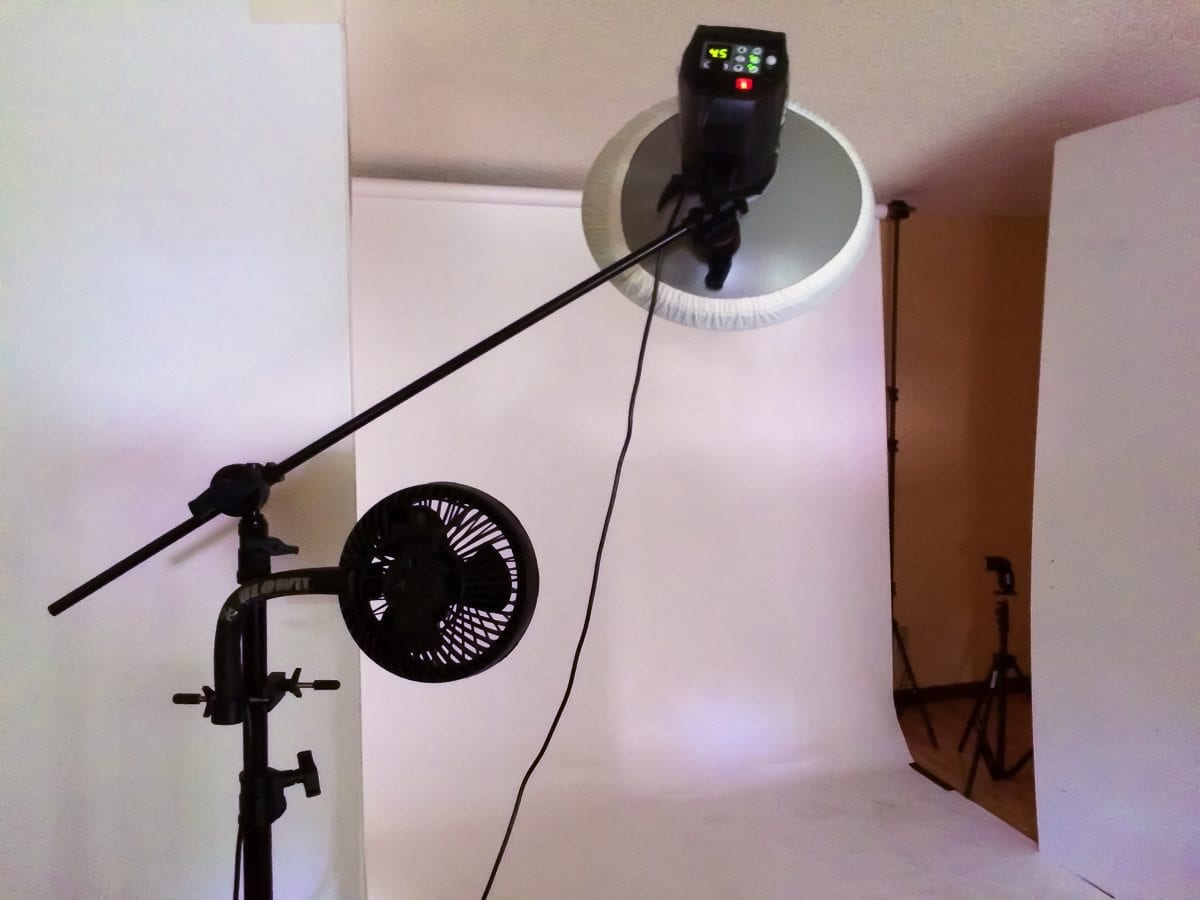
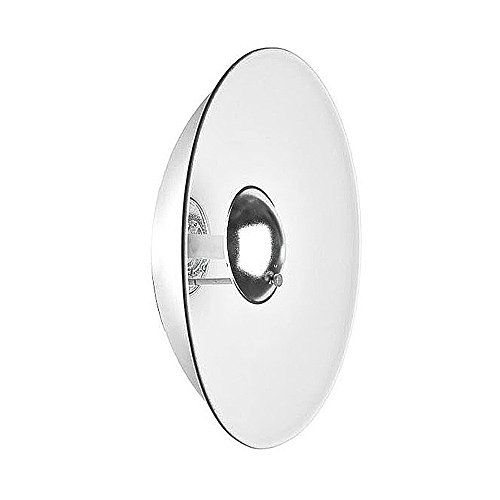
I’m using my Elinchrom studio lights in the shot above with an Elinchrom Beauty Dish. I don’t think you need to spend that much money, though.
Note: My Elinchrom studio lights are no longer made. I’ve switched to Godox flashes and strobes. Check out my Resources Page to see which ones I recommend.
You can work with a small flash. It’s not like the light has to travel very far. After all, you want your light source as close as possible to your subject for soft light, in many cases.
The Elinchrom lights have a fast recycling time, but you don’t have to be in a rush. If your small flash takes an extra second to recycle, it’s not a big deal.
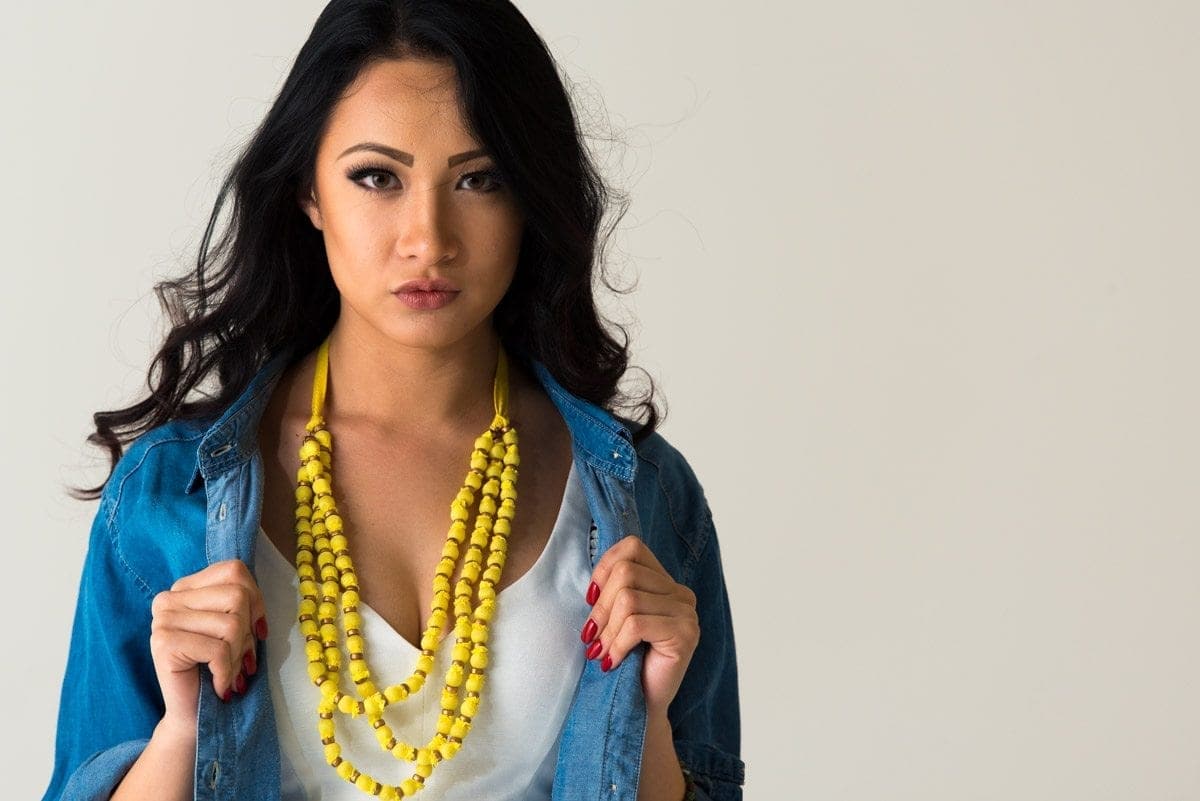
You can see my small flash in the background aimed at the white seamless. I use one on each side to get an even spread of light.
Those white boards on either side are V-Flats that I made from foam-core boards that I got for free from a local printer. Your mileage may vary, but don’t turn your nose up if it’s white on one side and has a mistaken print job on the other.
These days, I recommend the V-Flat World Foldable v-flats. They’re much better and fold easily to transport.

V-Flat World's Foldable V-Flat is a must-have for any photographer or videographer. This versatile modifier can reflect, block, or flag light, making it a versatile tool for any lighting situation. The black and white sides offer different options for creative control, while the foldable design makes it easy to transport and set up. With a weight of only 7lbs., the Foldable V-Flat is easy to carry and use, giving you total control of your lighting.
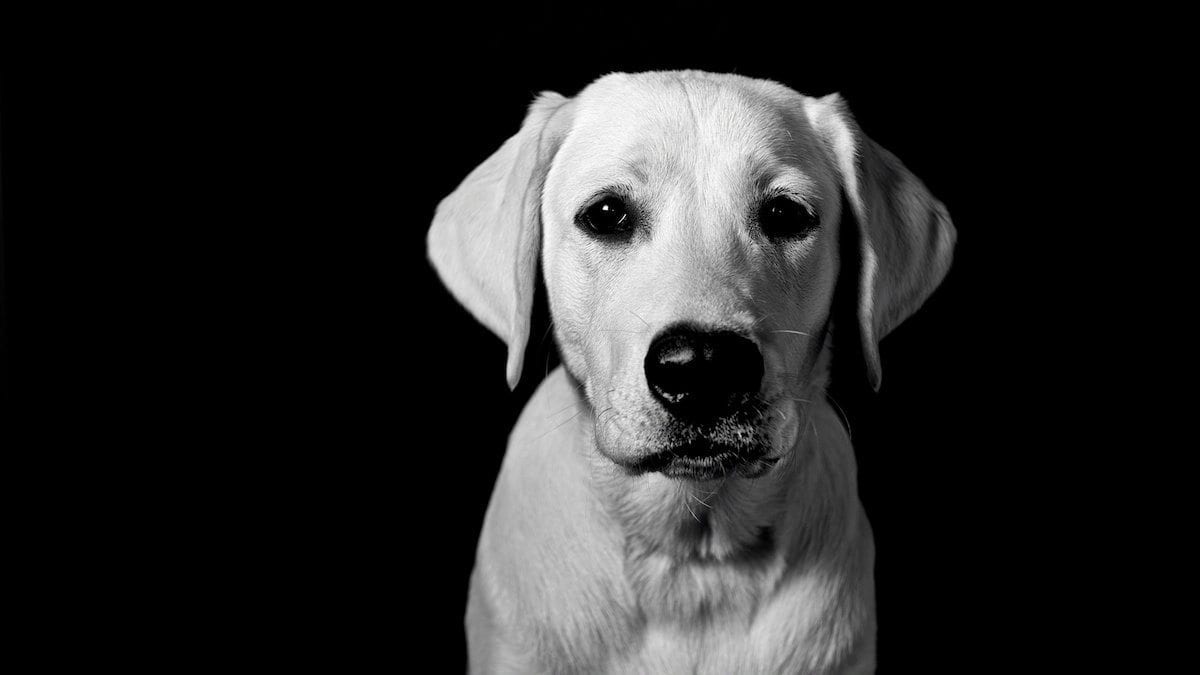
For the portraits with a dark background, I just use a black V-flat behind my subject.
If you have small flash, try firing them into those white V-Flats. You get a very large, very soft light washing over your subject. It can mimic daylight or a seven-foot octa box for a fraction of the cost.
Remember, your home studio setup doesn’t need ultra-powerful lights indoors. Most of the time, studio photographers try to reduce the amount of light from their strobes. Those small flashes are great and have plenty of power.
Look for good window light if you don’t have flash or studio lights.
Find Someone to Model
This is another obvious one, but essential. If you want to do some portrait photography, you need a subject. There are plenty of interesting people in every town. As I showed above, I’ve even dragged my wife in front of my camera.
You can hire a model, but there are other resources. There are great subjects all around. It could be anyone who has an interesting look. Practice on your family and friends. Get your dog to pose for you. I’ve done that, too.
There are plenty of opportunities around you, but you have to ask. Check resources on Facebook and Model Mayhem for models in your area, or for touring models who are coming to your town. Ask your neighbors. Talk to other photographers and ask for an introduction to models they know.
Keep examples of your portraits with you in case an opportunity comes up. If you can show your work, it may be something that helps someone decide that you’re legitimate and not some creep asking them over to your house.
Almost Any Camera Will Do
If you have great light, pretty much any modern camera will give you great results. Anything from an iPhone to DSLR or mirrorless camera is fair game. I don’t care if you have a crop sensor camera or some entry level DSLR.
Working in a studio environment, including your home studio, gives you control over the light. Even if you’re using window light, you know when it’s at the right intensity and direction. That control of light means you can set your exposure and then concentrate on your model, your composition and the details of your portrait.
Shoot Tethered for Better Results
Shooting tethered to your laptop allows you to see details that you may miss on the camera’s LCD, which means you can make decisions in the moment if you see any problems.
One portrait session, we discovered a few images where the model liked the pose, but her face wasn’t positioned to catch the light. A step or two backward fixed the light and she got the pose she wanted. Another issue on a headshot was some of the hair on her wig that was hanging onto her glove during one pose.
I didn’t even notice it while I was shooting, nor did she, but it stuck out on the tethered display. We went right back to shoot the pose again.
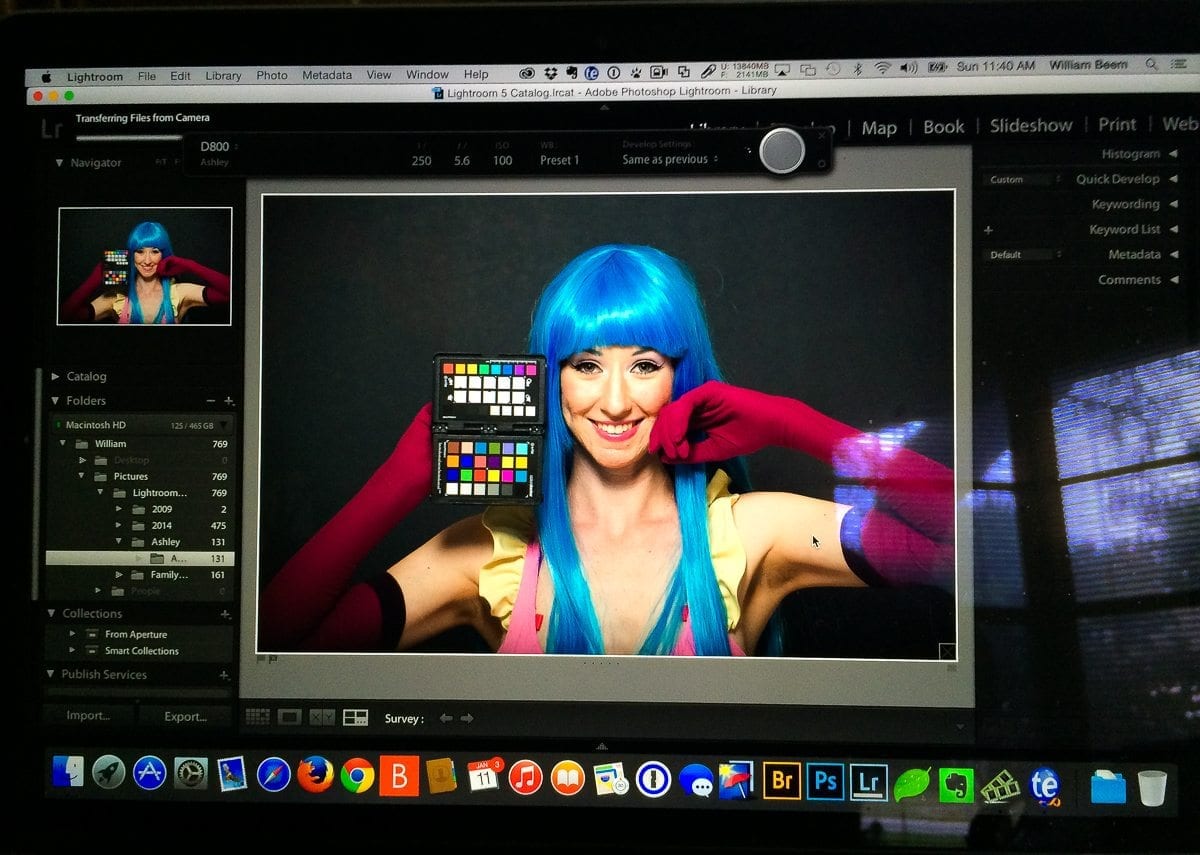
Another advantage to shooting tethered is the easy access to color calibration using the Calibrite ColorChecker Passport.

The Calibrite ColorChecker Passport Photo 2 is the perfect tool for avoiding frustration with poor colors in your photos.
The Portable Protective Case accommodates multiple positions for easy use with four specialized targets. You can create custom camera profiles based on your individual camera/lens/lighting combinations for DNG and ICC workflows. You can also create a custom in-camera white balance for a consistent white point across a set of images without needing to correct each image later.
The enhancement patches allow you to check and evaluate shadow details and highlight clipping, and the lanyard ensures that your Passport is always where you need it.
Having color calibration makes a dramatic difference in the result. We were both satisfied looking at the original images coming into Lightroom. After creating the profile for this shoot, I saw a noticeable change to the blue wig and her gloves.
It really made the colors pop as they should. In some cases, you really want to make sure the color you capture is the same as the original. Even if you plan to change the colors later, you get a consistent baseline to use for your post-processing.
Another nice benefit for portraits are the white balance boxes. In the iPhone shot of my screen above, those boxes just look white. Not quite, though.
They provide two rows for subtle white balance changes from cool to warm. The top row is for portraits and the bottom row is for landscape images. You just sample those boxes with the White Balance eyedropper and choose the one that gives you the skin tone you like. It’s simple and effective.
Here’s what I use to tether my camera to my laptop.

If you're a commercial photographer or school/sports photographer, the Tether Tools Aero Master Pro Tethering Kit is an essential piece of equipment. It includes a Tether Table Aero Master with LAJO-4 ProBracket and storage case, 22 x 16" Aero ProPad, Aero cup holder, Aero SecureStrap, Aero XDC, three Aero clip-on hooks, JerkStopper Aero clip-on support, and StrapMoore. This complete kit gives you everything you need to start tethering, so you can shoot tethered without worry.

You need the Tether Tools TetherPro USB 3.0 to Micro-B Right Angle Cable. This high-performance 15' cable connects your camera to your computer and gives you room to move while taking photos. The bright orange color stands out so you don't trip over it.

The Rock Solid Tripod Cross Bar is the perfect way to keep your camera tethered to your tripod while adding a ball head for extra stability and shooting flexibility. The knurled plates make it quick and easy to mount, while the included carrying case ensures that you can take it wherever you go.
The kit is a good starting place, since it provides a crossbar and table to support your laptop. It still needs a tripod to support everything.
My tripod is a Really Right Stuff TVC-33 with a BH-40 ballhead.
I mount the tether table and the ballhead on the 4 Head Rock Solid Tripod Cross Bar to make it easy to support the computer and camera.
Start Small and Grow Your Home Studio
If you’re not sure about getting into portrait photography, a home studio setup is a reasonably inexpensive way to try it out. If you decide it isn’t for you, then you aren’t out of a large amount of money. You can probably use the light stands and super clamps for something else.
Should you decide this works well for you, then it’s easy to expand. You can get different colors of seamless paper, add props, get some reflectors or add more lights.
If you have a home studio setup already, leave a comment below with a link to show us what you use. You may have some different ideas than I do, and you never know who you may help.