Affiliate Disclosure: We earn a commission if you purchase through one of our links at no additional cost to you.
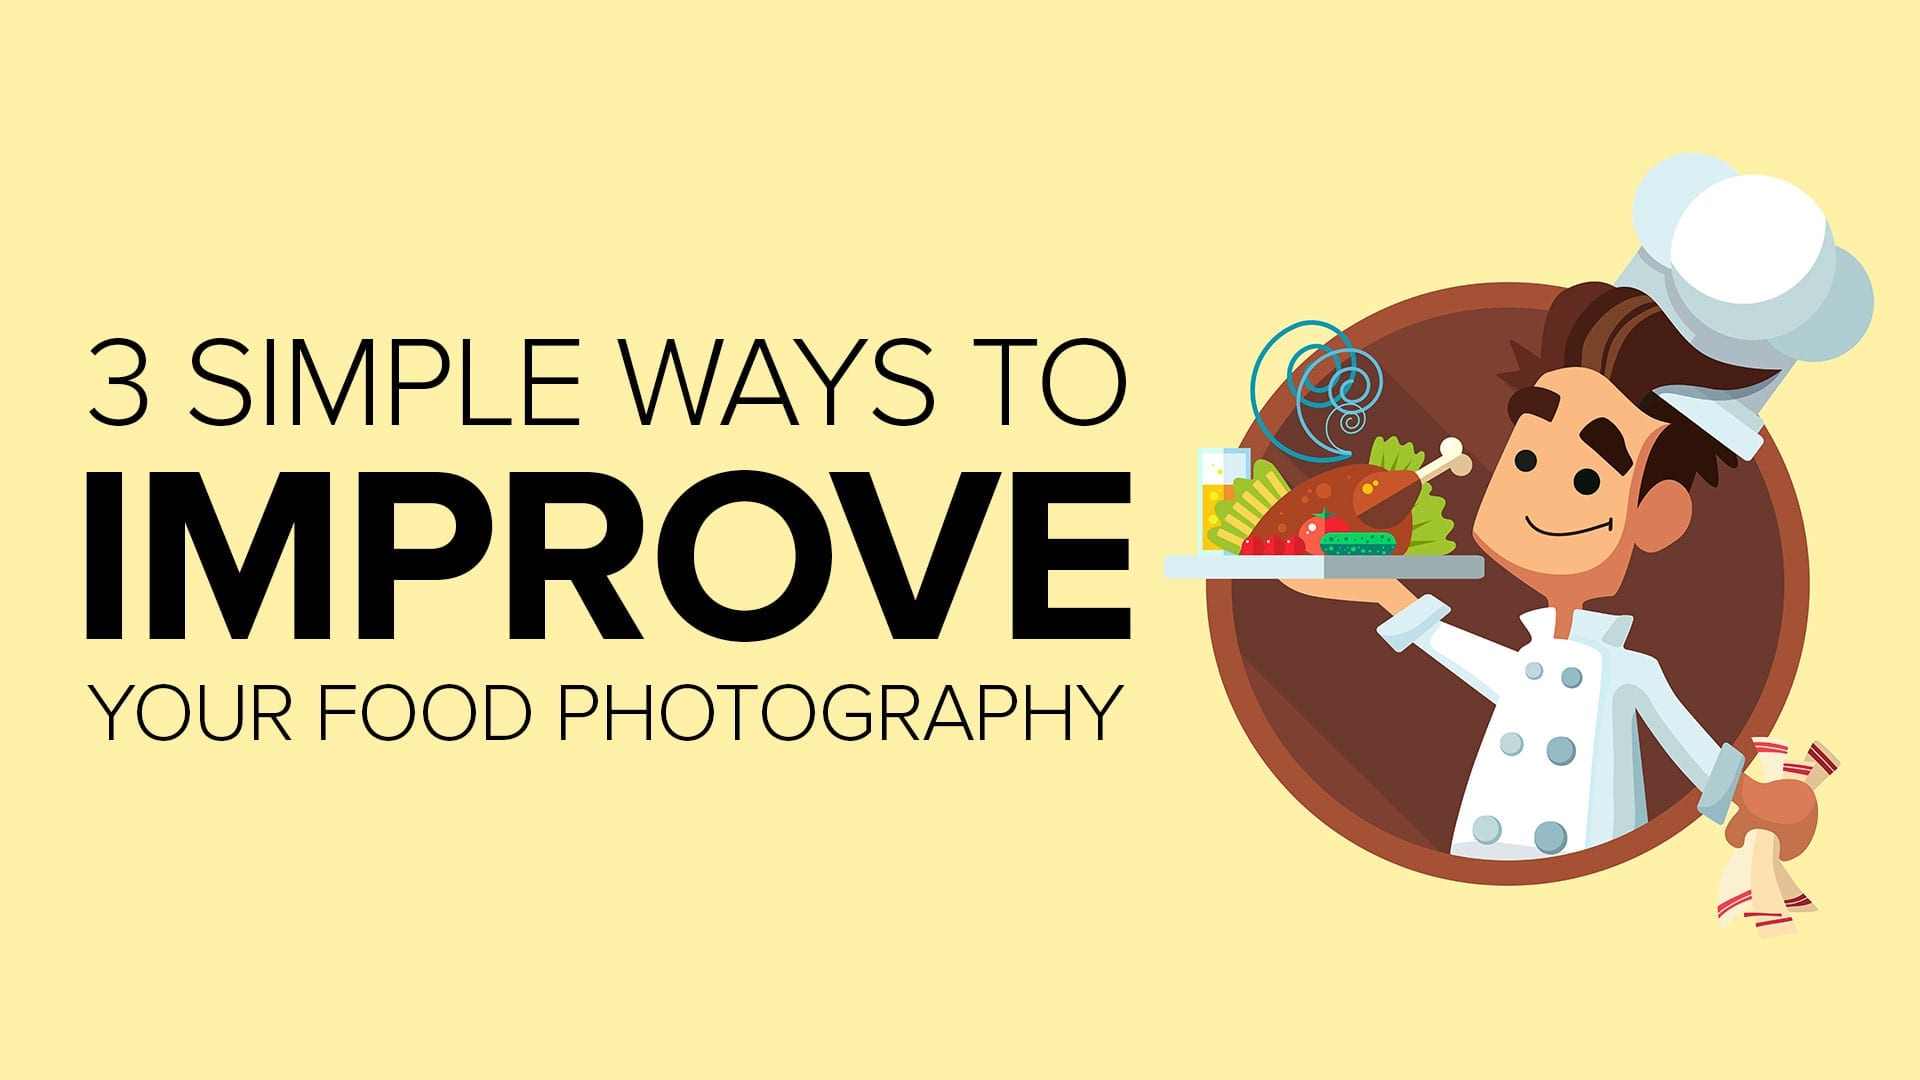
I can give you a good reason to improve your food photography.
Everyone has a relationship with food, so it’s an interesting story for most people. We all eat at least once a day, and hopefully more. Food photography is a great subject to build your audience – whether you’re looking for a nutritional message, culinary tips, or just Instagram-worthy photos.
We’ll help you understand how to create interesting backgrounds, lighting, and styling for your food photos for studio or Instagram your favorite restaurant menu items.
Why Food Photography is So Enjoyable
Food is universal. I may not like the same food you like, but we both want something to eat. It’s a subject everyone understands, making it easy to get an emotional impact from your food photography.
It doesn’t matter if some people don’t like your food. That’s OK, you don’t get to have everyone in your audience. With food photography, I can guarantee that you can find an audience for your particular food preference. Any genre, any meal, or prepared in any style – someone out there is going to enjoy a nice photo of the food you want to share.
I’ll be the first to admit that I don’t want to see grits at breakfast, coleslaw at lunch, or salad at dinner. That’s OK. I’m happy with French Toast, Grilled Fish, or some nice Barbecue photos to make me want to enjoy the meal you show in your photos.
After all, isn’t that why we take photos? It’s not just to document what you had for lunch. It’s to show something interesting that gets a rise out of your audience. Maybe it’s just to say something about you and your own culinary adventures. Maybe you have a nutrition message to share and photos help you tell that story.
Whether you want to create Instagram-able photos to entice your friends or you’re creating studio food photos for an advertisement, it’s not hard to build an audience.
What Story Are You Telling With Your Food Photos?
In this episode, we broke down our storytelling into two sections:
On-Location Food Photography
Think of the On-Location food photography as the story of someone else’s food. We’ve done this to share on Instagram and also to capture food at events, like Epcot’s Food and Wine Festival or the event celebrating culinary professionals – like Taste of the Nation.
You may get invited to food-related events if you’re known for your photography. For example, I had a few opportunities to shoot for local restaurants, national chains, and some of the food events I mentioned above.
People who have a product want great photos to share their message, tell their story, and entice potential customers.
Home Studio Food Photography
When photographing food at our home studio, we’re usually trying to support a story or article about nutrition. Lee is a coach and needs to help her clients understand a healthy diet & lifestyle.
To do that, she shares a menu with them and provides some examples with recipes or meal plans to help people understand how to live within the diet plan.
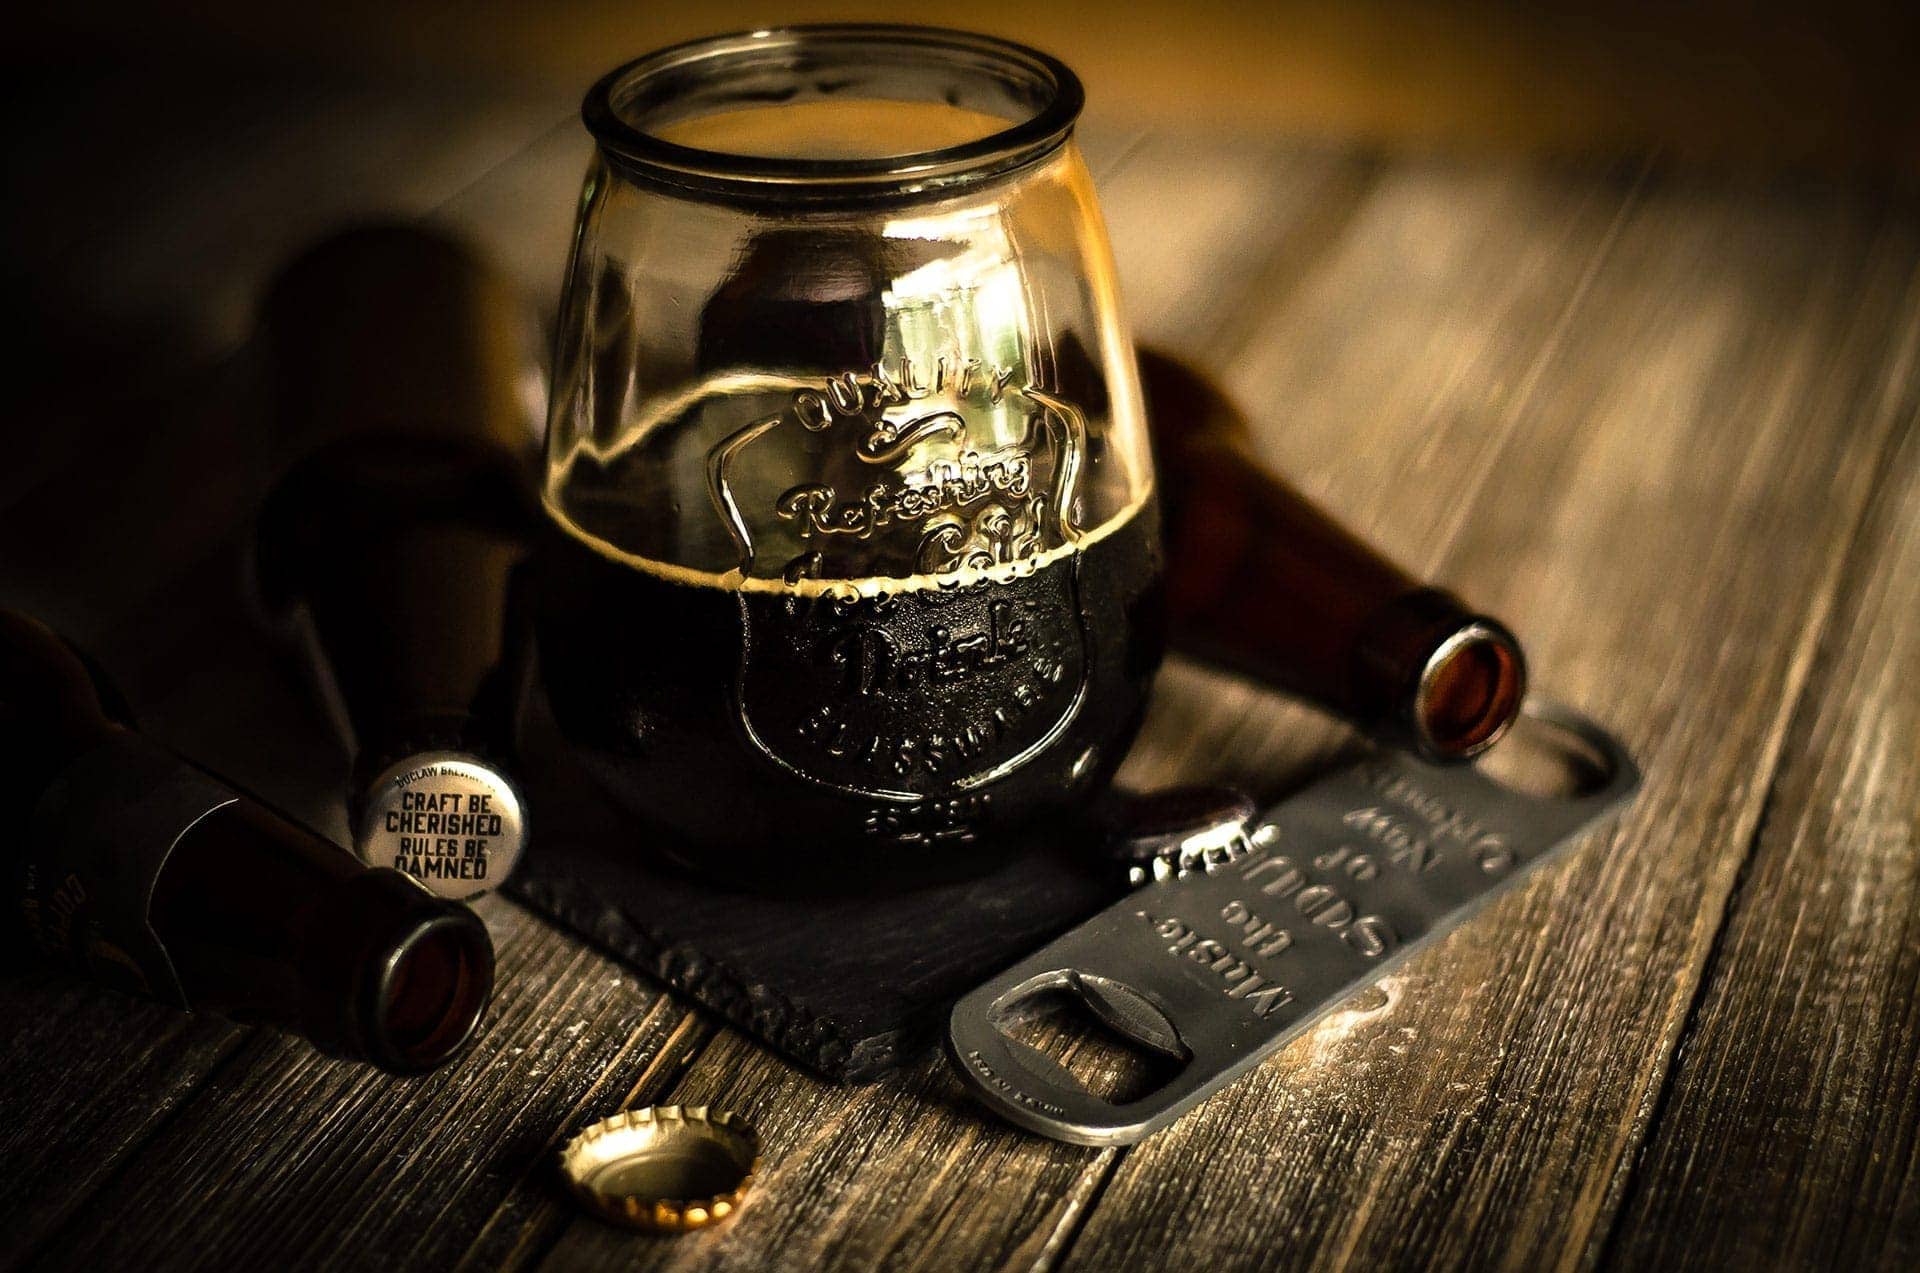
Of course, you aren’t limited to diet plans. Maybe you like a good dessert or some of your favorite adult beverage photos. It’s all fair game and there’s an audience appeal to all of it.
Maybe just not the same audience.
How to Create the Perfect Background for Your Food Photography
Here’s the first tip to improve your food photography.
Presentation is key with food and “the dining experience.” I put that phrase in quotes because one of my first corporate jobs was at General Mills Restaurant Group (now Darden Restaurants). My friends and I were perplexed and amused by the executives who were always talking about “the dining experience.”
Remember that this was when the corporation had Red Lobster, bought York Steakhouse, and just started up Olive Garden. These were not places where we thought of having a “dining experience.”
Yet they were on to something. One of the first things you learn at Le Cordon Bleu (yes, I also worked there) is the phrase “Mise en place”, or Everything in its Place.
That’s a key concept in the kitchen and on the dining floor. Nobody wants to see a messy plate served to them, no matter the restaurant. OK, maybe at a barbecue place where everything gets slapped on a tray covered in wax paper.
Otherwise, we think that the quality of the presentation enhances the dining experience.
That concept should be a part of your food photography. Everything ought to be in its place. Just enough to set the scene without cluttering the photo or obscuring your star subject.
Please know that some of the links below are affiliate links. These are items that I use and recommend. There’s no extra cost to you, but I may receive a small commission if you buy something based upon my recommendation. Those commissions help us keep the blog running so we can keep sharing more info.
On-Location Background Settings
Taking photos of food in a restaurant is challenging. The lighting may be insufficient, the backgrounds could have distractions, and servers tend to move things on your table without first asking if it’s OK.
We have some tips that may help you out.
1: Keep the Menus
Menus can serve two purposes for you. They can act as a neutral background or part of your scene to set the context. Also, you can use them to block harsh light from those despicable overhead lights that create a lot of glare on the table or your subject.
2: Use the Table Setting
Sometimes you need to arrange a table lamp or candle to add warmth. Bring a beverage into the background. Place your napkin or silverware around the food to help sell the story.
3: Get Up and Move
Maybe your table doesn’t have the best background for your subject. So look around the restaurant and find a better location. It could be due to the lighting or having a better background. Some restaurants actually include areas that are great for photos because they want to have you feature their food on Instagram.
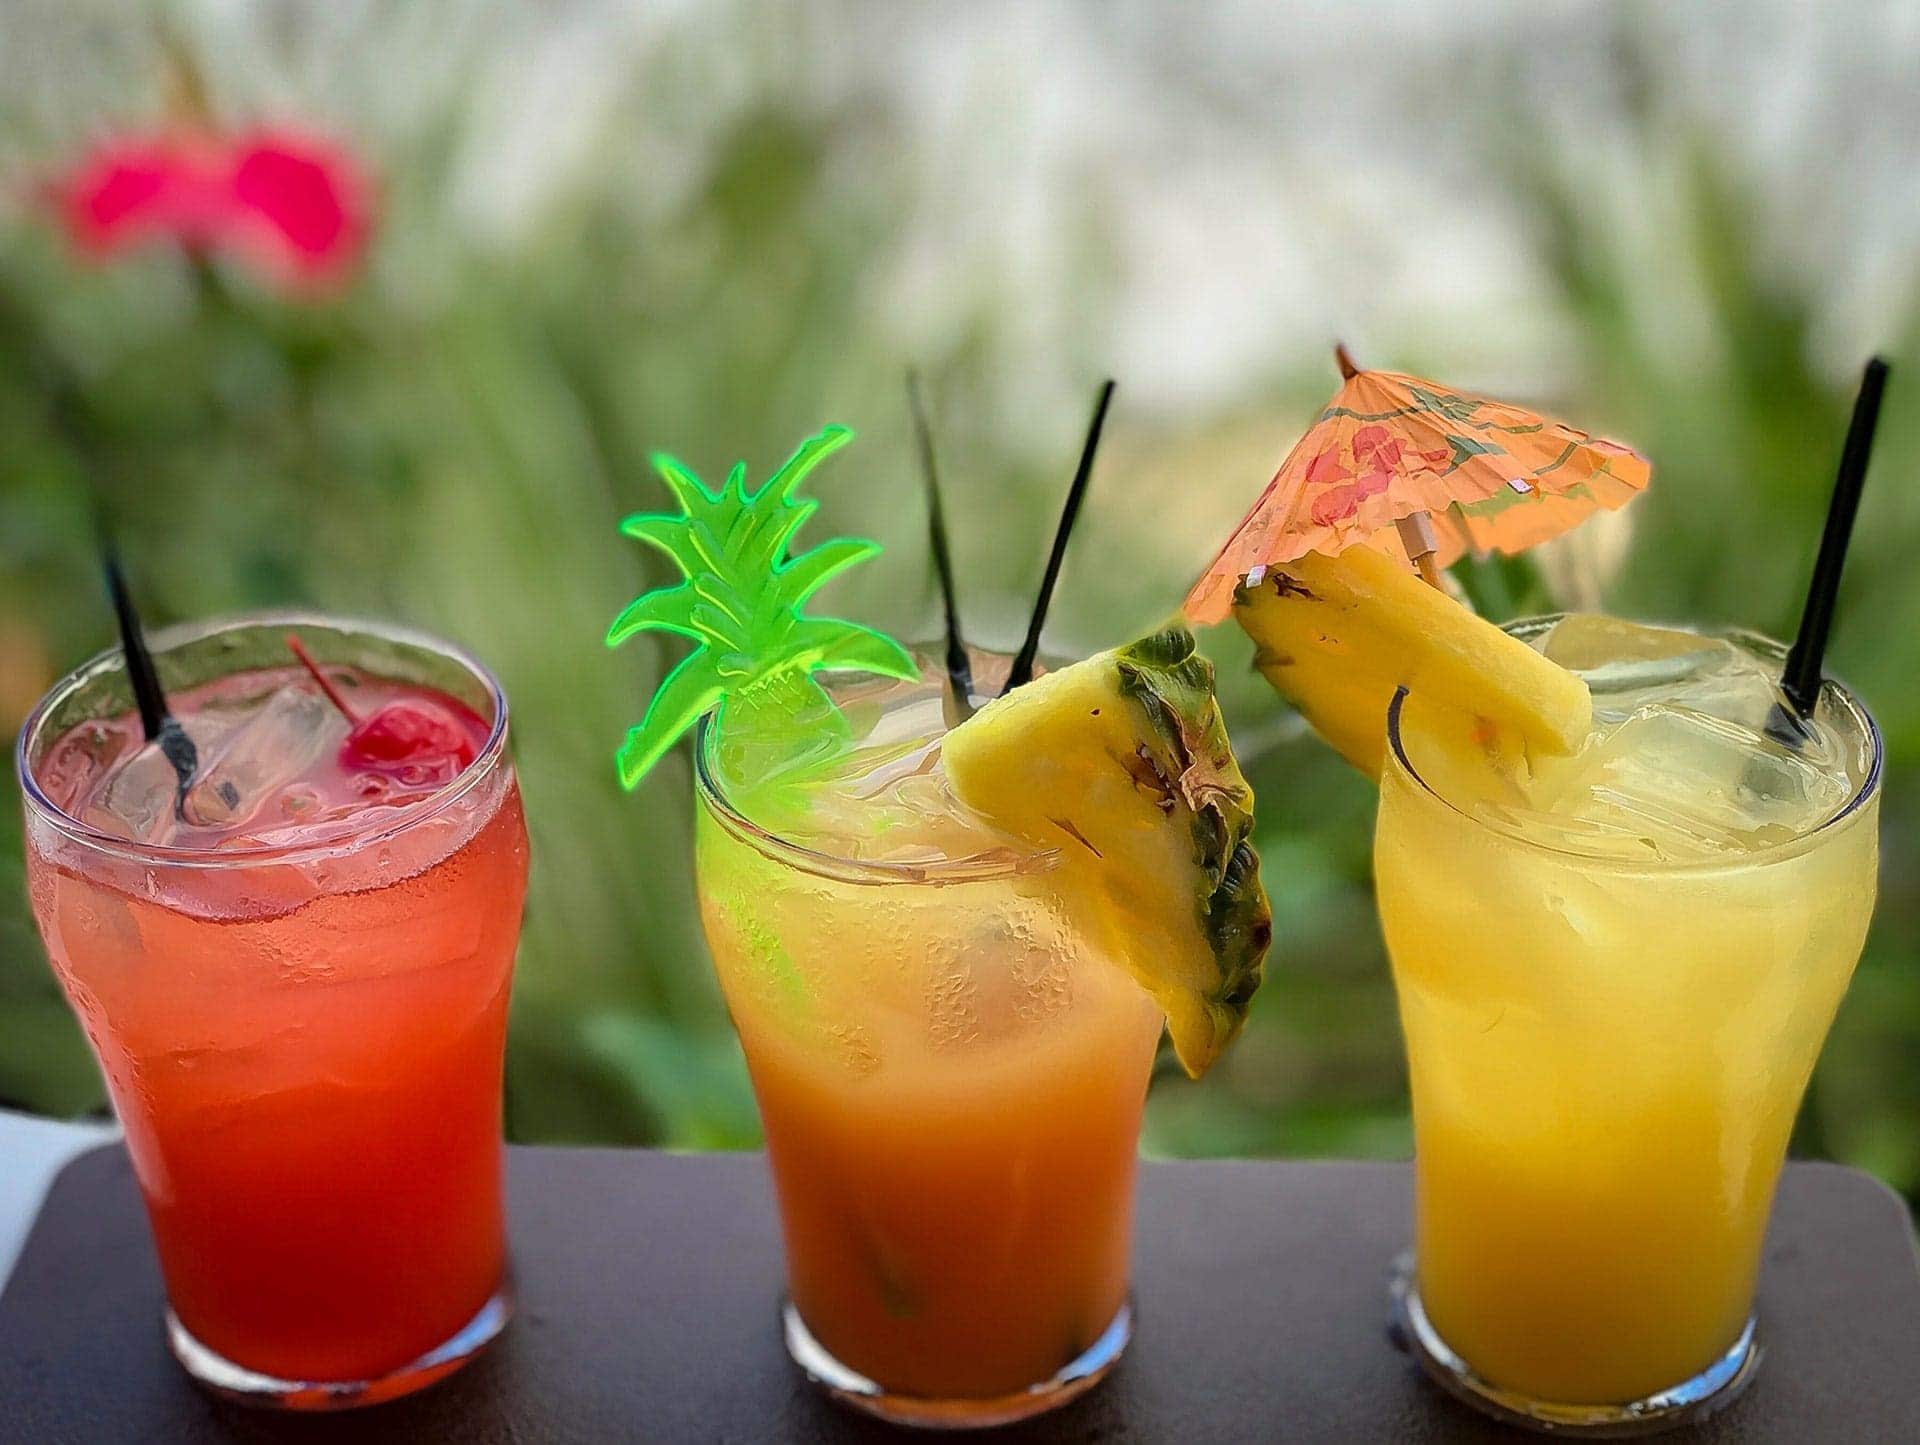
The photo below is an example. Our patio table wasn’t working as a decent background or setting for this flight of cocktails. Lee spotted a planter nearby. She got up, placed the flight, got her shot, and then returned to our table. We didn’t interfere with anyone. She just got in and got out.
4: Clear Distractions From Your Background
Nobody wants to see a distraction in a photo. That means you clean up the debris on your table or even ask some of your guests to move an arm or get out of the background of your photo. It’s only a moment to get the photo, and then you can all relax while enjoying the food. It’s worth it to get a nice souvenir of your food.
Home Studio Food Photography
This is where you get to have a lot of creative freedom. Nothing goes in the photo if you don’t put it there. That means you get to create any atmosphere your want in the background.
It could be a home kitchen with all the warmth of a freshly baked pie or an upscale bar with exotic cocktails. It’s up to your imagination and ability to get the pieces you need for your background.
1: Find the Right Angle of View
This is also important in restaurants, but you can’t always stand on the chair to get a bird’s eye view of your food. Lee does it, but not everyone will go that route. Take some time to decide if your subject looks best top-down or at an angle.
2: Find the Right Background for Your Angle of View and Subject
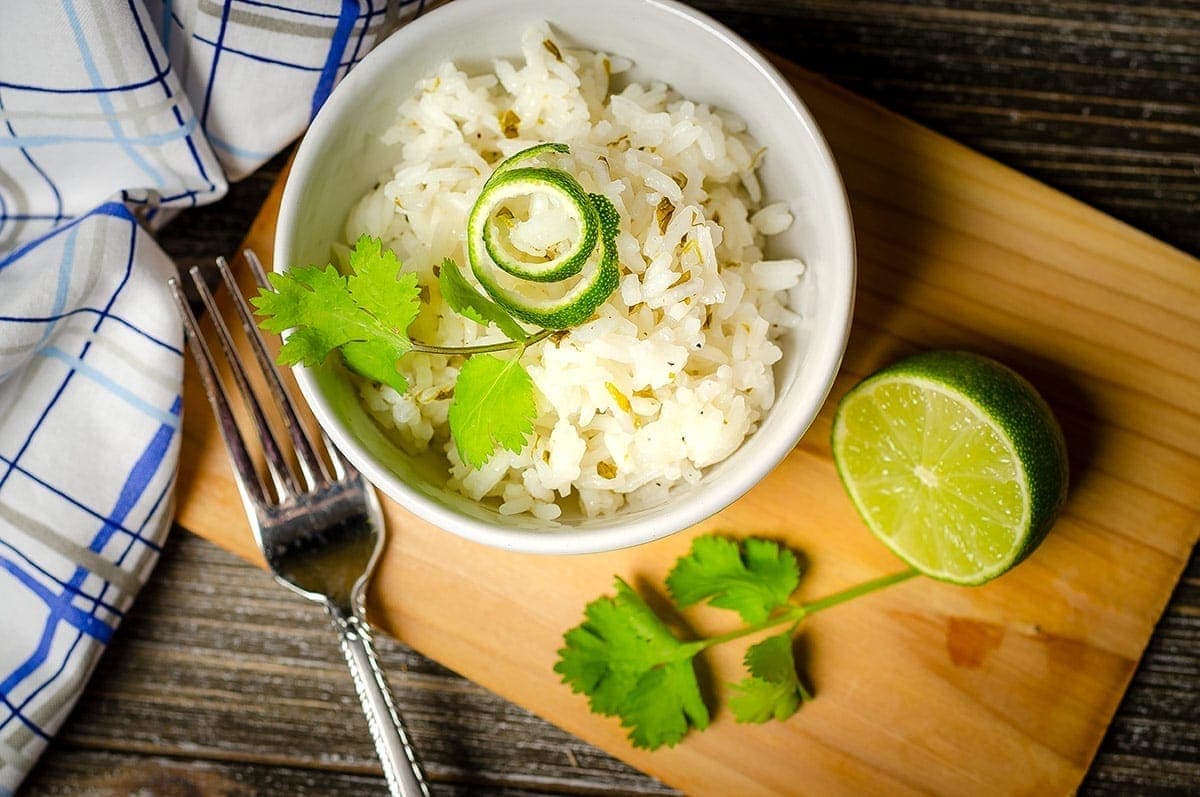
You can probably tell that Lee likes a rustic look with her food photography. We have some wooden boards that make a great background, either under the food or as a wall behind the food. Sometimes we use a Manfrotto Collapsible Background to add a weathered or rustic setting for our photos. We like the Tobacco/Olive reversible version.
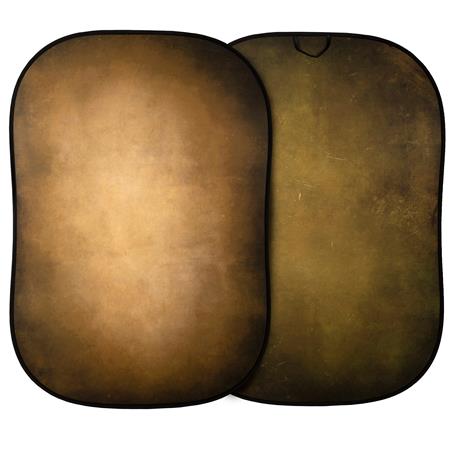
The double-sided Manfrotto 5x7' Vintage Collapsible Reversible Background in Tobacco/Olive is a great way to add a touch of class and sophistication to your portraits, fashion, and product photography. The Tobacco surface offers a range of brown/ochre tones with a slight hint of green, while the Olive surface features a range of deep greens with a touch of ochre. Both sides also feature a dark vignette to the edges. The durable and practical no-wrinkle material ensures that your background will always look its best.
3: Gather Your Set Pieces
While you could just plop down your food and take a photo, it’s often best to set the scene. What kind of things normally go with the kind of food your photographing? Is it an elegant scene, a rustic scene, or something in between? If the food normally gets eaten with chopsticks, don’t put down a knife and fork. Set the scene for your audience so your food lives in its natural environment.
How to Set Up Your Lighting
The second tip to improve your food photography is to get the right lighting to flatter your subject.
Once again, you can go from challenging circumstances to complete control. Here’s what we do in each situation.
On-Location Restaurant Lighting Ideas
Lighting may be a real problem if you’re taking available light photos at a restaurant or some food event. That’s because most restaurants light their dining room for ambiance, not photography.
You’ll likely find that the existing lighting is unflattering for your photos, and there isn’t enough light to make a decent exposure. So what do you do?
Start looking for areas with better light.
We prefer either sitting at a window table or dining outdoors for available sunlight. Honestly, sunlight is often your best option. The color balance is usually great, even if the light is harsh. It’s much easier to tame hard light than to correct color balance at a restaurant.
If you can choose your time to visit, that gives you a little control over the direction of light. If you want side-light, go a bit early before or late after lunch when the sun moves to the angle you prefer.
Adding a bit of shade over your subject helps prevent harsh light while still giving you outstanding daylight balance. We’ve used everything from a table umbrella, awning, or even a white napkin to control the harsh sunlight on our food.
Home Studio Lighting
You can go crazy with studio lighting, but we take a straightforward approach. Why? Because dining often has simple lighting, we like to reflect that in the photos.
For the majority of our photos, we use this kind of setup.
I use a small flash (a Godox AD200) and put it in a small softbox (Usually the MagMod MagMox PRO 24″ octabox). I place the light slightly behind and above the subject area. If your subject was in the center of a clock and you were standing at the 6:00 o’clock position, I would place the light at either 10:00 or 2:00 – depending upon preference or ability to get the light in that spot.

The AD200 from Godox is a game-changing flash that offers powerful, battery-operated performance in a compact, portable package. This versatile light can be used on or off-camera to provide stunning results in any situation. With its 200Ws of power, the AD200 is perfect for everything from location shoots to portrait sessions.
The AD200's lithium-ion battery provides up to 500 full power flashes, making it ideal for extended use. And with its built-in 2.4GHz radio receiver, the AD200 can be triggered wirelessly from up to 100 meters away.
Note: I own two of these.
- Quick recycle time
- More than one type of flash head
- More powerful than on-camera flash
- Great battery life
- Easy to use
- Only works off-camera
- Rapid-fire HSS causes overheating

The MagMod MagBox PRO 24" Octa Softbox has time-saving features like an integrated slot for MagBox Gels and a built-in storage pocket for the zip-on diffusion panel. The MagBox PRO's zip-on diffuser takes away the frustration photographers usually have with Velcro-type diffusion panels.
You can quickly switch from the Fabric Diffuser to the FocusDiffuser or the Magnetic Grid. Use the softbox's side zipper to insert a polycarbonate MagBox Gel for instant color correction. The MagBox PRO's base features strong neodymium magnets that quickly attach to the MagRing or MagBox Speedring, making it easy to set up or dismantle the system in seconds.
As for the height, think of a 90-degree arc from the flat surface of your food to the top-down view of it. I place the light about halfway, roughly a 45-degree angle down.
On the opposite side, I’ll add a piece of white foam board to bounce the light back into the front of the subject.
Why this angle and position?
I’m used to seeing food lit by window light in a home environment. Since I’m never standing in front of the window to look at the food (because then it would be dark), I’m looking at it come a bit from the side. The bounce is just to ensure you have a good exposure on the front side.
To me, this lighting layout is both easy and suggests a real environment for the subject.
Of course, sometimes we make exceptions. The beer bottle photo above had a window light at the 4:00 position. We shot it in our bedroom because the light was nice and it saved us the hassle of setting up gear.
Never underestimate the practicality of available sunlight, even at home. That’s how Lee prefers to take her food photos.
How to Style Your Food
The third and final tip to improve your food photography is to create a sense of style.
The good news is that the people who serve you food at restaurants often add their own sense of style. You can capture what they present or you can try to put your own sense of style on the subject.
So how do you do that?
1: Use Condiments
If you have a plate of waffles, use the syrup to make it look ready to eat. If it comes with some blueberries, arrange them how you like. If not, ask your server to bring some fruit and use them to add color.
2: Use Different Angles
Nothing says that you have to photograph your food on a downward angle. If your food is the hero of your story, see if you can photograph it from below. Hold it up in the air like a torch, or do something to present your subject in an uncommon point of view.
3: Stick a Fork in It
Maybe your style is to cut your food into slices or carve off a bite with your fork. There’s no rule that says your food has to be pristine from the kitchen. Lee tends to like food photos that have a bite missing. It makes the food look a bit more present and immediate.
Be Open to Opportunities
One of the restaurants I mentioned on the podcast is Hillstones, an upscale restaurant in Winter Park and a few other locations around the U.S. I love this place.
A few years ago, they invited me and some other local bloggers to sample some of their new menu items, take photos, and have a nice evening on their dock. This place is on a lake and sometimes seaplanes fly in for lunch, or people paddleboard over for a meal.
I had a great time and wrote it up on my Orlando Local blog, and thought that was the end of it. However, a few things happened as a result of this blogger party.
1: I met another food blogger at the event who prepares her own meals and she needed a photographer. There was a networking and business opportunity.
2: Another national restaurant chain contacted me. They really loved my photos and wanted to hire me for their next menu and advertising campaign.
That’s where I blew it. At the time, I had no idea how to plan, prepare or budget for such a job. I recommended someone else, and they clearly told me they wanted me.
What a compliment!
I should have taken the assignment, but I got them to use another local photographer instead. He totally blew it. They didn’t get the photos they wanted, I lost a valuable opportunity and contact, and ultimately killed any chances of having a food photography career all in one swoop.
The point of this is to share a message with those who may scoff at taking photos in a restaurant or other events.
These people WANT your photos. They like to see their restaurant and meals featured on social media. If you do a good job, they will invite you to events or potentially even hire you for work.
So please don’t turn up your nose at those taking photos of food in restaurants for blogs or social media. It can and sometimes does lead to greater opportunities.
About Visual Storytelling
If you like this approach to taking photos, we have a free resource for you. Get the free ebook Visual Stories. You’ll learn why it’s important to develop an audience and take photos that they love.
Then you’ll also see that great photos are a combination of background, light, and subject. When you put these five elements together with purpose, you can really improve your photography.
Click here to get Visual Stories.
Subscribe to I Like Your Picture
Thank you for listening to I Like Your Picture. Make sure you get every episode by subscribing. You can find more subscription options on the player above. Just clicks the three dots inside the circle on the right side of the player and look in the Subscribe option.