Affiliate Disclosure: We earn a commission if you purchase through one of our links at no additional cost to you.
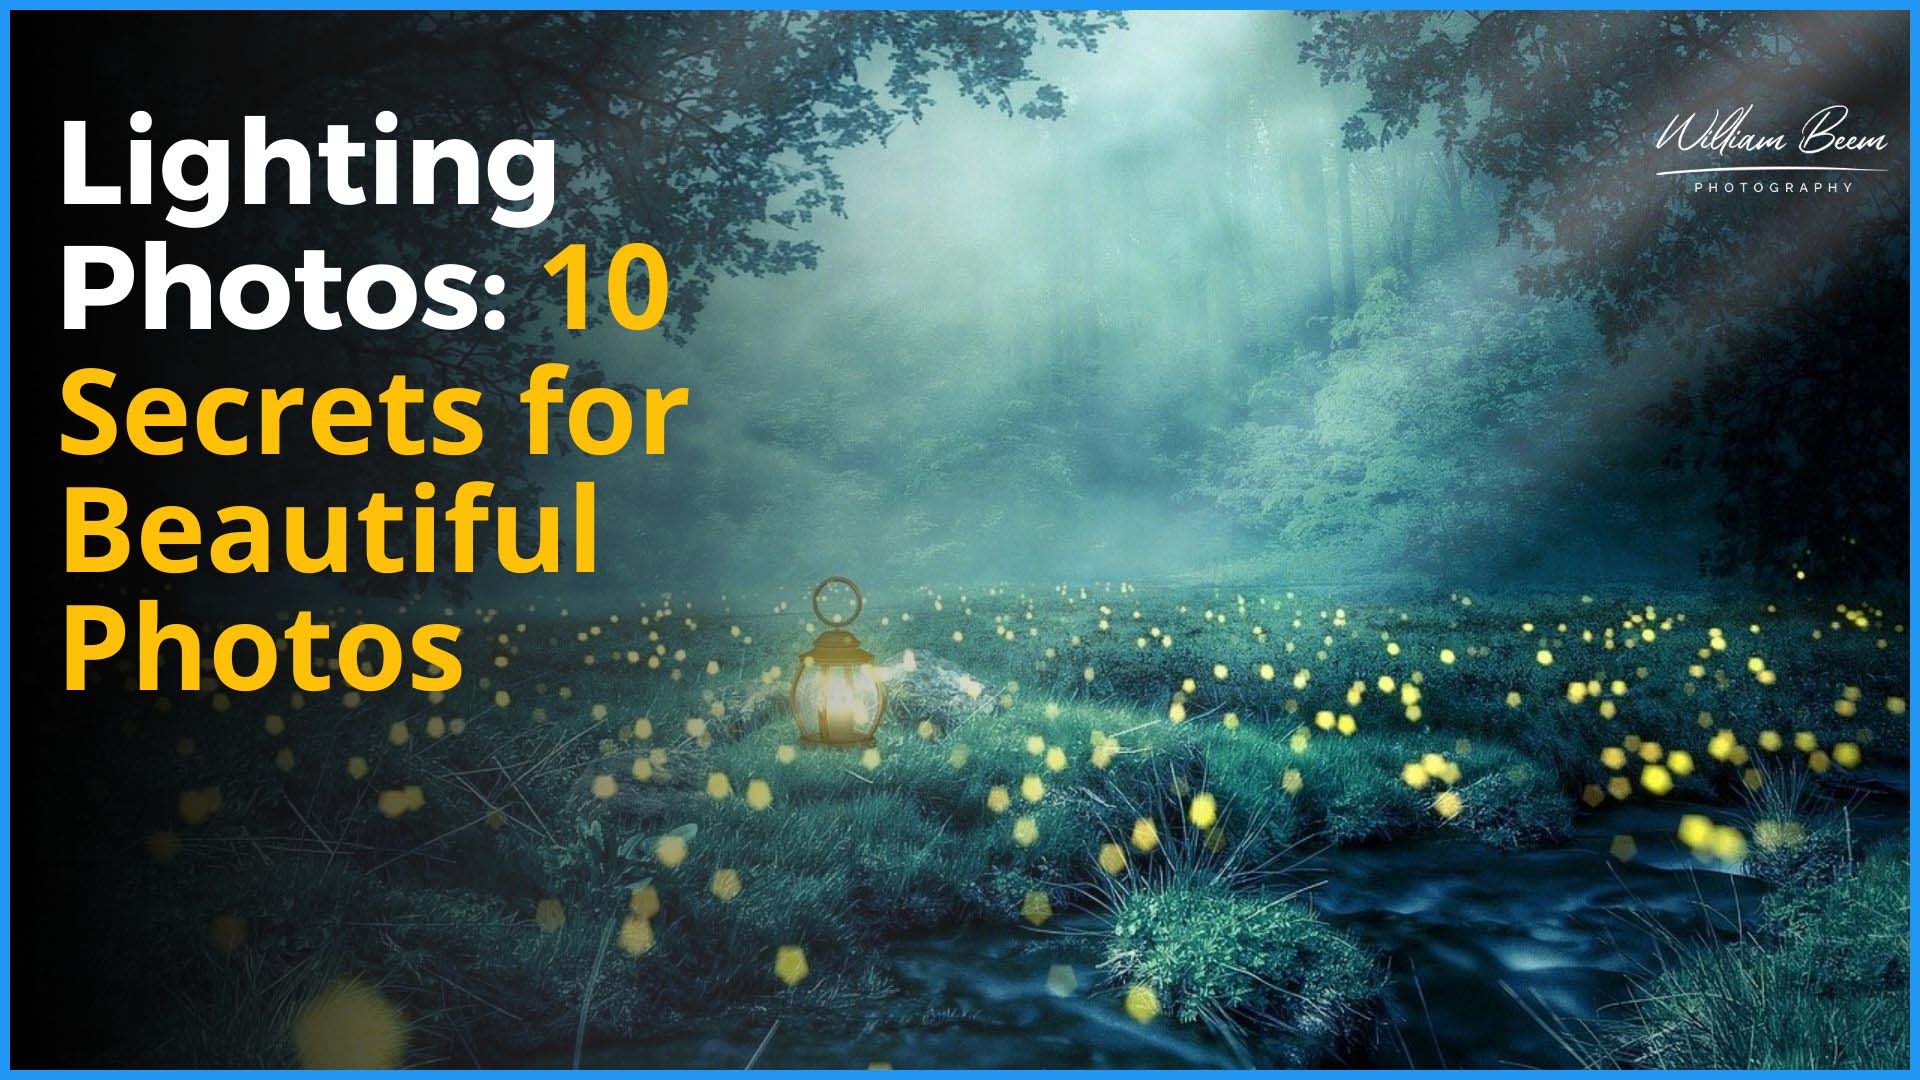
Lighting photos is easy. Crafting an emotion with your lighting takes a bit more practice, but the results are stunning.
This episode is part of a series on things that I shared in a blog post about 101 Photography Secrets for Emerging Photographers. We’ll continue down the list to share on podcast episodes.
The Secrets to Lighting Photos
Light isn’t actually a secret, but many people misunderstand it. Let’s try to clear up those misunderstood issues.
1: Light is light
Some people believe that natural light is superior to artificial light. Then some people think strobes or flash are superior to sunlight.
This is all nonsense. Light is light. One form of light is not superior or more magical than another.
All light consists of photons. Whether it comes from the sun, a flash, a match, or a lightning bug – light is light. It’s all the same.
The difference in light that we see depends upon the four qualities of light, and also if the light is appropriate for our subject.
2: Light has qualities that you can (and should) manipulate.
In this episode, I mentioned four characteristics of light.
In a previous post on lighting, I also mentioned the duration of light. If you think about it, the source of light is almost irrelevant. It’s how you manipulate those characteristics of light that matters.
Also, it’s how the light applies to your subject. There is no good light or bad light, except in relation to your subject. Good light for an athlete in motion is different than good light for a baby deer in morning dew.
3: Don’t Light Everything
One element you can use to add interest to your photos is mystery. There’s no mystery when you hit everything with a lot of light.
Shadows are your friend. They carve out features of your subject. They show depth and dimension. You add interest when you have part of your subject emerging from darkness.
Light is good, but too much light is like too much sauce on your food. Add to taste.
4: All flashes put out a burst of white light
You know the biggest difference between a Yongnuo flash and a Profoto A1 flash? Price.
They both give you a burst of white light when you trigger them. So why does one cost more than another?
Typically, you pay for features, compatibility, and sometimes for the name on the label.
Some flashes may offer more color consistency from one flash to the next, but surprisingly, the most expensive flashes aren’t always the most consistent.
When choosing a brand of flash to buy, ask yourself what features it offers that are different and necessary compared to a competing brand. It’s OK to buy what you want, but paying for a name brand can be a hefty expense.
I think Profoto makes excellent gear, but it’s expensive. I loved my Elinchrom lights. I also love my Godox lights. Big price swings for essentially the same thing.
5: Better light modifiers for better light
It’s not the flash that really gives you beautiful light. It’s what you put in front of it.
Once again, the most expensive light modifiers aren’t necessarily offering the best quality results.
MagMod is a brand that I love and use extensively. Not an inexpensive brand, but most of their products are rather small and easily slip on my flash.
A few years ago, they came out with a 24″ octabox that was revolutionary. Very easy to expand, offered an easy way to add gel inserts and used magnets instead of velcro to add the front diffusion cover.
Brilliant design.
Then they finally did what people asked and made larger light modifiers at an even higher price. I thought I wanted these things, until I saw photos taken with them. Lots of specularity on the subjects, and it wasn’t surprising why. There’s no internal diffusion to help spread the light, so quite a bit of straight-line light hits the subject.
Well, I will not pay more than double for a lower-quality result. My old Rotalux light modifiers work fine for much less money. They don’t have magnets or quick lock expansion, but I get better portraits from them.
6: Get your flash off your camera
That little hot-shoe on top of your camera can easily trigger a flash. It’s not the best position to direct your light on a subject.
That’s why many on-camera flashes actually swivel. It’s so you can point your flash in a different direction to bounce the light.
Why bounce the light? Because aiming your on-camera flash directly at your subject looks like shit. It’s the worst possible place to put a flash.
Move that thing off-camera. Point it at a reflective surface to the side and bounce it. Unless you’re taking prison photos to document someone, get your flash off your camera.
7: Light your subject the way it makes you feel
We take photos for two reasons. Either we need to document something, or we’re creating art.
If you’re trying to be artistic or flatter your subject, think about the emotion a viewer feels when they see your result.
Light can be harsh, ethereal, colorful, epic, subdued and many other things. Use light to evoke an emotion. Eliminate light in places to conceal part of your subject.
Create emotion with your light.
8: Don’t shoot from the same direction your subject is lit
Once you place your subject and your light source, don’t be afraid to move around. You can discover interesting results just by moving your feet.
Planting yourself like a statue means seeing one thing and getting one result. It’s fine to start with an angle of light that you think you like, but don’t stop there. Work the scene. Move to see how changes in your viewpoint can also change the result on your subject.
9: Flash duration is shorter than shutter speed.
Using flash is a great way to freeze motion. You don’t always have to use a fast shutter speed. That’s because a shutter speed determines how long the light will hit your subject.
Well, your flash duration does the same thing, only it’s much shorter than your shutter speed, often by a factor of 10.
So now that opens some creative possibilities. You can go with a longer shutter speed to get motion blur, and pop a bit of flash where you need sharpness.
If you really want to freeze motion, use flash.
10: Better batteries increase recycle time
For your flash, batteries can make all the difference. Some flashes come with their own lithium-ion batteries and there’s not much you can do to change a custom battery size.
Keep a few things in mind if you’re looking for AA batteries.
The NiMH batteries don’t suffer from a memory effect. They’re more ecologically sound, have a higher capacity and last longer.
The capacity gets measured by the mAh rating. Eneloops from Panasoninc are very popular and have a 2000 mAh rating. If you buy from Ikea, their batteries are the same as Eneloops.
I like PowerEx batteries from Maha Energy. They have a 2700 mAh capacity and recycle quickly. They last a long time and I think they smell better than Eneloops.
In the podcast, I mentioned that I get my batteries from Thomas Distributing. I’ve since learned that they went out of business in December 2020. The batteries from Maha Energy are the same thing I use, so you can go direct to the source.
Summary
These are things that I had to learn the hard way. My hope is that you pick up a couple of nuggets that can save you time and help you craft the photos you love.
Time Stamps
Today, we're going to be talking about 10 secrets about lighting and a lot of photographers are of different minds about lighting. Some people just think that, okay, I'll go out and find the light. Other people will go create the light or modify it as they need to. Both approaches are very good, but it depends on your circumstances, your subjects,
and also about what you're trying to make your viewer feel. So we're going to go over a few things about lighting today, and I hope this helps you out. I'm William Beem. Welcome to I Like Your Picture. The show that helps you improve your photography with visual storytelling. What is visual storytelling? It's a method of approaching your photography with a knowledge of who you're trying to serve with your photos and what emotion you want to make them feel.
We encourage you to concentrate on your subject, light and background to create a photo your audience loves. I'm glad you found us. Hi, my name is William Beem. Usually, my wife Lee comes along and introduces herself, but she's not here today. So it's just going to be you and me. When we talk about lighting, there are three things I want you to be able to take away from this. One,
you aren't a photographer without light. Everything is black, and nobody really cares about that. It's when you add light to your subject, that you start to reveal things and that's why light is so critical. Literally, photography means the translation we've always been told, is writing with light. So keep that in mind. If you don't have light, if you don't have interesting light,
you don't really have photography. Number two, light is what you make it. And we're going to talk about that as far as how you can control the light, how you can bend it molded and make it into what you want. And number three, this may be controversial for some people, but good lighting is more important than a good subject. So with that in mind,
why don't we go ahead and get to my main points about lighting? The first one is one that I've written about many times. I like to say this, people don't like to hear it. Light is light. That's the number one thing. Light is light. It's like blood. There is no artificial substitute. There is no such thing as natural light and artificial light.
That is something that you need to get out of your head. All light is equal light. It doesn't matter if it's created by the sun, or if it's created by a burst in a flash or a strobe. One is not inferior to another because of the source that generated it because ultimately what's happening is you're shooting out photons. Photons travel in a wave.
They hit subjects. They hit walls. They bounce off. They take the color from whatever they hit. It all works the same way. So it's not like sugar and Sweet & Low. Light is light. There is no substitute. Remember that, you'll be much happier for it in the long run. Number two, light has qualities that you can and should manipulate.
So we've talked about this a little bit in the past. Let's talk about it again. There is the quantity of light. How much light do you have? There are times that you could really blast your subject with too much light or not have enough and you're underexposed. So the quantity of light is important to get right for your purpose and subject. Then there is the quality of light.
And that happens when we talk about hard light versus soft light. In other words, when you're looking at how the light hits your subject, is it having a soft gradation or is it hitting like a hard edge, and then immediately going to shadow? That hard edge. That's hard light. Diffused light, which is kind of scattering around in a bunch of different areas,
gives you that gradation from light to shadow. One is not better than the other. Again, it's what is appropriate to your subject. You have a basketball player getting ready to do a dunk. You can hit that person with hard light and it looks really good. It chisels out their muscles. It reveals things about them. Yet you hit an older person with wrinkles
with hard light, and it just really makes them look even older than perhaps they should. You got to think about the circumstances and what's appropriate lighting. As far as the quality of light for your subject. Obviously, there is the direction of light. Are you going to have top lighting? Side lighting? Is it going to be coming from below in case you want something gory-looking?
I'm a big fan of side lighting these days. I always said in the past, you know, light comes from above and we're used to that. We have our ceiling lights, you know, up above the sun mid-day is up above, but it's not always the most flattering look. Side-lighting, like a sunrise or sunset coming onto somebody, is a very beautiful look.
And it's often works very well with a soft quality of light. Finally, you have the color of light. When light hits something and reflects off or if it bounces through it like a gel, for example. It picks up the color of whatever it hits and then carries that on to the next place that it hits like your subject. So you can change things to look very interesting.
You can make it look cold with a blue kind of gel. You can look, make it look warm with a color temperature orange CTO or a red gel. So use these colors and qualities and direction and amount to make your lighting a character, if you will, in your photograph. You're going to be able to enhance your subject by understanding how to manipulate the light.
Number three, this is the quote that I got from Joe McNally and he in turn got it, I think from one of his editors at Life magazine. And quite honestly, I'm afraid to say the name, cause I'll probably get the wrong person, but it's not my quote, but I love the quote. Anyways, if you want to make something appear interesting,
don't light all of it. And think about that. If you have broad, flat lighting on something, it's kind of a boring scene. You've documented something. But if something is being revealed from darkness into light, then you've got a sense of mystery of what you don't see. When you have light coming off and kind of carving out someone's face or their features.
Shadows are your friend. Don't be afraid of using shadows. Don't be afraid of using darkness. Don't light everything. And see what you think about it. You may want to do just some edge lighting or maybe some rim lighting from the sides of the back and just kind of highlight the exterior features, you know, the silhouette or the outline of a silhouette if you want,
but try not lighting everything. Don't hit everything with a lot of flat light because yeah, you see what's there, but you don't see what's interesting. Number four, all flashes give a burst of white light. You can pay more, you can pay less for a flash. They're going to do the same thing. Now, when you start looking at flashes and strobes,
what you're paying for are features that allow you to help control the flash that maybe work within the system. But if you're trying to determine is a Godox flash or a Profoto flash better or worse than each other. It's not the light. In fact, I've seen studies where we talk about the color temperature shift inside of a flash. In other words, there's like a,
a bit of a color change from one flash to the next. I've seen tests on video where actually some of the Godox lights had better color stability than the Profoto lights. That's not to say Profoto is bad. It is expensive, but it's not bad. There's a reason why a lot of professionals use Profoto lights. There's also a reason why a lot of professionals use Godox lights and there are other brands out there. I've used Elinchrom before I was very happy with Elinchrom.
The only reason I switched from Elinchrom to Godox light is because Godox made the size and type of lights that I wanted, and they were battery-operated. And I didn't have to worry about taking them out in the field and looking for a place to plug them in. It's kind of hard to do. I had this enormous little car battery kind of thing,
so I can plug in my flashes and it just was a pain in the neck. So all flashes give a burst of white light. Go for the brand that works for you. As far as the set of features and benefits. Not necessarily, if you're worried about the light. Number five, if you want better light, you need better modifiers. You put a flash on your camera and should a direct,
it's going to be awkward, ugly. And we'll get to that in a bit because of the position of the light. But the first thing that you want to do to make your light better is put something in front of it. That could be a softbox. It could be a reflector dish. It could be a gel. Maybe you bounce it against a wall and then use that to get a larger surface of light relative to your subject.
And that's, what's going to be interesting. So if you want better light, get better modifiers. And when I say better, anything is going to be better than just the bare bulb flash coming off, unless you just really need that hard harsh look, but better means something that you can work with. That is good quality, not necessarily more expensive.
You can buy some very expensive light modifiers. You can buy some very cheap modifiers. I've kind of landed somewhere in the middle. I really loved my Elinchrom light modifiers. The brand they called was RotaLux, and I changed the speed ring so that I could continue to use them on my Godox lights because they're good. They're really good. I like the MagMod lights.
As far as the little softbox that they have, that was like 24 inches. I thought that was great. When I looked at the results of some of the larger ones that they came out with, I thought there's a lot of specularity coming out and that's because there's no diffuser inside. So I didn't spend the money to go buy the larger MagMod lights.
I think the ones I have from Rotalux were one, they were less expensive and two, they were higher quality. So you spending more money doesn't necessarily mean better quality. Look for the quality and put something in front of your light. Number six, get your flash off the camera. It is the worst place that you can put your flash as far as flattering your subject.
And I mean, any subject, I don't care if you're doing still life. If you're taking a picture of an apple, or if you're taking a picture of a person, you want to go to a prison booking and they do something with on-camera flash. That's great. All they're trying to do is document you. They just need a photograph that is clear enough to identify somebody in a lineup,
or if they want to disperse that to somebody else and say, here we need to identify this person. It's great for that. If you want to flatter the person, get your flash off of the camera. You can hold it a little bit to the right, a little bit to the left. As we talked about sidelighting just a little while ago, you can put it way over to the side.
You can put it up above. You can do any number of things, any place you can think of to put that flash is probably better than on top of your camera. That is just direct light. It's going to give you an ugly view of your subject, particularly if you don't have any light modifier on top of it. Do yourself a favor,
hold it off to the side, get a light stand, get a friend to hold onto it. Get that flash off your camera. Number seven, if you don't like the way something looks, light it the way it makes you feel. And when I say feel, think about this, you're trying to evoke an emotion. What emotion do you want your viewer to have?
And this is where again, moving your flash around, changing the quality of lighting. Changing the color of lighting can help you build that feel. So for example, for heavier people, and I'm one of them, you know, so I'll freely admit that. There's differences between broad lighting and short lighting. Broad lighting. Let's say if your faces i maybe it a little bit of an angle.
We'll put more light on the side, closest to camera. Short lighting. We'll do the opposite. So the side closest to camera is a bit more in shadow. Well, that short lighting actually makes you look better. And the reason I know this is because I had my photo taken by Jerry Ghionis a few years ago. He used short lighting on me and I look at it and I think,
yeah, that's better because when he just hit me flat on the front with broad lighting, it's not that much of a flattering look. When you do that short lighting, it is actually a little bit of a mystery. You don't see, you know, basically the heaviness in my face from that angle. And it kind of reveals a little bit. So you know who I am,
but it doesn't show you. I hate to use this phrase. It doesn't show me in my worst light. So that is something to keep in mind. And it's not just about whether somebody is heavier or not. I mean, not everything you light has to be a person or a portrait. That's kind of what my go-to thought is. But if you're doing a still life,
if you're doing food photography, if you're doing travel photography, think about what light tells the story and think about the way it makes you feel. Because ultimately you're trying to make somebody else feel something with your lighting. Number eight, you don't have to shoot from the same direction as your subject is lit. In other words, you don't have to stand in front of your light source and shoot it head-on.
You can have backlighting. You can have side lighting, you can set your light in one place and then start walking around. You work the scene and find out what works best for you. Sometimes having the light from your flash in your photograph creates an interesting look as well, too. Just remember that just because you put your light in one place and maybe let's say that you're standing at six o'clock in relation to your subject.
You put your light over at seven or eight o'clock. Well, nothing says you can't work your way around the clock. Move from side to side, move up and down. You don't have to shoot from the same direction as your light. Number nine. I'm hoping that most people know this, but there are some who don't. Flash duration is shorter than your shutter speed.
You can use this to make some very creative things. You can work with a longer shutter speed and then use flash to get a moment to freeze your subject. I have a photograph that I took with a mountain biker coming down the hill. I'm panning with the biker and there's motion blur going along and at a certain point at the end of my shutter,
the flash goes off and the face is frozen. So I can clearly see the face, but everything else is moving. Everything else is in motion. So if you're worried sometimes that you don't have a long enough shutter speed to get the light that you want, add a flash. You can still use a longer shutter speed for the ambient light.
And then a little bit of pop of flash will freeze, whatever it is that you need. And also the less light that you pump out, the faster your shutter speed will be. If you've pumped something out full power. Well, the flash duration is going to be longer than it is. If you put it out at its lowest power setting.
So keep in mind, maybe do some experiments. As far as seeing what kind of result you get at the different power levels of your flash. The last one, number 10 for better recycle time buy better batteries. If you are using alkaline batteries, it works, they function, but they're not necessarily the best thing that you can get. I use some from Thomas Distributing and the brand is called PowerEx.
And I think they're like 2,700 milliamp hours. You can get the Eneloops. A lot of photographers, love Eneloops. Those are 2000 milliamp hours. Basically, the more milliamp setting or power that it has the better recycle time you're going to get. In other words, it's got more power to put out the light and it doesn't drain the battery as much of its total percentage as something with a lower milliamp rating.
So take a look at that. I would say at a minimum, get something like a 2000 milliamp, and I'm probably mispronouncing it, but to get something like 2000 like Eneloops. And Eneloops are wonderful batteries. I liked them very much. If you live near an Ikea, the batteries they sell, there are exactly the same as the Eneloops. You can save some money.
If you go to Ikea and buy the batteries there. I like Thomas Distributing. I'll leave a link to that in the show notes. I don't have an affiliate relationship with them, but they have some really wonderful batteries with PowerEx. Those are the ones that I like and use. They're the best ones that I have found so far. And I think it's really a good value.
And that is everything we have to share today about lighting. Remember, it's not just about a flash. You can do things with available light. You can put up a sheet and diffuse sunlight. So in other words, instead of getting a hard flash on something, you put up a sheet, bring it in, close to your subject, and suddenly it looks like you've got this beautiful softbox on them.
You can use reflectors and sometimes reflectors with white or sometimes reflectors with gold on it. So you can change the color as well as the direction of light with a reflector. Don't be afraid to experiment. Have fun experimenting with light because that way, when you're on the spot and you need to do something, you kind of have this little bag of tricks that you can use for your lighting.
So I hope you enjoy that. If you have any comments or questions about it, please let me know. Thank you very much for joining us on I Like Your Picture. This is episode 272. The show notes will be available at WilliamBeem.com/episode272. Feel free to leave us a comment there. Also, I want to let you know that this is part of a series that we're doing on a post that I did a while back on the 101 secrets for emerging photographers.
When we get through with this, we're going to wrap up the podcast. I am spending more time on my YouTube channel. You can go to WilliamBeem.com/YouTube and find out more there, but we've got probably less than 10 more episodes to go. And then we're going to be winding down the podcast. Thank you very much. We appreciate everyone who supported us and we'll see you in the next episode.