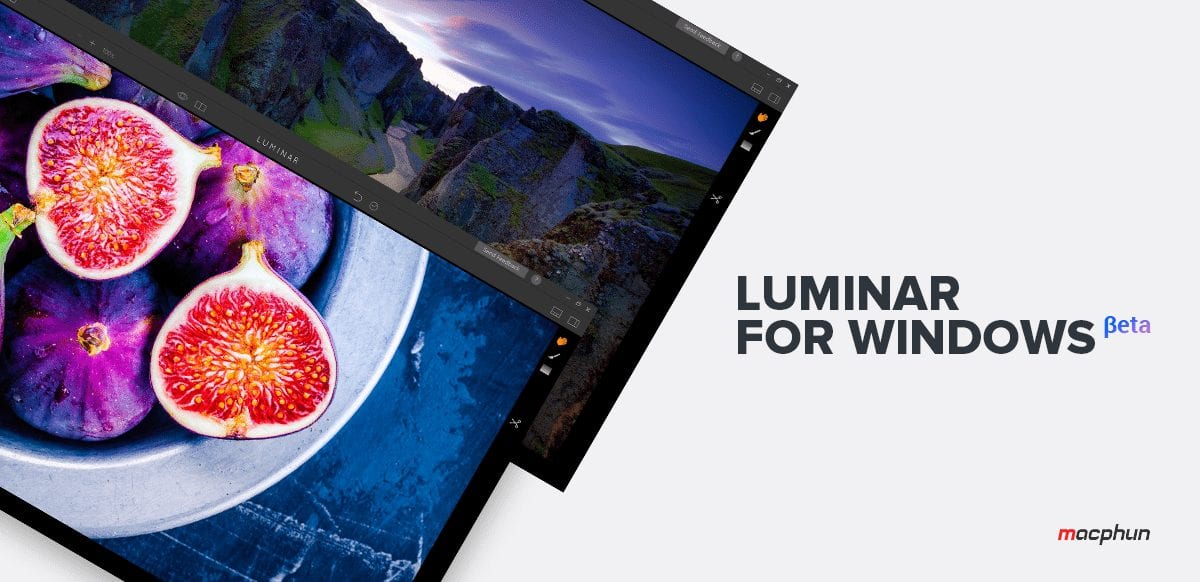
SAVE $10 with a Luminar for Windows Discount Coupon Code!
My Luminar coupon code can save you money and you also qualify for my free course on Luminar AI or Luminar Neo! Use the promo code BEEM when you check out and then email your receipt to [email protected]. I’ll verify the purchase with Skylum and then grant access to your course.
What is Luminar?
Luminar Neo is an AI-powered photo editor that turns any portrait into a stunning masterpiece. With FaceAI and SkinAI, you can easily retouch portraits, removing blemishes and highlighting facial features. And with the Portrait BokehAI tool, you can create a beautiful bokeh effect in any light. Plus, the Background Removal tool makes it easy to remove backgrounds without spending hours masking.
Skylum now offers Luminar Neo as either a stand-alone tool or part of a membership with extensions to offer more valuable tools like:
- HDR Merge
- Noiseless AI
- Upscale AI
- AI Background Removal
- GenErase
- GenExpand
- GenRemove
Additional extensions are coming.
Luminar Neo's exposure correction and color vibrancy features for all your travel memories will keep your photos looking natural and beautiful.
Finally, Luminar Neo's SkinAI and FaceAI provide the perfect finishing touches for your portraits, ensuring stunning results every time.
You can get everything with different pricing plans. Monthly, Annual or even Lifetime plans are available.
SAVE: You can save $10 using my coupon code - Beem10off
- Promo Code: Beem10off
- Easy to use
- Get great results fast
- Plenty of post-processing features
- Professional extensions are available
- May be slow on older computers
- File management is rudimentary
As a Mac user, I’ve enjoyed using Luminar for quite a while now. However, Luminar wasn’t available for Windows users before now. Here’s what Luminar is and how it can help you.
Luminar is a powerful photo editor with over 300 tools designed to handle multiple photo needs, from photo correction problems to artistic stylization. Users can customize their workspaces to match their image processing experience and move up to more complicated adjustments & filters when they’re ready. Luminar works non-destructively and aims to take the “work” out of the photography workflow.
The public Beta includes the most important features of Luminar, but the final version due in late 2017 will include more features, such as:
Why Choose Luminar?
Today, we have plenty of choices for cameras and lenses. Yet we have only a handful of post-processing tools that aren’t keeping pace with users’ needs. Arcane and complicated post-processing tools require a substantial investment in time and training in order to use them. It shouldn’t be that hard to learn and use your post-processing software.
Macphun created Luminar to address this problem using a scalable, adaptive user interface connected to a set of powerful tools to make photo processing easy, from beginners to experts.
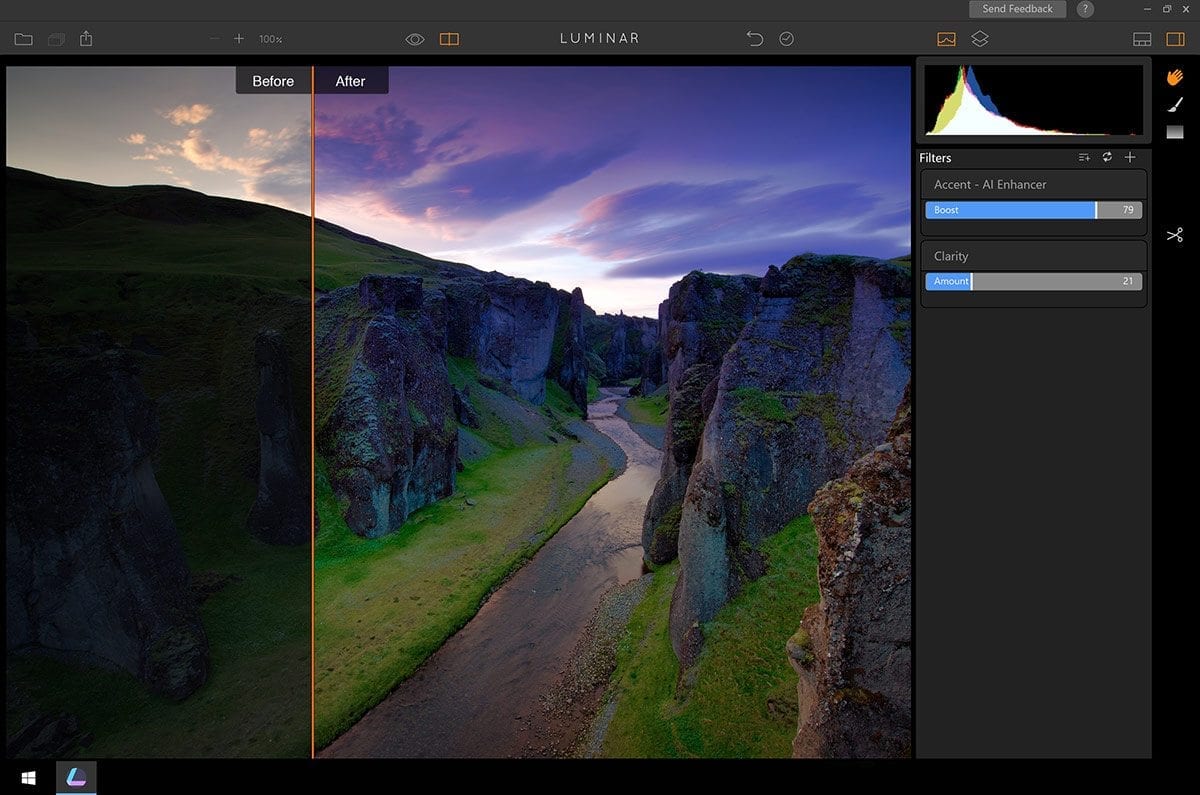
One new filter in Luminar is the Accent AI Enhancer. It uses artificial intelligence to adapt the adjustments that your specific photo needs. Take a look at this Before & After screenshot to see an example.
Use My Luminar for Windows Discount Coupon Code
Right now, the beta of Luminar for Windows is free. The full version ships in late 2017. When it does, remember to use my Luminar for Windows Discount Coupon Code to save $10 off the retail price. This code also works on other products from Macphun.
Get started learning how Luminar works for free. There’s nothing to lose by trying it out. Just remember my discount coupon code when the final version ships and you’re ready to buy. As an affiliate, I’ll earn a small commission for the referral and you’ll save some money.
How Do the Luminar Filters Work?
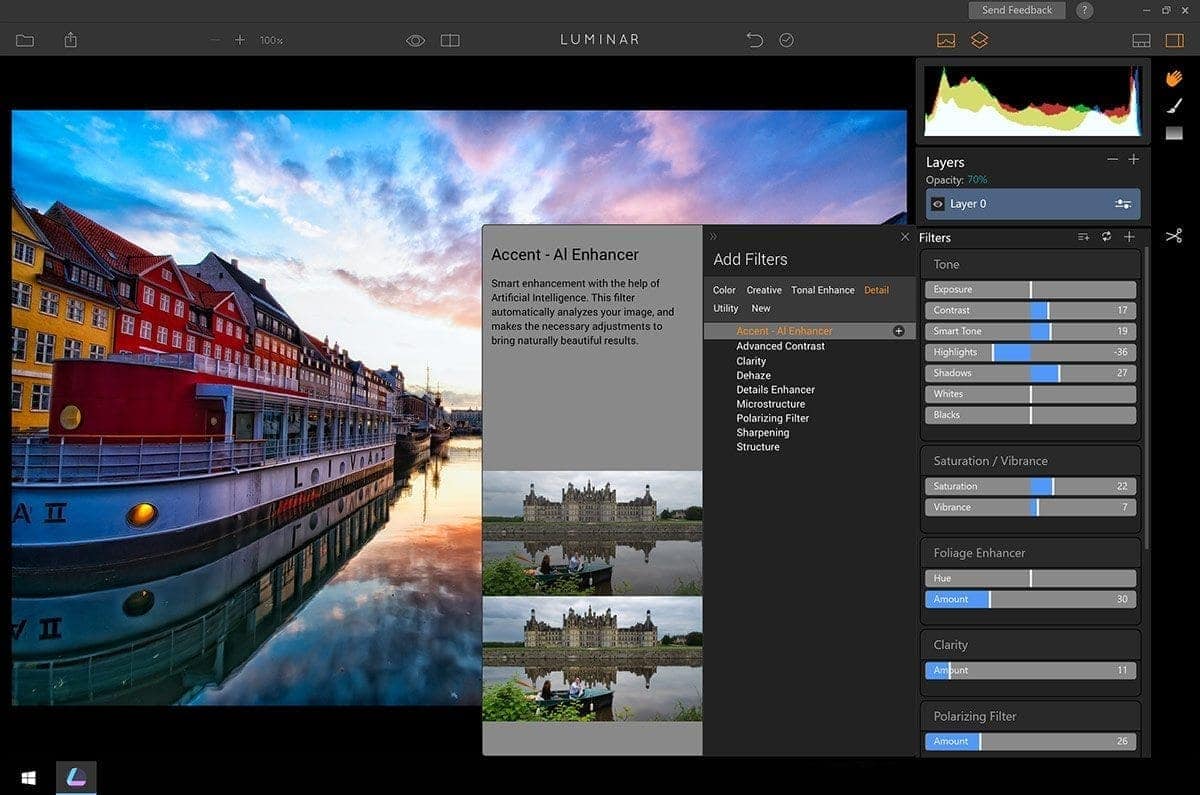
There are 40 filters in Luminar. You can see them in the workspace to the right of the photo. Just click the “+” key to see a list of filters, and select the one you want to add to the workspace. The image below shows an example of adding a filter.
You can see all of the filters at once, but there is a convenient set of Filter Categories to limit the options to the kind of filter you need. Each filter shows a description, and then a before/after preview so you can get an idea of what it will do for your photo.
Some filters have multiple sliders or options. Notice how the Tone filter in the screenshot above includes seven sliders to help set the tone of your photo. Others, like Clarity, have a single slider.
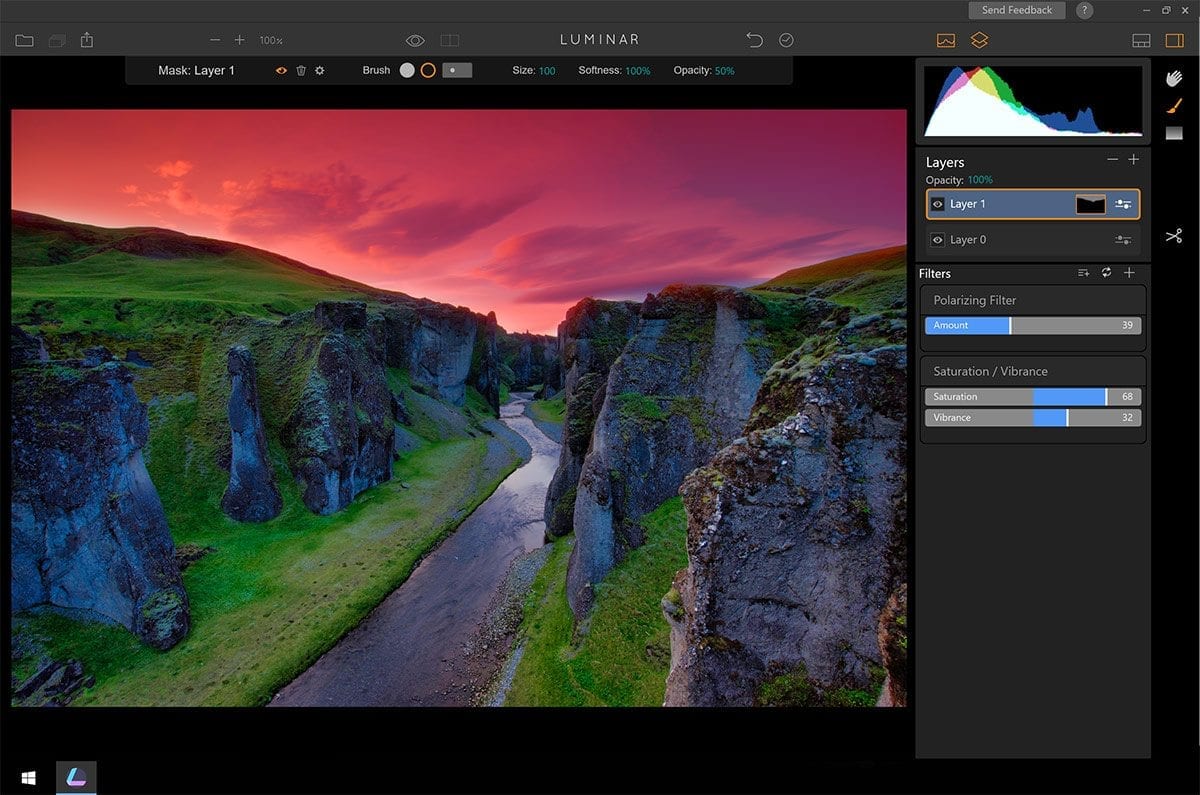
Filters can stack on top of each other on a single layer, or you can put filters on their own layer and then use a Layer Mask to reveal the effects of the filter where you want it, change the opacity, etc.
Create Your Own Workspaces in Luminar
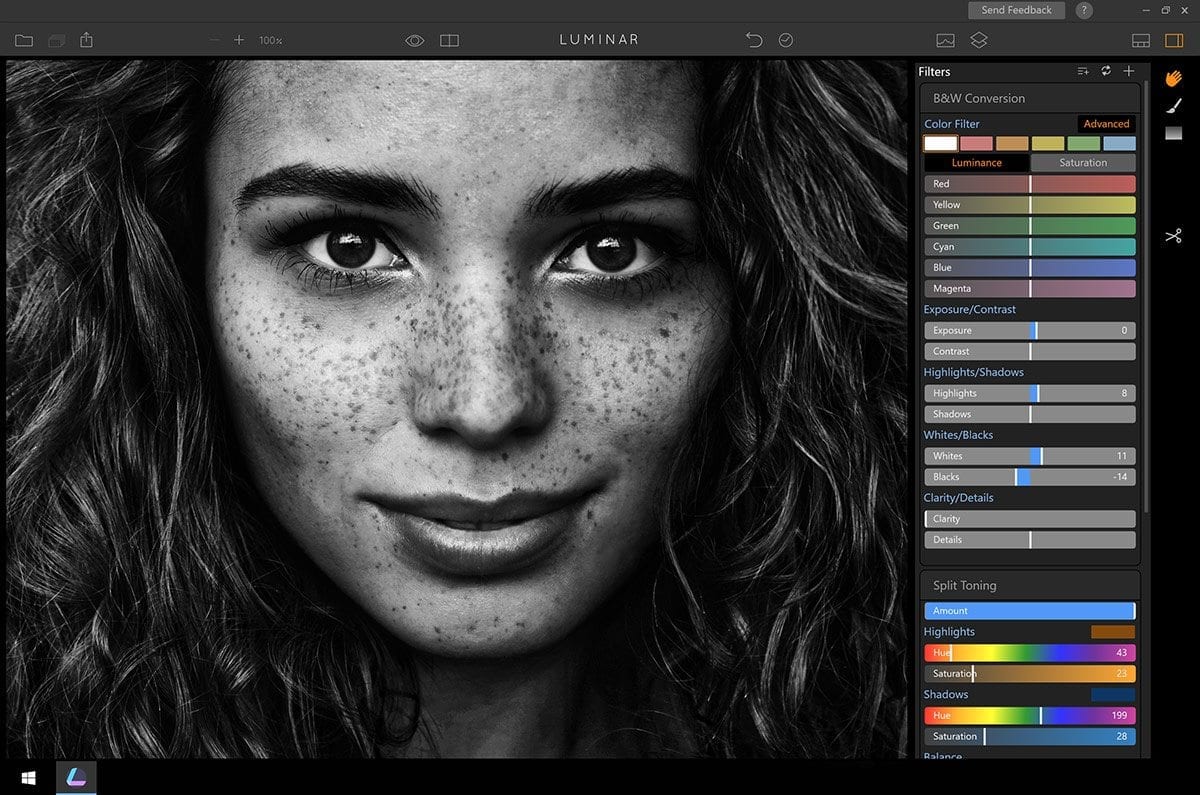
Workspaces in the final version Luminar for Windows are collections of filters that you use to process your photos. Depending upon the type of photo you’re processing, some filters may be more applicable than others. You aren’t limited to a single workspace. Collect the filters you want for Landscapes, Street Photography, Black & White, or Portraits and save your own workspaces. Instead of having to grab the same filters over and over, they’ll be ready for you when you open a particular workspace.
In the example above, we have the filters and adjustments you’d want to use for Black & White photos. There are plenty of options to fine-tune the image and create just the look you need. Work in your own space.
Using Presets in Luminar
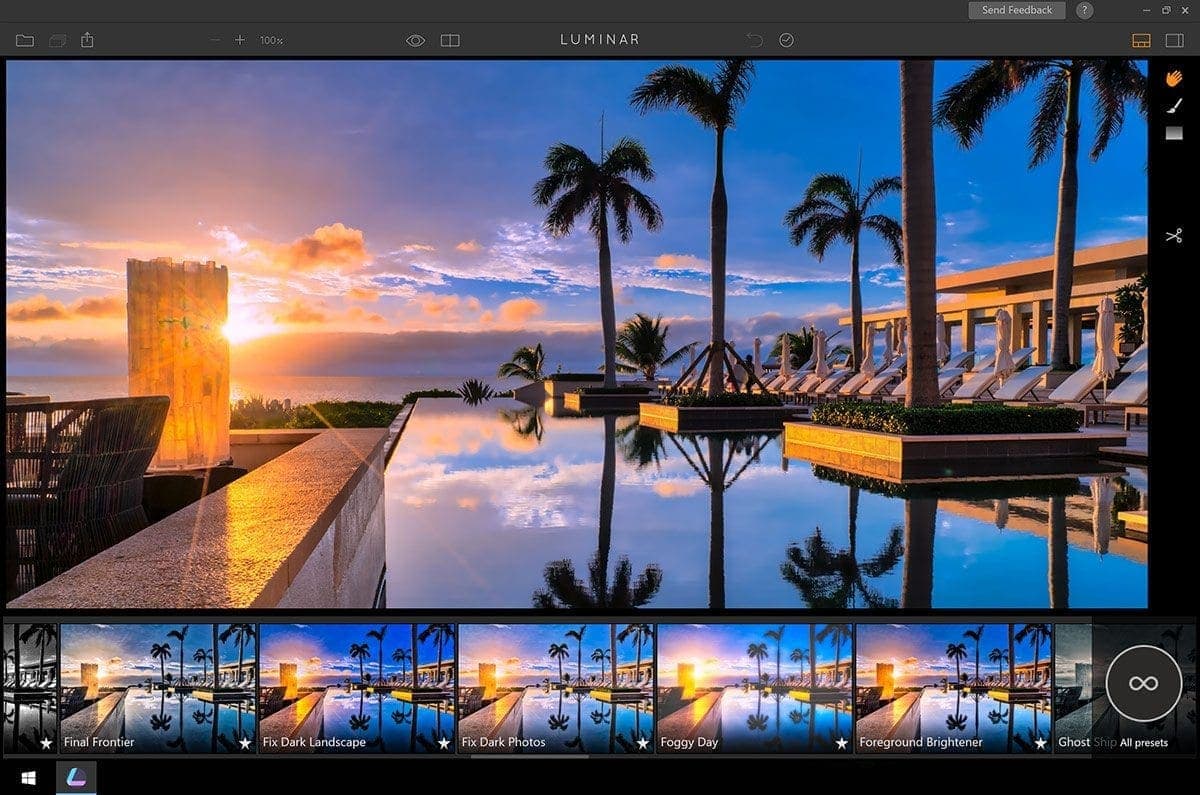
Luminar for Windows ships with several presets to help you correct or enhance your photos. You can also create your own presets, or discover photographers who share their presets.
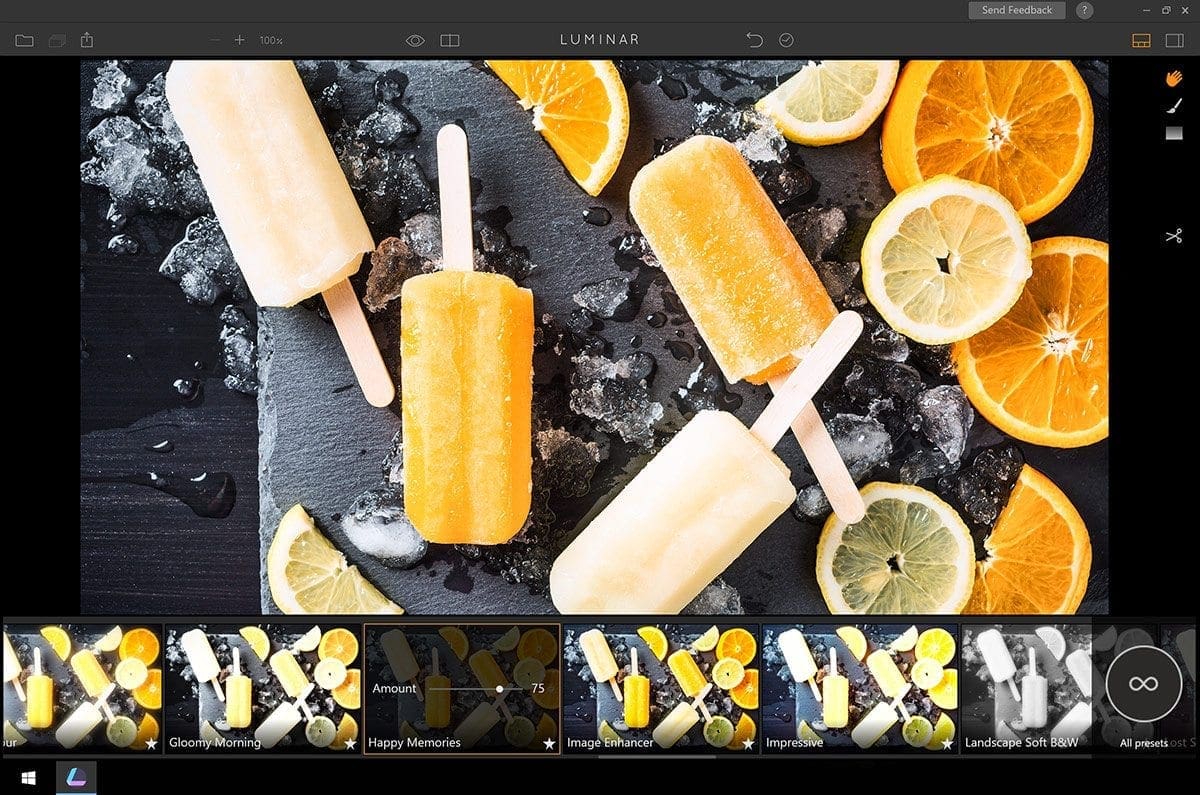
Before you choose a preset, Luminar shows you a preview of how the preset will affect your photo. Just scroll through and find a one-click preset to fix an issue or add a style to your photos. It’s quick and easy.
If you think a preset is just a bit too much, no worries. You can reduce the amount right in the preview before you apply it. Adjust presets to your own taste and sense of style. It’s just that easy.
Luminar Masking
As with any photo processing tool, it’s important to know that you can make selective adjustments. That means you need tools to help you mask areas of your photo with the adjustments that appear or are hidden. Luminar has several masking options.
If you want to use a freehand approach, use the Brush in Luminar. You can see the selected tool on the right in Orange.
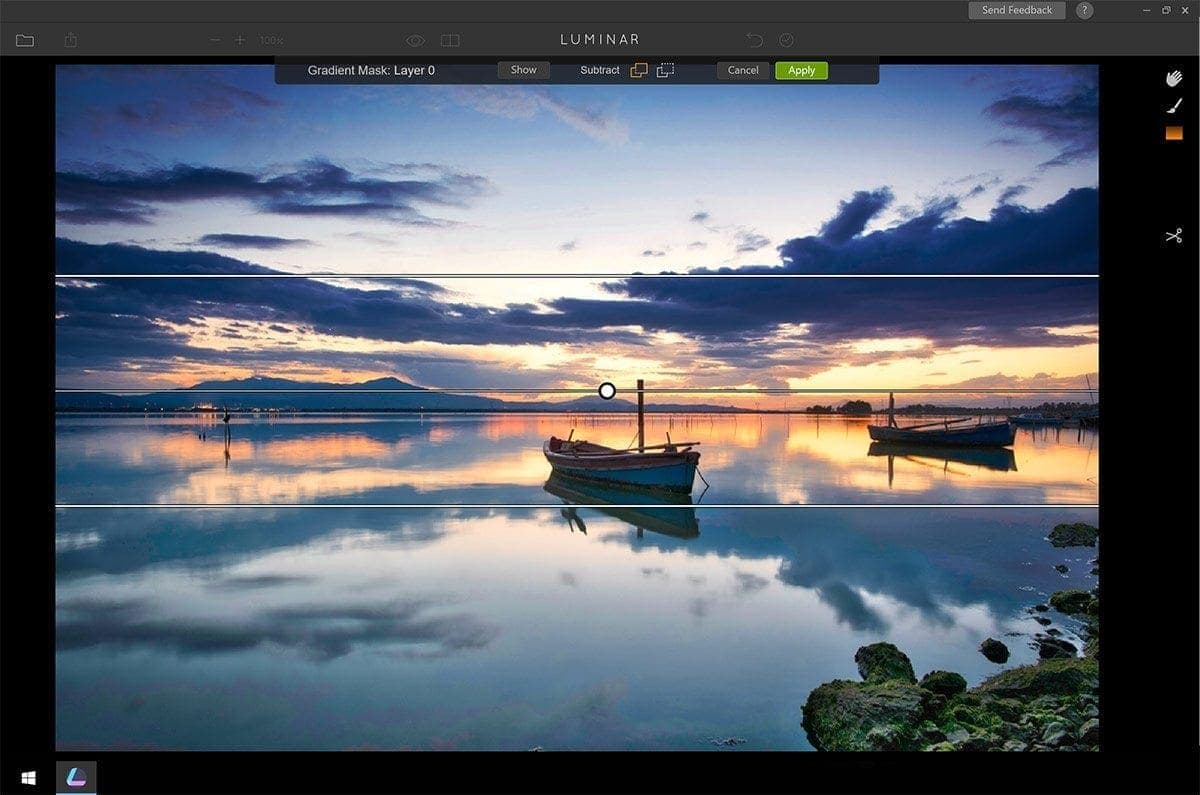
The Gradient Mask in Luminar is a useful tool for blending adjustments and images. It does more than simply add a darker gradient to the sky. It works as both a Layer Mask and a Filter mask, which means that you can use it to replace a sky or apply any filter adjustment to part of your image.
Luminar also includes a Radial Mask and a Luminosity Mask. Whatever shape or detail of mask you need, Luminar can provide it.
The masking brush works with tablets, like my Wacom Intuos5. It understands pen pressure, opacity, and radius when you use a compatible tablet.
Getting Started with Luminar for Windows
Luminar for Windows is a powerful tool. Here are the recommended system requirements from Macphun to make sure you get the performance you expect:
Luminar is a RAW editor, so you can expect it to work on a number of file formats, including:
Click here to download the FREE Beta of Luminar for Windows. Don’t forget to use my discount coupon code of BEEM when you decide to order. It’ll save you money.

