Affiliate Disclosure: We earn a commission if you purchase through one of our links at no additional cost to you.
How often has someone told you that you have to know your gear? Too many. It’s almost cliché. How do you know when you know your gear?
The Aha Moment
The problem with truly getting to know your gear is that there can be so much of it. It’s not just a matter of knowing the exposure triangle and how to change settings on your camera. That’s the easy part.
Here’s an example from a culinary perspective. I used to work for Le Cordon Bleu. When a prospective chef instructor wanted a job, the test was to give him or her a mystery basket and see what they created. The mystery basket was just a collection of unknown ingredients. The chef doesn’t get to create a practiced specialty. Instead, it’s a test for the chef to think on his feet.
The interviewers want to see if the chef has a good handle on the fundamentals of technique and the creative spark to make something out of an unexpected basket of items.
As you can imagine, some failed miserably and others astonished the interviewer in this simple test.
Photography is your mystery basket. There are always unknown challenges that rise up out when you aren’t expecting them. How you handle them depends on how well you know your gear and use it creatively.
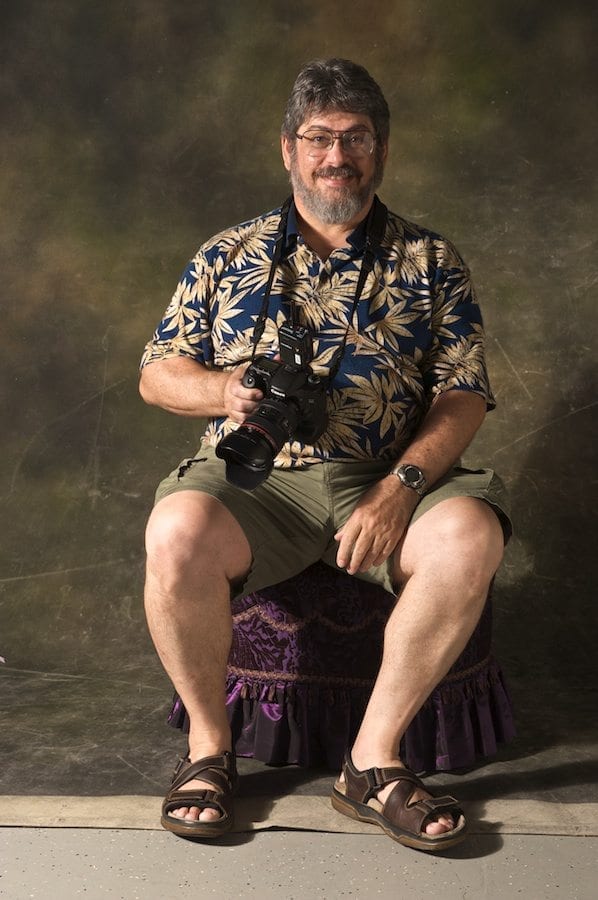
That happened to me some weeks ago. I showed up for a photo shoot with some relatively new gear (new to me). I brought my Nikon CLS flashes and the PocketWizard Mini and Flex transceivers.
Like a good boy, I practiced with them the night before. Although I had no practical experience with them, I thought I understood how they worked and was ready to take them on a live shoot.
Damn things didn’t work. Not even the slightest sign of life. I repeated everything I did the night before but couldn’t get them to fire.
All of my planning went out the window and my mystery basket just arrived.
Know Your Gear: Training Day
Here’s another cliché. You don’t know what you don’t know.
How do you prepare for things that you don’t know about? One way is to know more stuff. Reduce the opportunity for the unknown to bite you in the ass.
That’s why I spent the weekend learning how to use my gear differently than I’ve relied upon it in the past.
We all know the fundamental part of photography is exposure. Exposure has both technical and creative aspects to it. You can change the variable to devise different ways to create proper exposure. Technically, each is correct. Creatively, which one is proper? The one you like.
Location shooting never seems to be ideal for me. It’s an exercise in seeing what we have and how I can deal with it. It’s a mystery basket.
As much as I value the experience I get from solving problems on a location, I’ve found that goes much easier if I spend some training days at home refining my techniques and tools.
This weekend, I added a Sekonic L-758DR DigitalMaster Flash Meter to my mix. Having watched Frank Doorhof’s training video, I started practicing at home before I take it out on a shoot. My head was spinning full of creative ideas. Then reality hit.
I knew that I needed to calibrate the light meter. Frank recommended the largest light source you have to get a very flat quality of light on a Calibrite ColorChecker Passport.

The Calibrite ColorChecker Passport Photo 2 is the perfect tool for avoiding frustration with poor colors in your photos.
The Portable Protective Case accommodates multiple positions for easy use with four specialized targets. You can create custom camera profiles based on your individual camera/lens/lighting combinations for DNG and ICC workflows. You can also create a custom in-camera white balance for a consistent white point across a set of images without needing to correct each image later.
The enhancement patches allow you to check and evaluate shadow details and highlight clipping, and the lanyard ensures that your Passport is always where you need it.
I set up my 53″ Elinchrom Midi Octa and shot the Passport just like Frank taught. Normal, three stops over and three stops under.

If you're looking for a softbox that will give you beautiful, round catch lights, then the Elinchrom Rotalux Octabox 135cm is a perfect choice. This innovative softbox features a lightweight dedicated speed ring, which makes it quick and easy to set up. The 53" (135 cm) Octa shape provides a large surface area, making it ideal for close-up portraiture or fashion photography.
Note: For Godox strobes, use the Bowens mount speedring from Elinchrom
When I went to my computer to download the Sekonic Data Transfer software, I discovered that they haven’t upgraded it to work with Mac OS X Yosemite yet. Crap.
No calibration for me until they get with the program.
Next, I tested the light meter with my Elinchrom lights and Nikon CLS flash. The built-in trigger in the Sekonic works with Pocket Wizard signals but not with the Elinchrom Skyport system. That’s not a terrible problem. You can set the light meter to wait for a flash that you trigger, so I can push the test button on the Skyport trigger to get a reading.
Working with CLS was a bit more obnoxious. Rather than using one of my flashes as a master, I tried using the pop-up flash in my Nikon D800 as a trigger. It doesn’t have a test button, so you must take a shot to get it to fire.
Doesn’t seem that problematic. Well, it sucked. I had my Nikon 70-200mm lens on the body, which has a six foot minimum focusing distance. Now imagine that you have your light setup and you’re holding the light meter in front of your subject. It’s time to trigger the flash to get your exposure reading.
It sounds like it ought to be easy. In practice, it was a pain in the ass. A Nikon D800 with a battery grip and 70-200mm lens attached is a heavy and unwieldy beast that doesn’t want to focus and fire with one hand while you hold a light meter in front of your model’s chin in the other. It took a bit of time tweaking settings and body language until I could finally get an exposure reading.
The good news is that, even without calibration, the exposure worked well. The other good news is that my model was a 1/4 scale statue of Chewbacca, so nobody complained about all of my fumbling around. The bad news is that there’s no way I’d try to make this mess work in front of a live subject. Models aren’t as forgiving as Chewbacca.
Clearly, I need to resolve my Pocket Wizard issues and use the built-in radio trigger of the light meter to take readings when I want to use flash instead of strobe. That, my friends, is why a training day is a great way to know your gear. Make your mistakes at home and try to make new mistakes all the time.
It’s the best way to keep your subjects happy.