Affiliate Disclosure: We earn a commission if you purchase through one of our links at no additional cost to you.
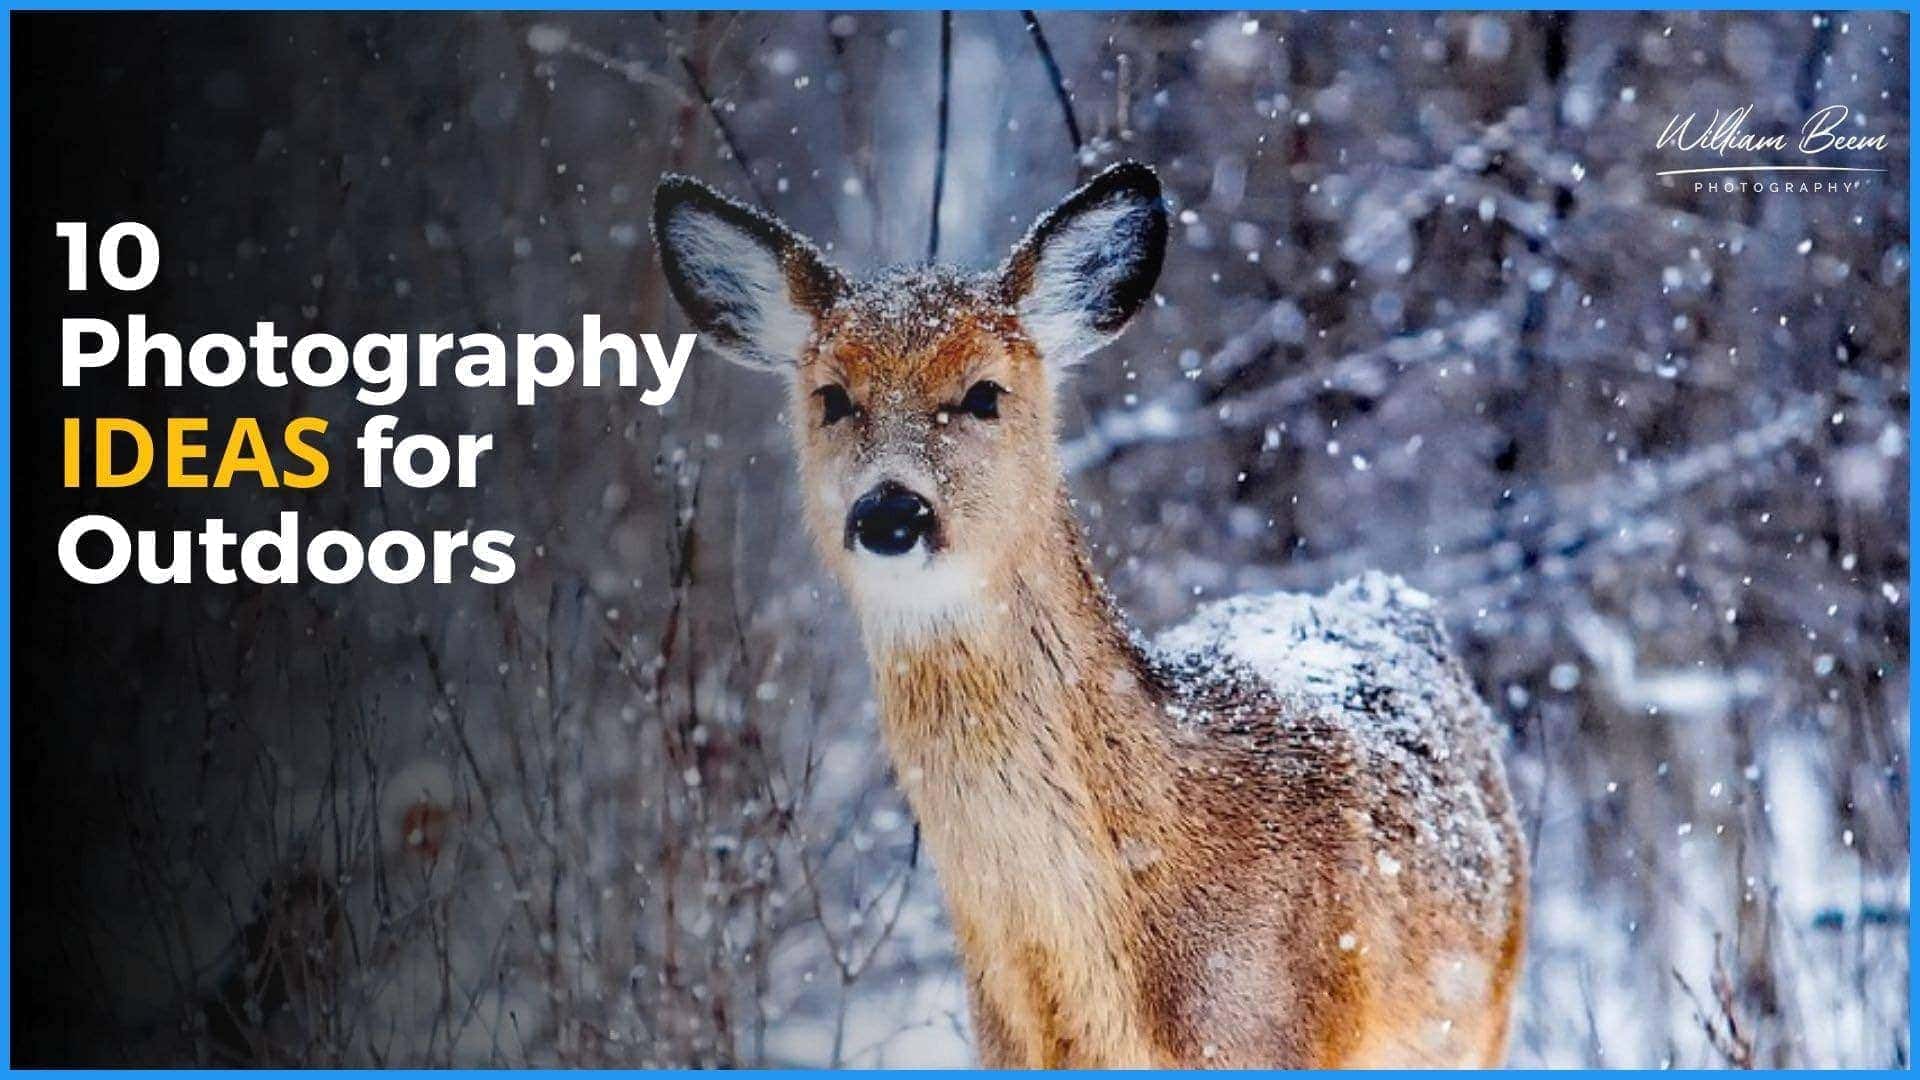
Spring has sprung and we’ve been locked inside for too long. That’s why this episode has 10 great photography ideas for outdoors.
Why outdoors?
It smells different. It’s exciting and full of possibilities. Also, taking photos outdoors means that you have to selectively choose what gear you want to bring with you and work within those limitations.
This episode is all about photography ideas for outdoors so you can challenge yourself, learn and grow as a photographer.
Challenge Yourself with Photography Ideas for Outdoors
In the previous episode, we talked about 10 photography ideas at home. As I said, all your cool stuff is at home. One of the challenges of outdoor photography is determining which gear you’re going to take with you.
Either get selective or get a sherpa to carry everything around for you. I guess that depends how much stuff you have and if you’re willing to lug it around.
1: Play with Puddles (reflections)
Look for reflections when you’re outside. It’s an interesting compositional idea to show your subject. You can find reflections in water, glass or any other shiny object.
Sometimes the best way to see your subject isn’t in a straight-on directional photo. Reflections show how we can see our world in different ways.
During the podcast, I mentioned being with Trey Ratcliff at Walt Disney World’s Magic Kingdom where he got a reflection photo by asking the janitorial staff to push some water around the asphalt to create a reflection.
Here’s a link so you can see that photo of his. It’s the seventh image on this blog post.
Trey’s 7 Favorite Disney Photos
2: Create a Panorama
Sometimes you can choose to create a panorama instead of reaching for a wide angle lens. The problem with shooting a wide subject with a wide angle lens is that you end up with a lot of wasted space on top or bottom of your photo, leaving your subject difficult to view.
By creating a panorama, you can zoom in closer to your subject. Take several photos, and then stitch them together in Photoshop or another tool to create a panorama. You end up with a wide result that exemplifies your subject without wasted space.
You’ve seen panoramas before on city skylines and similar subjects. Give it a try in your area.
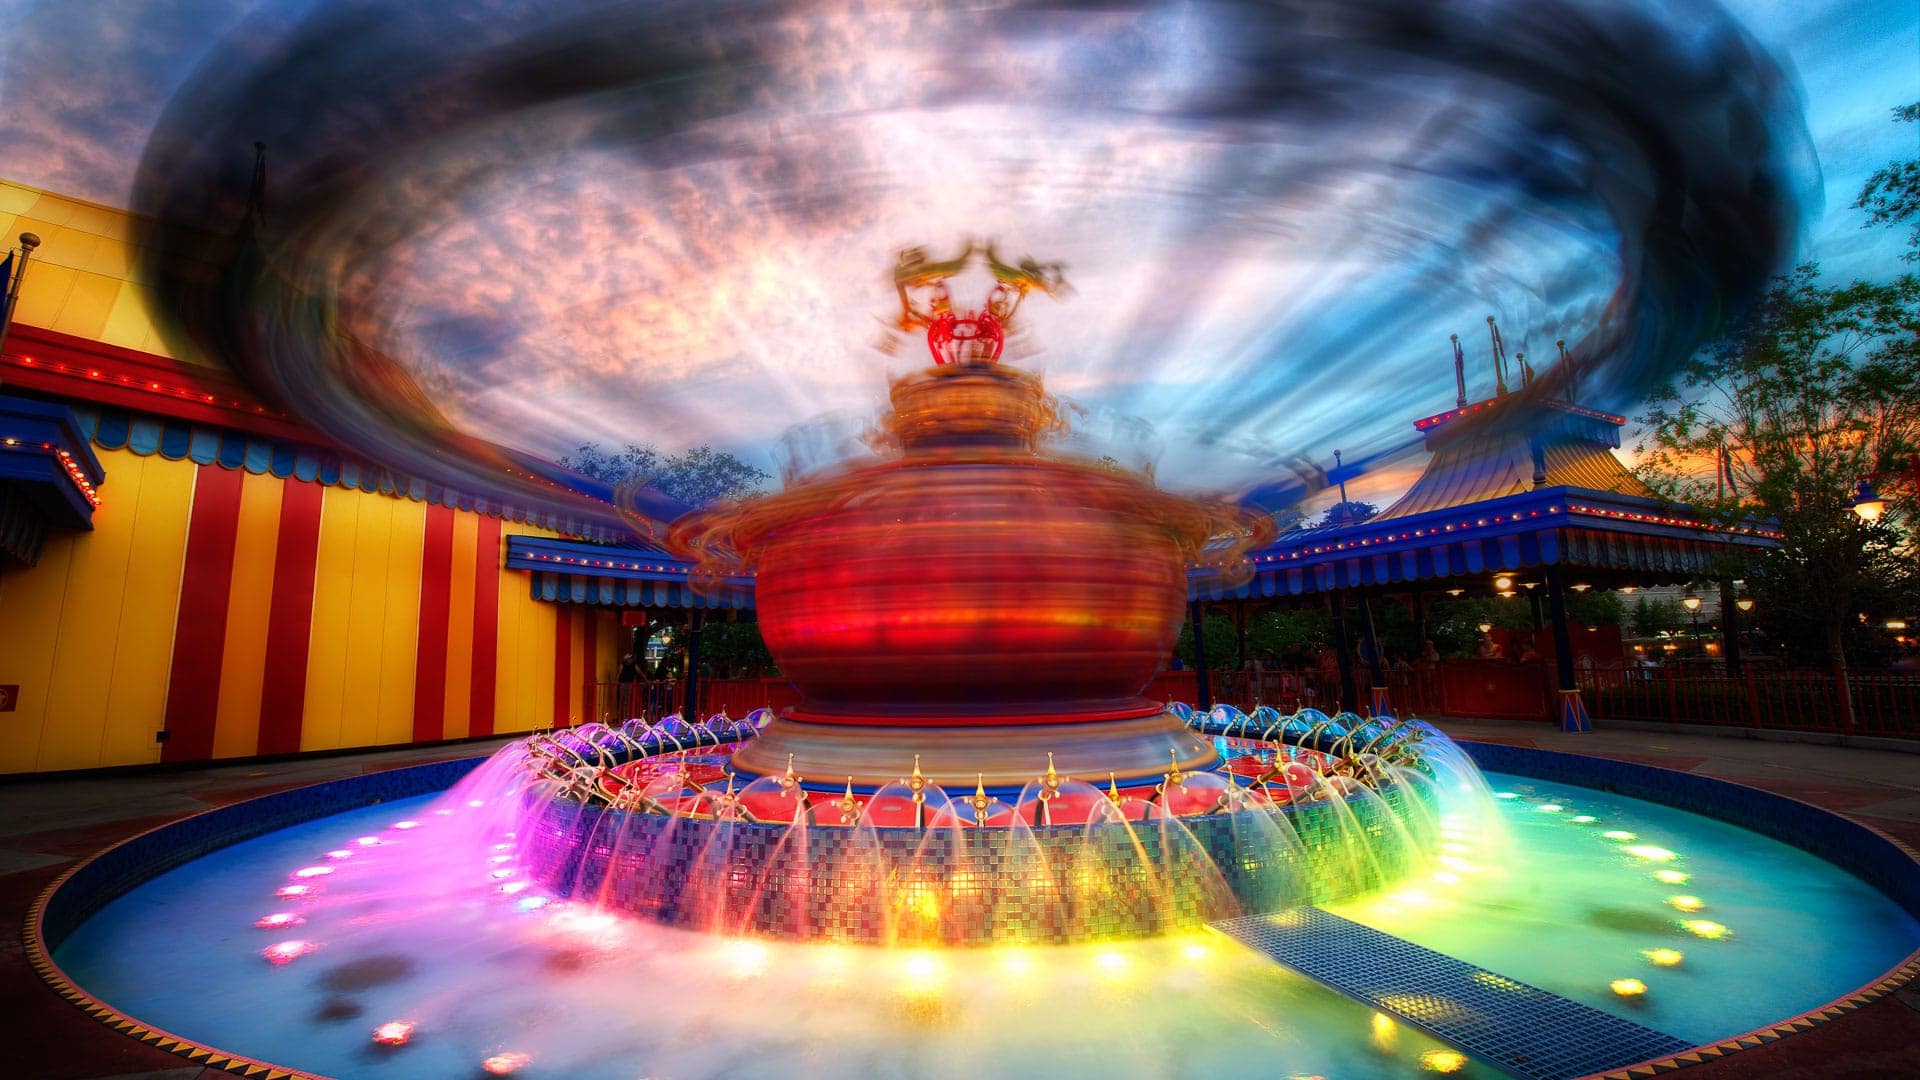
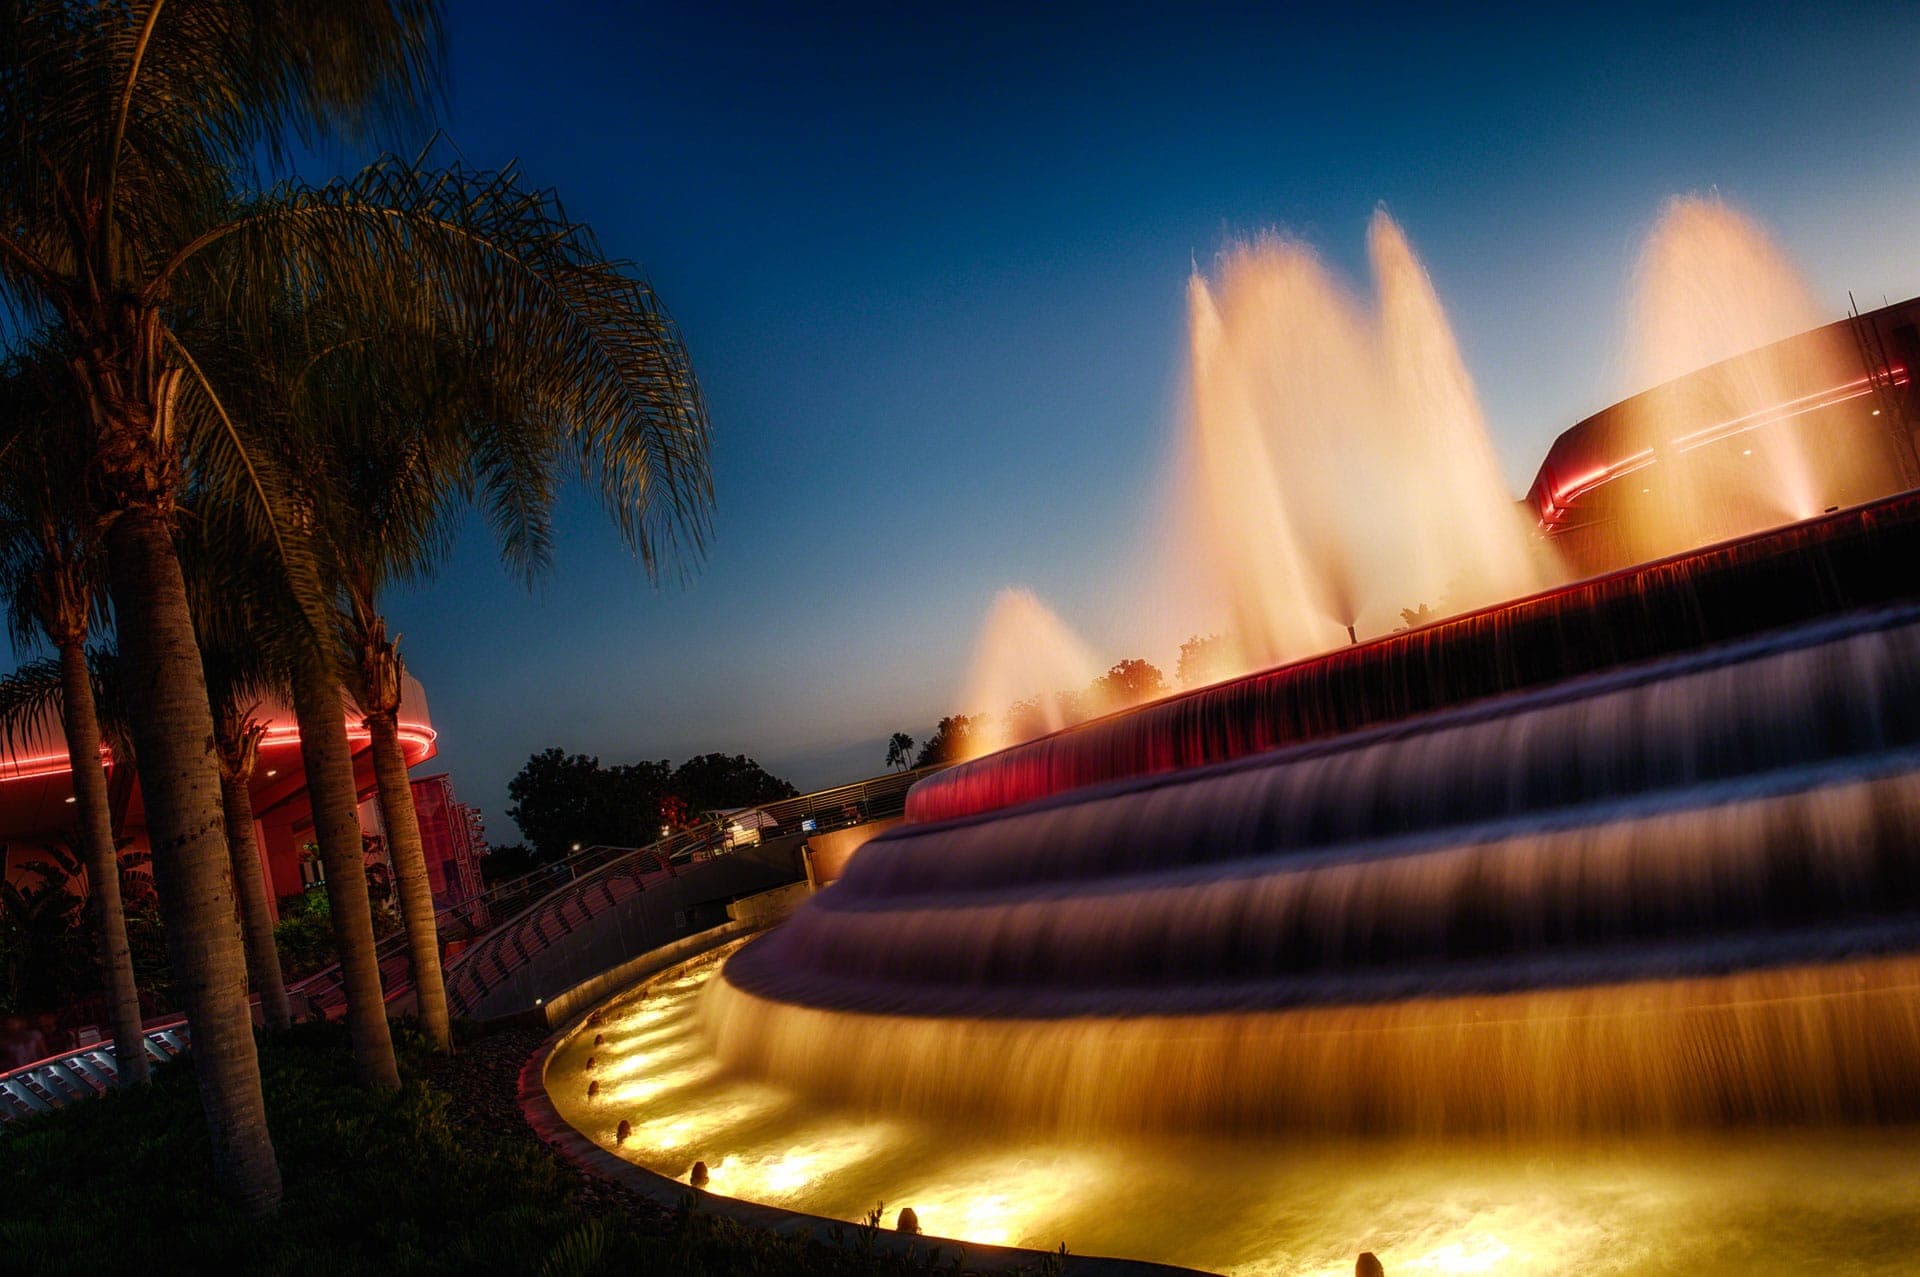
3: Take Long Exposures
Long exposures are perfect for showing motion. Since a still photo obvious can’t show motion, we have to give the viewer a sensation of movement.
What kind of photos can you get with long exposures?
Think of silky smooth water, light trails, fireworks. You can use blur to show movement from cars, bikes or even a dancer shaking her hip.
Since I made a lot of references to long exposure photos at Walt Disney World, here are a few examples.

4: Shoot through Natural Frames
Don’t let the phrase “natural frame” confuse you into thinking that it only occurs by something that isn’t manmade. A window or doorway can be a natural frame. So can some branches or anything else that gives a framed view to your subject.
The idea is to find something that narrows the viewer’s attention on your subject. If you find it while taking photos outdoors, it counts as a natural frame.
5: Take Photos in Bad Weather
I love a bright, sunny day at the beach, but that doesn’t tell the entire story of life in our world. Sometimes we have bad weather. That’s not only part of the story of things outdoors, but it can come with some very interesting scenery.
The first thing I mentioned on this list was to use reflections. Well, rain causes puddles. Not only do you get reflections, but you could create a detail shot of a raindrop hitting the puddle. The result creates rings of concentric circles, as well as some interesting droplets as a result of the rain hitting the water.
Fog has some interesting particulate matter in your environment. A snowfall could be comforting (if you’re inside) or give you a different impression than a day at the beach.
Now, please do not put yourself in harm’s way. I know some people like storm chasing, but I actively avoid lightning and tornadoes. I recommend you do the same.
6: Find Deep Compositions
Given the choice of photographing a subject against a wall or having an amazing scene behind them, I’ll go for the latter.
Pay attention to movies and their composition. You’ll notice that depth in a scene is practically a requirement. Scenes are more interesting if you have a foreground, middle and background.
This goes with my regular advice of background, light and subject. Find an interesting background and good light. Put someone in front of it and you’re well on your way to an interesting photo.
The nice thing about photography ideas for outdoors is that there’s a LOT of space for deep compositions. Don’t lock yourself into a trapped environment. Use that space to create a sense of depth.
7: Photograph Architecture
Even if you’re not interested in architectural photography, I still recommend this as good practice. That’s because we all end up taking photos with buildings in them, sooner or later.
Perhaps you have travel photos, you want to capture an interesting building or room. Maybe you’re taking portrait photos with a building or background in them.
The problem is dealing with the buildings that lean inward, leaving an amateurish result.
Now you can deal with them with perspective control lenses (which many of us don’t have) or you can deal with them in post processing. For most of us, that’s the case.
However, you still need to know how to shoot for later correction, and that’s why this is a good practice.
Check out my YouTube video below that shows a comparison of two tools that can help you deal with perspective issues in post processing.

8: Photograph a Sunrise/Sunset
Photographing a sunrise or sunset isn’t as easy indoors as it is outdoors. The nice thing about these times of day is that the provide beautiful light and colors.
However, the sunrise or sunset itself isn’t the subject. It’s the setting. Find something to use as a subject and put it on front of the beautiful scene.
I don’t care if it’s a bucket of beer, a person or your own toes. Just use something as a subject in the scene. That combines the previous suggestion of deep composition with an interesting setting.
The challenge with sunrise or sunset is that the sun is always moving. That means you need to be prepared for different colors, changing light and be ready to capture it all.
It’s a great challenge to take photographs outdoors when the light and scene keeps evolving.
9: Find interesting Shadows
Shadows are your friend. They define the edges of our subjects ad give them a three dimensional appearance. Without shadows, everything looks flat and boring.
Of course, we want to experiment with different types of shadows. Sometimes you want a hard edge and other times you want the shadow to gradually diminish.
You can find this in nature, depending upon the time of day and weather. You can also bring a reflector and diffuser to create your own hard or soft shadows.
Keep in mind that sometimes an interesting shadow can be the subject, too.
10: Experiment with Wide Angle, Normal and Telephoto lenses on the same subject
One of the best ways to understand the effect your lens have is to go out and take photos of the same subject with different types of lenses. Get your wide angle, your normal view and your telephoto lenses and start taking photos of the same subject.
Try to get the subject to have the same area of the frame used in each photo.
Now start looking at the results. See how different focal lengths and angles of view change your subject and the area around it.
This is one of the best educational exercises you can perform, because it helps you know your gear and discover which tool is right for a given situation.