Affiliate Disclosure: We earn a commission if you purchase through one of our links at no additional cost to you.
Aurora HDR is shipping now. I had time to work with a pre-release version, but now I can show you the released version in this video. We’ll review the user interface and you can see how easy it is to make stunning photos in one tool.
First Look Video
I had a chance to play around with a pre-release version of Aurora HDR by Macphun and Trey Ratcliff. I’m very pleased with the product and I really wanted to show this to you.
Before I heard of this product, I started wondering if HDR as we knew it was dead. There are a lot of fads in photography and I heard others claim that the days of HDR were behind us. We have new cameras with better sensors. They capture more dynamic range, so a single image has more data to control highlights and shadows.
Not only that, but HDR was known for having a “look”. A grungy look, sort of like Elvis on velvet after a bad acid trip. A lot of photographers went through pains to make their HDR look more natural, but it was a long process.
We would tone map our bracketed photos, then load the originals in as layers, often masking in bits and pieces of the original frames to make up for the ugly artifacts that tone mapping created in the sky or other areas. We had to eliminate halos and use multiple programs just to get our dynamic range correct in the photo.
Once that was done, then we could work our magic with Photoshop techniques or more plugins. By the time you bought all of these tools and worked on a single image, HDR became a rather expensive and time consuming process to show the world as we saw it, or at least, as we imagined it looked after a little tweaking.
Aurora HDR is the first HDR program that eliminates all of that expense and time consuming hassle. While it works as a plugin to Photoshop, Lightroom and Aperture, it also works as a stand alone product. That’s how I show it in this video.
You can make beautiful images in minutes using only Aurora HDR. It includes layers, masks, gradients, color grading, curves, vignettes and more. You can add detail to your image, make it glow or soften the harsh parts. You can make global adjustments or use layers to make selective adjustments. When you’re done, you can crop it and share to your favorite online services or toss it over to the other Macphun tools, Photoshop, Lightroom and more.
It’s all inside of one program.
I can honestly say that Aurora HDR provides me with the fastest workflow I’ve ever had to achieve some excellent results from my HDR photography.
That’s why I’m really happy to share it with you. Here’s my first look to walk through the user interface and demonstrate how I work through some of my images.
Get Your FREE Trial Of Aurora HDR
It’s always smart to try before you buy. Just go to https://williambeem.com/macphun to get a free trial of Aurora HDR or any other Macphun software.
That is my affiliate link. It adds no extra cost to you if you decide to buy using my link, but it does provide me with a small commission to help run the site and add new material.
As an added incentive, I stand behind the products that I promote. If you purchase from my affiliate link, you can contact me with any questions or support issues and I’ll be happy to help.
For those of you who have already used my affiliate link, thank you very much. I appreciate your support and I’ll be creating more videos to show how to use Aurora HDR and other tools.
Why do I make this offer? Because I only recommend the stuff I use. I only recommend the stuff I think you’ll love and I want you to know I think it’s something you should use.
Macphun Coupon Code
As a reader of my blog, you don’t have to pay full freight for your Macphun software. You can save 10% on Aurora HDR and the Macphun Creative Kit using my affiliate link and coupon code. Just visit my link (below):
I’m happy to share this with you. Here’s how it works.
- Just visit my link at williambeem.com/macphun to visit the Macphun site.
- Select the Store link and look at the software, packages and options.
- Use my Macphun coupon code: BEEM where it says “Enter Promotional Code”
The Macphun Checkout Process
Sometimes visual aids are the best way to avoid confusion. Here’s the checkout process that will save you 10% on your Macphun order.
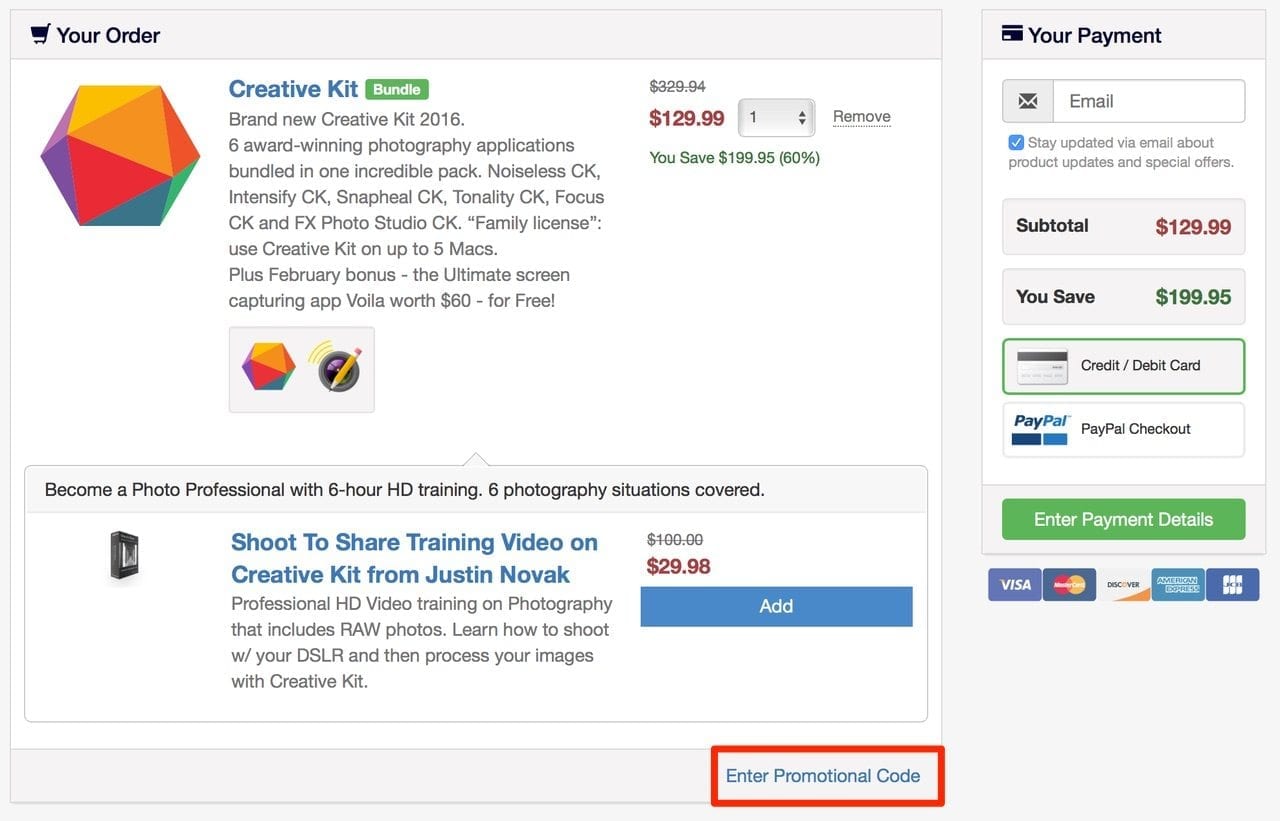
Once you select your items and proceed to the payment area, you’ll see a screen like this one.
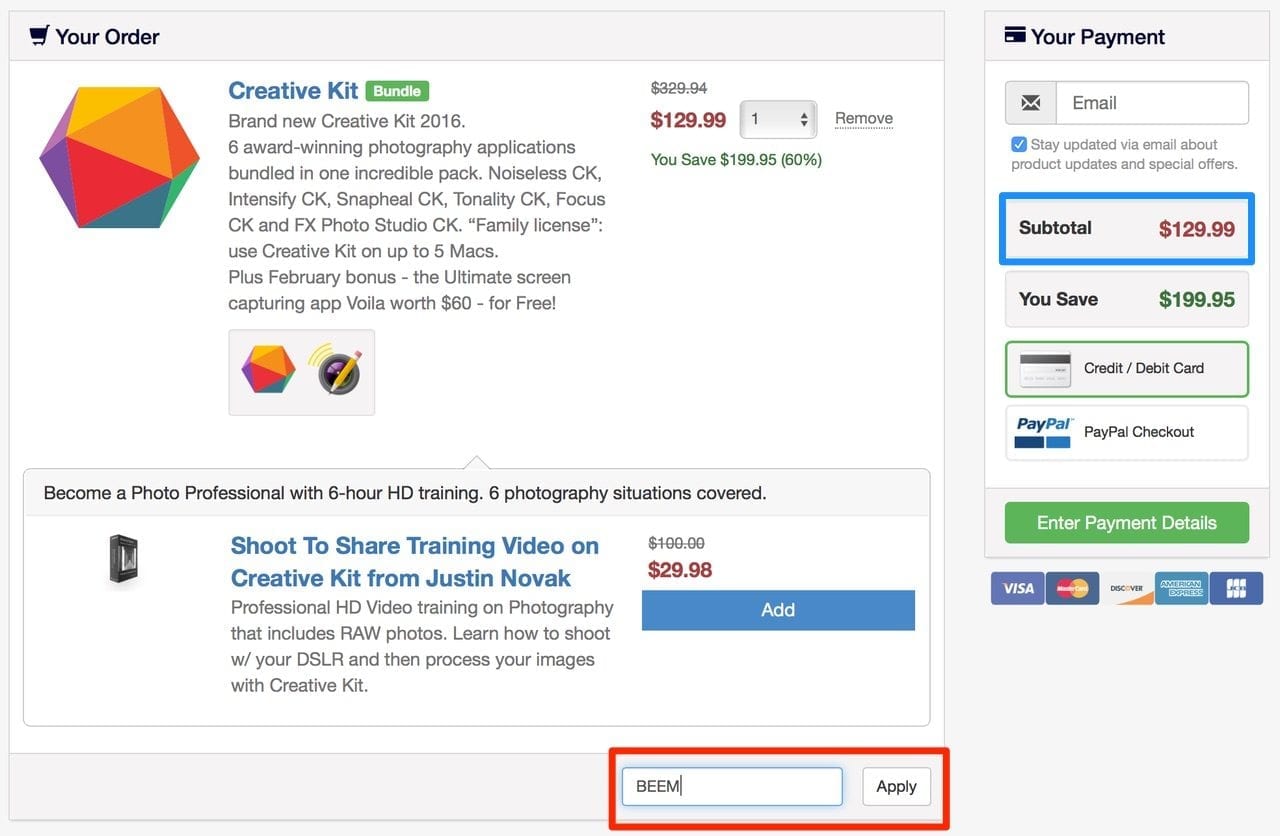
Make sure you pay attention to the are I enclosed in RED at the bottom. Click this link to enter my Macphun coupon code: BEEM. Then it should look like this after you enter the code.
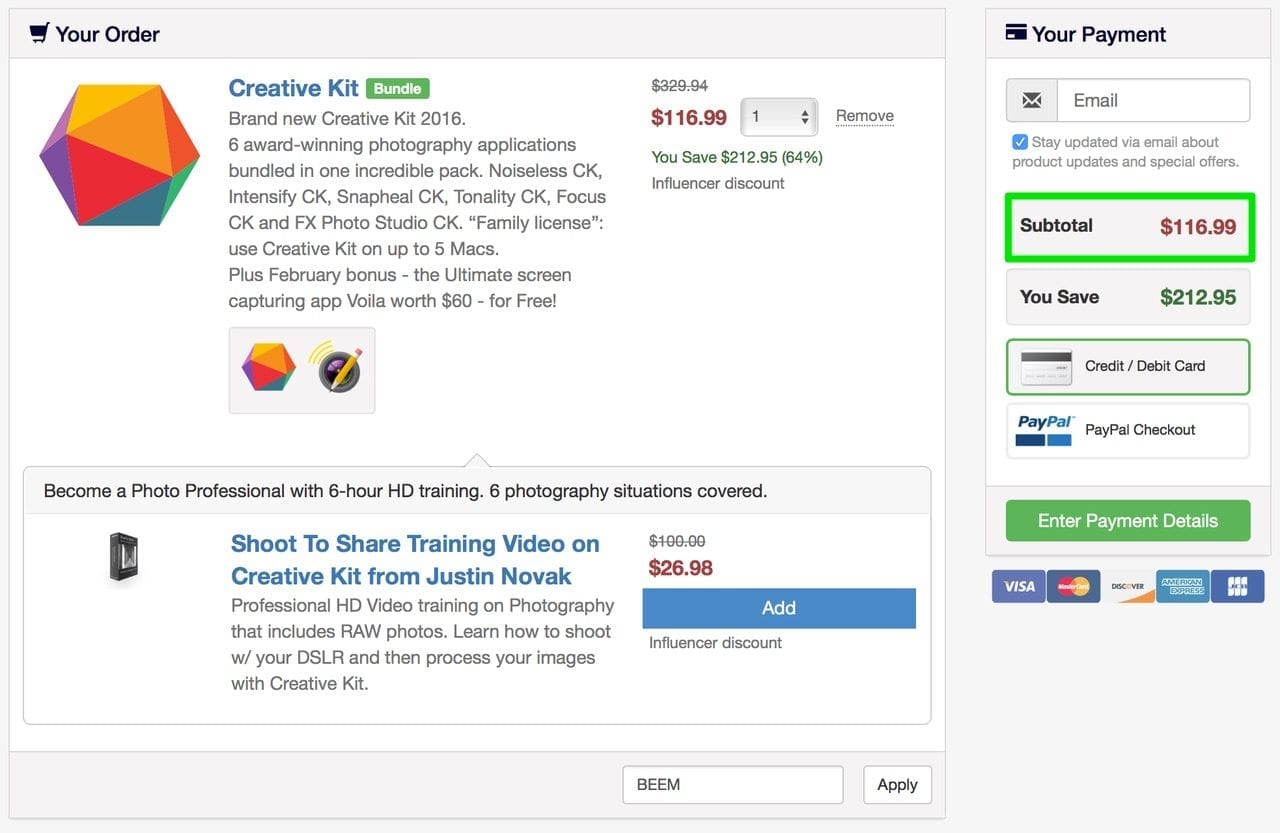
Notice the price in the above window that I enclosed in BLUE. Click the Apply button and your screen should now look like this one below.
Just like that, you can see the price dropped! All you had to do was click, type, click and you saved some money. Who wouldn’t want to use something so simple and valuable?
Since this is an affiliate link, my standard rules apply. If you buy from one of my affiliates, I’ll stand behind it and help you if you need it. I only have affiliate relationships for products that I use and would recommend to a friend like you. If you need something, just visit my Contact Page and let me know.
Want to learn more about Photography software? Click below to check out articles about Adobe, ON1, Skylum, and more.
Photography Software Articles

