Affiliate Disclosure: We earn a commission if you purchase through one of our links at no additional cost to you.
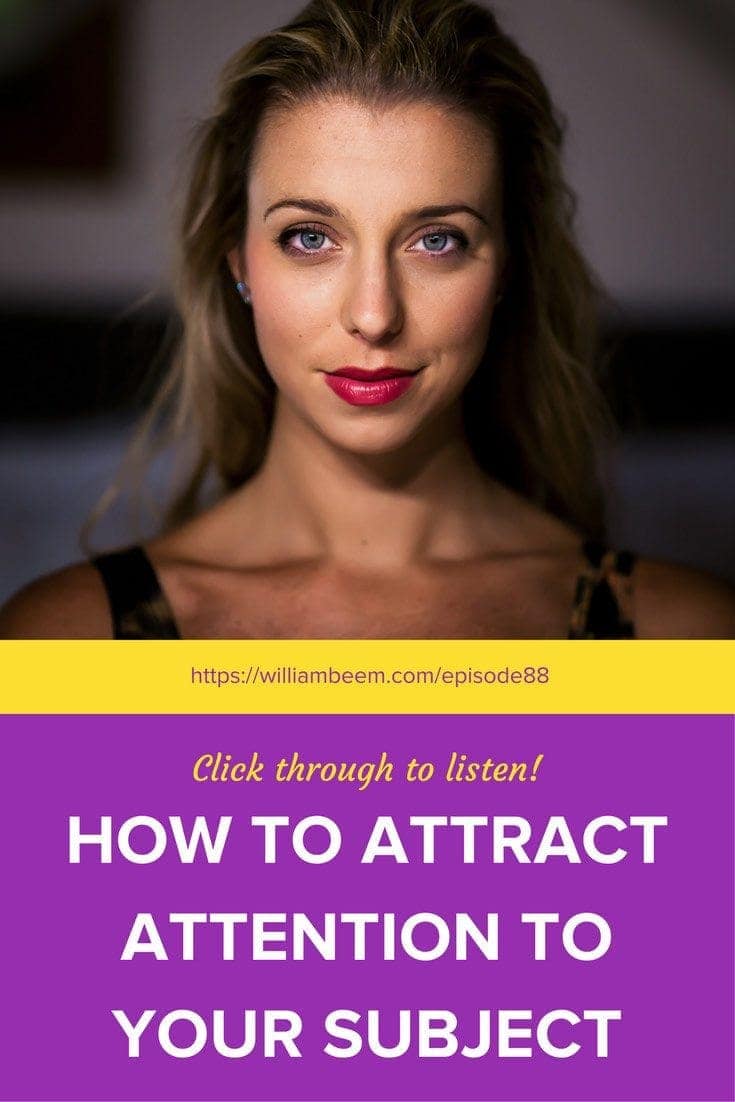
5 Tips to Draw Attention to Your Subject
If you want people to like your photos, you need to know how to draw attention to your subject. The world is full of photos. Some of them are good. Some come close to being good. Most really suck.
This isn’t another recommendation to use the Rule of Thirds or Leading Lines in your compositions. Instead, we’re going to discuss the things that cause the human eye to react.
5: Unexpected Compositions

Most people will shoot a subject head on, and probably from a standing position. That means most photos are predictable and incredibly boring. You can give your photos a tremendous advantage by putting your camera in an interesting spot.
Move around your subject. Go left, right, up or down. Look at the light and think about how you can use it from different angles. Maybe you can get a silhouette or some edge lighting by stepping a few feet to the side of your subject.
Is there a place where you can get above your subject and shoot down, or just kneel and shoot from a child’s perspective? Some of these tips may not work for every subject, but the idea is to try them out and see what works.
People are interested in something different. Move around and show them something unexpected.
4: Improve Your Sense of Timing
There is a concept known as the “peak of action”. It’s that perfect moment to capture action. If someone is jumping, get the moment that the person is at the peak of the jump – When there is no more rise to the jump and before gravity pulls down.
The same thing is important in a hair flip. There’s a moment when it looks just right, and other moments when it looks painfully awkward. You definitely want to work on your sense of timing with this kind of shot before your model’s neck gets strained from flipping hair several times in a row.
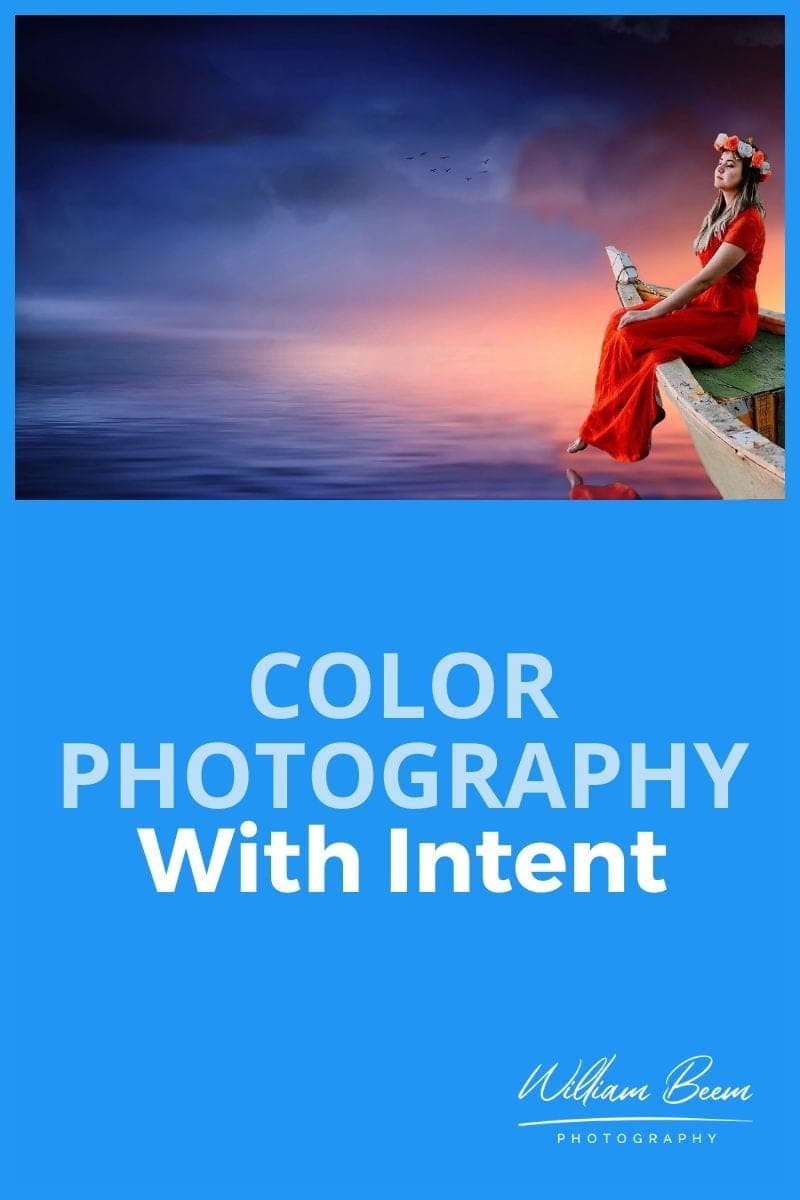
3: Opposites Attract: Use Contrast
Contrast comes in more than one form. You can use black & white, highlights and shadows, or opposite colors. Your subjects can also contrast one another. Use something old with something new. Tell a story about differences.
One easy way to use color contrast is to find a pool or a blue sky. It’s a great contrast to skin tone.
2: Make Your Subject Sharper than Other Objects in Your Photo
There is a reason why photographers spend big bucks on lenses that provide beautiful bokeh. It’s an excellent way of isolating your subject. Bokeh is a pleasing blur in the background, yet your subject stays sharp.
It’s a good way to draw attention to your subject, whether you’re photographing a model or a bird in the wild.
Another way to make sure your subject is sharper than other objects in your photo is to eliminate other objects. Pay attention to your background. Eliminate complicated and distracting elements. Distill your photo to only include what you need and eliminate the rest.
It’s much easier to draw attention to your subject when it’s the only thing in the photograph.
1: Your Eye Goes to the Brightest Part of the Photo
Light is the most important element to draw the human eye. When we’re in darkness, we’re attracted to the light. The same thing happens in our photographs.
You can use available light, off-camera flash, or even a vignette in post processing. Don’t get too heavy handed (though that is a creative choice). The brightest part of your photo is where your viewer will look. Keep that in mind while examining your background.
If you see a hot spot or bright area that isn’t helping, recompose your photograph.
Grab Your Viewer’s Attention
These 5 tips to draw attention to your subject aren’t the only tools you can use, but I think they are the most important. Leading lines, the rule of thirds and the Golden ratio all take a back seat if your subject is poorly exposed and blurry.
Use these essentials and grow with other composition techniques. They’re the best way to draw attention to your subject and grab your viewer’s attention.
Skylum Coupon Code
I mentioned at the start of the show that you can save 10% (or $10) on Skylum (formerly MacPhun) software using my coupon code. This is my affiliate code, which means that I make a small commission if you purchase from me, but it also means that you save money.
For Skylum products like Luminar Neo and Aurora HDR, you save $10.
Just visit: https://williambeem.com/macphun
When you check out, use my Skylum coupon code: BEEM
Transcript
THE PHOTO FLUNKY SHOW: Episode 88
You can find links to this episode and all of the other ones at photoflunky.com and of course if you’d like to subscribe, we would love that. Go to at williambeem.com/itunes or williambeem.com/googleplay or williambeem.com/stitcher or even williambeem.com/blubrry
William: Welcome to the Photo Flunky Show, Episode 88.
We have a practical topic today. We are going to talk about how to attract attention to your subject.
Thank you very much for joining us. My name is William Beem.
Lee: Hi, my name is Lee Beem.
William: And before we get started talking about how to attract attention to your subject, we’ve got our usual little routine. I want to let you know that show notes are going to be available at williambeem.com/episode88 And you can find a transcript of the show there for free. Links to subscribe going to be there and also on photoflunky.com You’ll find this show and others. We’ve got a player with all of our shows there and of course links are there.
And also I want to let you know that I’ve got a discount code. If you are into Macphun, products like Aurora HDR or Luminar, which is also going to be available for Windows now, go ahead and check that out. My discount code is ten percent off most products. It will be $10 off of Luminar or Aurora HDR and the code is just BEEM. Just got to williambeem.com/macphun
Don’t forget to put in the code and save some money. That is an affiliate code so I’ll get a little bit of something if you buy and you’ll save some money if you buy and it’s a good deal for everybody.
Why do you want to draw attention to your subject?
Lee: Well your subject is your photo. If you don’t have a subject, you don’t have a photo. So that’s a good place to start.
William: This actually surprised me but there are some people that think that your photo doesn’t need a subject.
Lee: It just needs to be stuff inside a frame.
William: I had a theme for my blog years ago and I really loved the way it was done. This theme was from Studio Press and it would resize the header image, whether it was on mobile or a tablet or on your desktop, it would resize it. I was having problems. I said OK, when you resize it you are changing the cropping of how the photo works.
Their answer to me was just choose a photo without a subject!
I said, “Are you kidding? I’m running a photography blog!” You want me to choose a photo without a subject? A photo without a subject is …
Lee: A background!
William: Yes, abstract, maybe, but I didn’t get it. Apparently neither did they! So yes, your photos should have a subject; an identifiable subject. Something that is interesting. Even if it’s abstract, something has got to be your subject.
You want to grab your viewer’s attention. You want to draw them into the heart of your photo and that’s going to be your subject. The benefit you get from this is your photo won’t suck. I say it and it sounds like in jest, but really, I’m being serious.
Lee: That’s actually true. I mean, how many times have you seen somebody snap a photo and thing that would be a great background? OK. Where’s the picture? Where is the story? Where is the statement or mood? Not that it’s not pretty. It’s just nothing.
William: A good photo has a subject. It has a foreground, a middle and a background. You want to add depth and dimension. There are a lot of things that you do to make your photograph look appealing to people, but somewhere in there you are expecting to find an element, a person or whatever it may be that is going to be your subject. And you want the photograph to highlight that subject. And if you are not doing that, then your photographs are really going to suck.
I mean the world is full of photos. Some of them are good. Some of them come close to being good but don’t quite get there and most of them just really suck.
And I’m OK with that. There are a lot of snapshots that people take that are not intended to create a work of art. They just want a memory.
Lee: That doesn’t suck. If that is your purpose then that does not suck.
William: And if you get the memory that you want, that’s fine. It’s not for anybody else but for you and whoever you are going to share it with. I totally get that. That’s perfect. But if you’re trying to create something that is a work of art or is conveying a message or is there for some kind of use or purpose, you’re going to have a subject. I hope! And it’s got to be something that you can appeal to people.
So there are a few ways that we have come up with and I can’t say that we invented these ways but we just want to share them with you.
Lee: They kind of stand out as obvious to both of us. Actually you put a list together and then when I read the topic I had my list and we were right on point, even to the same order.
William: These are common things so if you have been into photography you’ve probably heard some of these things before and this is for the folks that maybe are beginning and maybe you are struggling with your composition. Maybe you just need one little pointer to help you get in the right place. We hope that this is going to assist you with that.
Let’s start talking about how to draw attention to your subjects.
Lee: If you’ve got a photo and everything is evenly exposed that is fine, but there are always going to be brighter spots in it. That’s where your eye goes. You go to the light.
William: The human eye wants to go towards the brighter spot. That’s why when we die I think we go to the light at the end of the tunnel.
Lee: I guess. I haven’t died.
William: Neither have I, but think about this: if you are in a tunnel and it was dark and then there is this light at the end, where else would you go? Back into the darkness?
Lee: Naturally you turn towards the light. Not just in photographs but just in life. That’s where you look. Even stages and shows do that. They put a spotlight where they want you to focus and pay attention. It’s to illuminate it and make it stand out. If you make something stand out by lighting it, then the lightest part is going to be where the eye goes.
William: So you can do the same thing with your photos. You can do it as you are taking the photograph or perhaps you can do it in post processing. The idea of putting on a vignette in post processing is to darken the edges so that your eye doesn’t wander outside the frame and it pulls you back inside. And you want that vignette, not necessarily just in the center of the photo, but you want it in the center of whatever your subject is.
Lee: Just go easy on that vignette. You can adjust feathers, depending what program you’re using. You can always adjust the feather – almost always.
William: The vignette should not club you over the head. It shouldn’t look like you are literally in a tunnel with solid walls. And how much is going to depend on the photo and the exposure of the photo overall. That’s just a point I couldn’t resist raising.
It’s a good point. And the other part is it doesn’t have to happen in post processing. If you’ve got a flash or a studio light, that’s why we light our subjects.
Lee: Or a reflector.
William: You want to put a little bit more light on someone’s face or whatever your subject is. It doesn’t have to be a portrait. But you want to have a bit more light on your subject than you do on the rest of your frame because that’s where you want your eye to go.
After brightness, your eye goes to the sharpest part of the photo.
Lee: Yes. If you’re out of focus and it’s the brightest spot, the first thing that the viewer thinks is: it’s out of focus! That’s where the eye goes. To the brightest and then notices the focus. And then you’ll naturally start searching for something sharp so you can see what’s going on.
William: You want to identify what is there and one of the things that a lot of people do is to shoot with a shallow depth of field. So that way the background is a little bit blurry and out of focus. In other words you want to get that nice bokeh and it really helps isolate your subject. You can do the same thing with light. You can use the fall off of light to darken the background of your subject and isolate it. Basically what you are trying to do with both light and sharpness is distill everything else and eliminate it so the eye naturally falls upon your subject. So as much as you can, distill. Get things out of your photograph that do not matter.
Sometimes that’s a matter of your composition, sometimes it’s a matter of light, sometimes it’s a matter of sharpness, but putting all those together in combination really helps you make your subject in your photograph stand out and pop.
The next one we have on here is basically opposites attract. Use contrast. Now that could be contrast like your slider for contrast adding darks and highlights or it could be color contrast.
Lee: Yeah, color contrast is great. I see the world with colors. I just love colors. They make me happy. They invoke some kind of mood and that is really what I like so colors and even textures to a degree …
William: That’s another good point. I think that goes somewhat to sharpness as well. If you have got something that has a lot of texture in one place and it’s smooth in another you’ve got a form of contrast there. When I say contrast it doesn’t have to be just the contrast slider in your post processing. It doesn’t have to be just black and white. One of the common forms of color contrast we see in movie theatres – I brought this up on other podcasts – is the teal and orange kind of color contrast. You see someone’s skin tone against a blue sky and it doesn’t have to be just that. When you are looking at your subjects, what are you looking at for color contrast?
Lee: I love cooler colors and sometimes it’s your personal preference. Just like we are drawn to different foods and flavors and have aversions to others, the same is true for colors. You speak to 100 people and you are not going to get the same top three choices for favorite and most disliked colors. I tend to love the cooler colors so anything that is leaning towards touching the warm side is going to be a secondary or tertiary color so blues are my thing. I like the blue greens. If it’s teal it needs to be more on the blue side of teal. I prefer my cool colors and that is just personal preference.
William: So when you are putting together some of your food photography and you’ve got the natural colors whether lettuce or tomatoes or whatever, what are you looking for to make something stand out?
Lee: For me it’s very easy because the kind of food that I eat – you’ve seen my plate. I put all kinds of things together. You’ve got your neutrals and often your starches are neutral so I usually have a base of neutral colors in there but my fresh produce … I’ve got the greens from anything leafy, I’ve got tomatoes or maybe some red grapes. There might even be some green grapes in there and some fruit that’s been cut open and is orange. I really look at the colors that I have. If I have a lot of widely varying colors, which generally I do, I will go for something neutral as my background. So I am likely to go for something more natural wood or something almost a gray color. It’s not my first choice, but it will work. Browns … generally warmer colors work for that.
William: I know you’re right because when we went to the produce market we filled up the basket and they’ve got a brown wicker basket. We set it down on some dark mulch. But then popping out of that you had all of the colors of your leafy green vegetables, tomatoes and peppers and it worked that way because the neutral colors didn’t fight with your subject.
They actually made a good background for it.
Lee: Here’s the other side. A few weeks ago I did some home baked bread and when I photographed it I had a neutral color for my subject and so I just got some card and paper and various things to put some color in there. So I shot it a few times and I shot it once with a white or black background, but I’d put some little accessories in there that had bright colors like some little flowers or some leaves. I don’t actually recall what it was, but things that sort of went with the theme of the bread. The yellow and yellowish color of the butter helped. But I did put some cool colors in there and then I tried it again where I just took some paper that had a different color for a real close up. I think I only had a document sized piece of card and I tried it with a blue and that really helped the bread stand out.
William: Another option I’ve gone with is sometimes I’m doing a pool shoot and you’ve got this wonderful crystal blue color of the water in a pool. You put a person in there and their skin tone is automatically going to pop out of that. And it is just a nice, wonderful way of getting a shot of somebody when you’ve got that clear blue water behind them and it really makes your subject isolate and stand out.
Lee: Nature kind of gives you colors in a color wheel. A lot of the time you can find that if you compose correctly, they will go correctly and that’s almost irrespective of the light that you’re dealing with at any given time. Some light is going to be better for enhancing and making it more vibrant, but nature’s colors are a good place to start.
William: One of our next items is to develop your sense of timing. By that it doesn’t mean that you have to be at an event where something is jumping up and down or moving all over the place at a fast speed. Sometimes a sense of timing can be as simple as which frame you select when you’re shooting people just walking down the street. If you’ve ever taken a number of frames of people walking, you’ll notice that sometimes their legs look kind of awkward in the photo when they are frozen. If the step is going forward and the leg is straight, it’s not so bad. But if their knee is bent, they’re down a little bit and the other foot is up a little, it looks weird. Almost like they are trying to balance somehow.
Lee: I can totally relate to that. Actually that’s a really good one because from running you see race photos – not just my own – I see a lot of them. Sometimes you’ll get a picture where somebody looks like they are almost walking or shuffling along the ground, but you see in the next picture that they have where they are literally airborne. And that is the difference. That is the same person and the next frame was taken maybe a split second apart, but it was just that moment that counts.
William: And that moment is called the peak of action.
And that’s really what you are looking for with your sense of timing. You are going to make some mistakes when you are trying this out. If you are looking through your lens and your viewfinder trying to catch that peak of motion I think you are more likely to miss it than if you just set your camera up to the right place and watch and then maybe have a shutter release and click it.
So I have done this with models before. I try to have them flip their hair around and try to catch that peak. And when I’m looking through my viewfinder it doesn’t really show me what I want to see. I put my camera on a tripod, get a cable release and just watch them and then I can see that right moment and I don’t have to think about holding and focusing and all those other things at the same time. All I’ve got to do is push that button.
So you need to work on your sense of timing to catch that peak of motion; that ultimate moment when something is almost still and then that’s when you’re going to hit it. That’s when I found the easiest way to do that is with a tripod and a cable release.
Lee: Yes. Wonderful things!
William: So that’s what you’re looking at. And here is our last topic for the day. Move around your subject.
Lee: Yes, get different perspectives. Also as you move around or even tilt and shift your subject slightly. You will get different light hitting the subject, you will get different moods. And it changes your background.
I was doing that the other day with a still life I was shooting and the light was pretty steady the way I had it set up, whichever angle I came from, but I was trying to think of different crops. I needed a similar picture for different purposes and I actually had to move around, rather than moving the things around to get the shot. Moving the stuff wasn’t going to get me the same result. It’s a fine line. Because a lot of the time either will work. In this case I knew I could just move … then I thought no – that’s not going to work.
William: And sometimes you can’t move your subject. You know, if you go off and shoot landscapes, the mountain is going to be where the mountain is.
Lee: How uncooperative.
William: If you’re out shooting wildlife, the gorilla is going to be where the gorilla is. But the nice part about moving around is whether you go up or down or left or right, you see different perspectives and you see how the light plays on your subject and that makes a difference.
Most people will stand right in front of something and just put it in the center of the frame and click away. And they think, “OK, I got it.”
But some of the most interesting photos I’ve seen are from perspectives that you wouldn’t typically expect.
You see the same thing but from a different point of view and that adds interest in and of itself.
Lee: Yes, from the top, from below, from the side, through an aperture …. a sneaky angle.
William: Well, think about it. We were doing some lighting testing just about a week ago. I asked you just to stand there. The light was shining straight in your face and I took a photo of you and please don’t hit me for this, but it was unremarkable.
Lee It really was. I said I didn’t like it.
William: But I moved around and took the same photo of you with you looking at the light and we got just that light on from a profile with the light just on the front of your face like and edgy looking thing and you looked up and said: “I like that”
Lee: Yes.
William: All that took was for me to walk 90 degrees from one side of you to the other.
Lee: Yes, and I just had to turn my head very slightly.
William: Same thing with … I keep going back to Walt Disney World for my examples, don’t I? But Cinderella’s Castle – you know the sun is going to come up on one side and it’s going to go down on the other side. Depending upon where you are and the ankle of light, you can take the photos straight down Main Street, but the sun is never going to be coming down Main Street or setting behind it. It’s always going to be on the left or right of it.
You move around and you get a nice angle where the sun is just peeking through one of those little minarets or any part of it. You just get a very different view of that castle than just looking straight down Main Street. But almost every photo you see people walk down Main Street, got the picture of the castle, let’s move on.
Lee: And everything is gray.
William: Yes. So you can do some interesting things just by getting up and moving around your subject. Even if the light doesn’t move, your subject doesn’t move, that gives all the power to you to try and move around and see what you can capture.
Thank you very much for listening to the Photo Flunky Show. We really appreciate you.
You can find show notes available at williambeem.com/episode88 and you’ll get a transcript of the show for free. There will be links to subscribe to us on iTunes, Google Play Music and Blubrry and others.
And also, don’t forget I’ve got that coupon code for Macphun so if you want to save some money, use the coupon code BEEM. And if you’re a Windows user you can also get a beta copy. I’ll have links to that on the show notes page. You can get it completely free and then later on this year when it comes out you can use my coupon code to save yourself some money.
Thank you so much. We’ll see you again next week.