Affiliate Disclosure: We earn a commission if you purchase through one of our links at no additional cost to you.
Food photography has a reputation as a meticulous craft. It certainly can be. I’ve worked with chefs who laboriously created beautiful meals, but most of us don’t have the time and skill to make those preparations at home. Fortunately, food photography doesn’t have to be fancy. There’s a story to tell with the food you eat every day.
Lee’s Food Photography Story
Lee is a coach and an endurance runner. She eats much healthier meals than I do. She tells her clients who want to lose weight that meal prep is the cornerstone of a good diet.
It makes sense. If you have healthy meals ready to eat, you’re less likely to eat something that probably isn’t suitable for your weight loss goals. Lee doesn’t need to lose weight, but she lives what she teaches. Every Sunday, she prepares meals for herself and our daughter’s school lunch.
Telling her clients about meal prep is one things, but sometimes they fall off the wagon. If someone doesn’t meet their weight loss objectives on weigh-in days, Lee’s first question is about their meal prep.
Invariably, those who failed didn’t prepare their meals in advance.
That’s why she created some photos to use in blog posts to drip out over time. It’s one thing to give people a recipe, but it’s much more effective to show them how it’s done. She used her photography as a visual storytelling aid to help her clients.
How We Created the Set for Her Food Photography
We’ll describe our setup here, but you can make substitutions. Remember that some of the links listed here may be affiliate links. That means there’s no extra cost to you, but I may receive a commission if you buy based upon my recommendation.
Our kitchen and dining room tend to occupy one-half of the same room. The kitchen counter wraps around in the center, which seemed like an excellent place to build her set. The downside of that location is that it doesn’t have an interesting background and is away from window light.
Here’s what we used to compensate for those issues.
1: The Background
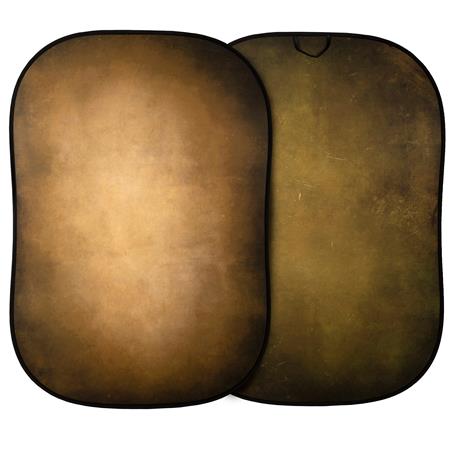
Lee needed a combination of angles of her food. Some would be a bird’s eye view straight down, and some would require a backdrop. We used a Manfrotto 5×7′ Vintage Collapsible Reversible Background, Tobacco/Olive for the backdrop. This thing looks like a painted canvas on each side, so you get two backgrounds for the price of one.
The double-sided Manfrotto 5x7' Vintage Collapsible Reversible Background in Tobacco/Olive is a great way to add a touch of class and sophistication to your portraits, fashion, and product photography. The Tobacco surface offers a range of brown/ochre tones with a slight hint of green, while the Olive surface features a range of deep greens with a touch of ochre. Both sides also feature a dark vignette to the edges. The durable and practical no-wrinkle material ensures that your background will always look its best.
We have a few of these from Manfrotto and some from other vendors. The Manfrotto products cost a bit more, but there’s a fundamental difference. They don’t have any wrinkles. When I used some of the other collapsible backgrounds from different vendors, they were riddled with wrinkles. I wasted an entire portrait session with one of these things because it had hundreds of wrinkles. Never again. I’m only buying Manfrotto collapsible backgrounds in the future.
We get an excellent, neutral background that subtly supports the story of the food prep and final meal images.
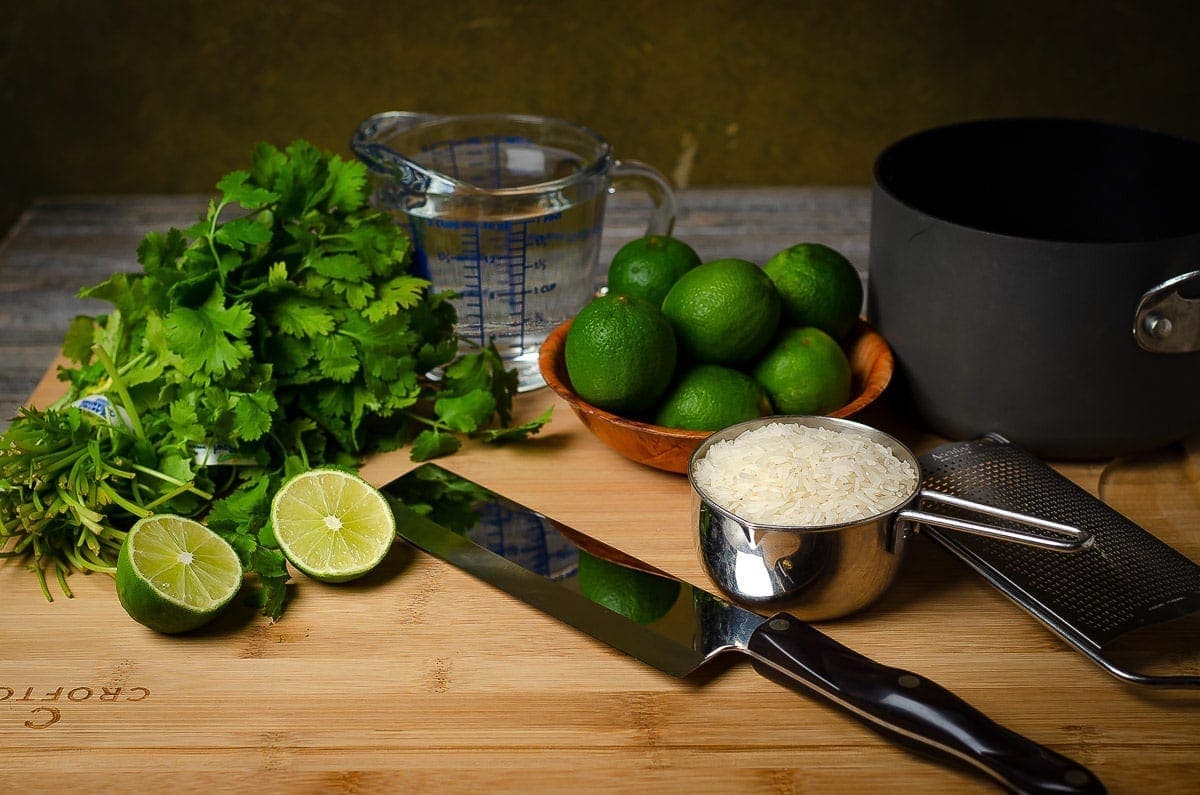
You can see that it’s a bit out of focus, but it looks to have some old-world texture. This is the Olive side, but the Tobacco side also makes for a nice fake wall for these subjects.
2: The Lighting Gear
This was an off-camera flash setup. I provided her with the Godox AD200. The beauty of these lights is that the flash itself is independent of the camera model. You just buy one radio trigger and it works with all of the Godox lights.
This is the Godox XPro-N trigger for the Flashpoint/Godox lights. If you use a different camera, just look at the bottom and change the menu from Nikon to your camera model.
The Godox XPro Wireless Trigger can communicate and trigger any Godox flashes, making it universally effective for flashes and strobes.
With its ability to control Nikon original flashes, Godox camera flashes, and studio flashes, this trigger gives you a wide range of options to choose from regarding your lighting set-up. Featuring multi-channel triggering and stable signal transmission, the XPro is a reliable and user-friendly choice that will help you take your photography to new heights.
IMPORTANT: This is the Nikon version. Make sure you get the version of this trigger that works with your camera brand.
- Easy to use
- Works with all Godox (Flashpoint) flashes and strobes
- 16 Groups and 32 Channels
- 100-meter range
- Modeling Light Status Control
- The Sony version seems to have a fragile hot shoe connector
OK, so that gives us our burst of light, but what did we put in front of it?
I chose a Lastolite Joe Mcnally 24″ White Ezybox. Not only was it the right size for the small set, but I wanted to use this softbox because of the white interior. A silver interior gives you more light output but also causes more specularity. I didn’t want those hot spots on the food, so I recommended this box because of the white interior. It provided an excellent quality of light for the subject.
The Lastolite Joe McNally 24-Inch Satin Ezybox offers an excellent quality of life and is easy to set up. This softbox is perfect for use with shoe mount flashes and gives your photos a beautiful, soft light quality.
The Ezybox folds up for easy storage and has two removable diffusion layers. It's also compatible with Lastolite's softbox accessories, such as grids and creative mask strips. The white satin interior eliminates the specularity that often comes with silver-lined softboxes.
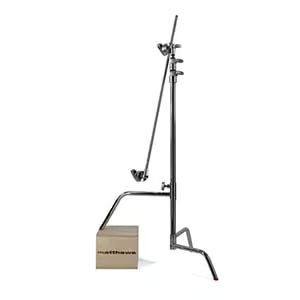
I put the lighting gear on a Matthews 40″ C-Stand with an extension arm. Why not a regular light stand? I needed something with an extension arm to position the light over the food set without actually being in the way of Lee’s work. Also, a C-Stand is just much sturdier and more capable than a regular light stand.
The Matthews Hollywood C-Stand Grip Arm Kit provides outstanding durability and support for your lighting needs. The stand rises to a maximum height of 10.5 feet and has a stable footprint of 27.5 inches. The sliding leg can be positioned anywhere on the riser to balance the stand on uneven terrain, against stairs, sliding under chairs, tables, "apple boxes," or whatever you encounter. The stand ships with a removable 2.5" grip head and another 2.5" head permanently mounted onto the stand's removable 40" arm, with two 5/8 and 3/8" holes that accept flags, scrims, gobos, and other modifiers.
Though I also have an Avenger C-Stand, I now prefer the Matthews brand. The Avenger C-Stand I bought doesn’t have a knuckle grip to loosen the legs, so I have to whip out an Allen Wrench to adjust them.
Not that Avenger doesn’t have C-Stands with a knuckle down there, but it ticked me off that they even made something so inconvenient that I just refuse to buy that brand anymore. Others work with Avenger stands without any problem, but make sure you know what you’re getting.
3: The Camera and Lens
Lee uses a Nikon D7000, which is a crop-sensor body. Honestly, it doesn’t matter what camera model or brand you use. If you can trigger the light with a radio trigger in the hot shoe, it’s good enough. Camera bodies don’t matter as much as the lens.
Although Lee looked at a few of our lenses for this photo session, she did the whole thing with a Nikon 35mm f/1.4 prime lens. We both love this lens. She had to move in and out with the camera body to get her composition, but that’s life with a Prime.
Nikon AF FX NIKKOR 35mm f/1.4G is a fast, classic wide-angle lens perfect for capturing stunning images with edge-to-edge sharpness. This lens is part of the Nikon Holy Trinity of Prime Lenses, and its nano crystal coating ensures optimum image quality. Great for landscapes, travel, and food photography. We find it works well on FX & DX Nikon cameras.
A 50mm lens will be a rough equivalent for food photography if you have a full-frame camera.
Lee’s Food Photography Rules
Lee discussed some common-sense tips on the podcast that I hadn’t even considered. They make sense and can help you avoid some frustration.
Keep in mind that she was cooking and doing real food prep during this photo session, so double duty is going on here.
1: Use an iPhone or Something Small for Action Stations
Presuming you don’t have any assistance during your photo session, don’t try to manage your main camera over the stove or other places while you’re doing work. Yes, you want to get some action shots. It’s possible you could setup a tripod or stand for your camera to snap photos while you cook, but that may be more trouble than it’s worth for your audience.
Lee used her iPhone for the shots over the stovetop and other action stations.
2: Your Photography Set is NOT for Cooking or Action
Do all of your cooking, chopping, smashing, or whatever else in another kitchen area. Your set is for finished photos only. This is where you very carefully place your food for photography. You’ll make a mess if you try to work here, affecting your later photos.
3: Photograph Your Least Messy Items First and Most Messy Items Last
Your set needs to last through the entire session. If you start with something like watermelon or anything else that drips, leaks, or splats – then you have a mess to clean up before proceeding.
This may not sound like much, but imagine getting a wet spot on a towel or paper backdrop. That stuff doesn’t just vanish right away. Start with Dry items, things that won’t make too much of a mess. Get these shots under your belt before you work with something that could cause a problem.
That tip may change the order in which you prepare your meals, so keep it in mind before you begin.
4: Use Funnels
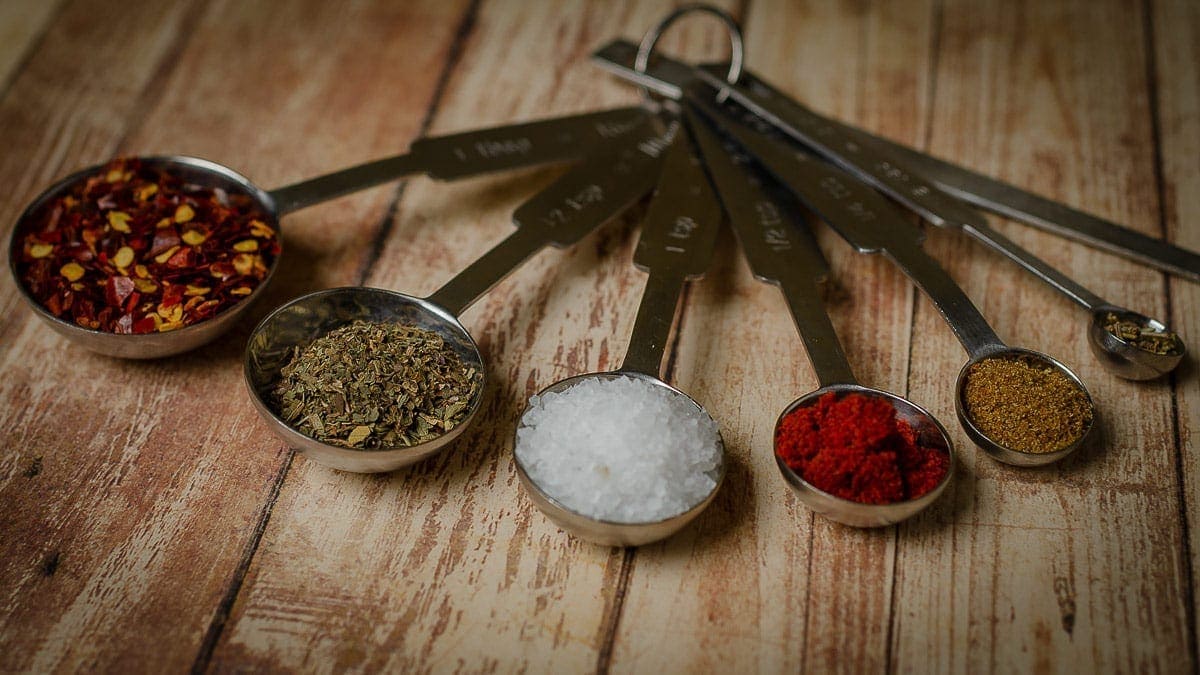
Take a look at this shot. Imagine trying to fill these little measuring spoons by scooping out the spices. It’d get tricky by the time you got to the last spoon.
Lee has some tiny little funnels that she uses to fill these spoons and other items on her set. That eliminates the potential for a mess and makes things look much better.
A few bits of spice got out of place. She used her finger to dab it and removed it from the set.
Also, that nice wood surface isn’t wood. It’s paper. She bought a book of paper backgrounds at a craft store. It looks like the real thing, but it’s much easier to implement. This paper is also why we don’t want to spill anything wet or messy.
All You Need is Lightroom
Photoshop is a wonderful tool, but Lee only needed Lightroom for these photos. It doesn’t take much work to bring out the color, clarity, and light to show off the food.
She selectively imports the photos she wants – often the last two or three of a particular set. She shoots for her purpose. The blog uses 16:9 crops, and she uses square crops for Instagram. That requires a few compositions during the photo session.
The first step is to find the global adjustments needed for all photos. Since they all used the Nikon 35mm lens, a Lens Correction adjustment applied to all of the images. The same is true for her White Balance since the lighting environment didn’t change.
Every photo needs sharpening, but not excessively so. Hold down the Alt or Option Key as you move the Mask slider to reduce sharpening to just the edges, and then raise your sharpening as needed.
Finally, Lee dropped her exposure for most of the photo and used Radial filters to light the subject where she wanted to draw your eye.
It was a simple process and quick to complete each photo.
Feed the Runner
Lee’s blog has a section called Feed the Runner. You can find some recipe posts there; she’ll have more to share in the future from this photo session.
Subscribe to The Photo Flunky Show
Thank you for listening to The Photo Flunky Show. Make sure you get every episode by subscribing.
iTunes – https://williambeem.com/itunes
Stitcher – https://williambeem.com/stitcher
Google Play – https://williambeem.com/googleplay
Blubrry – https://williambeem.com/blubrry

