
Long exposure HDR lets you combine a sense of motion with high dynamic range. Most people use this technique with streets and headlights, but you don’t have to limit yourself to highways.
The Long Exposure HDR Concept
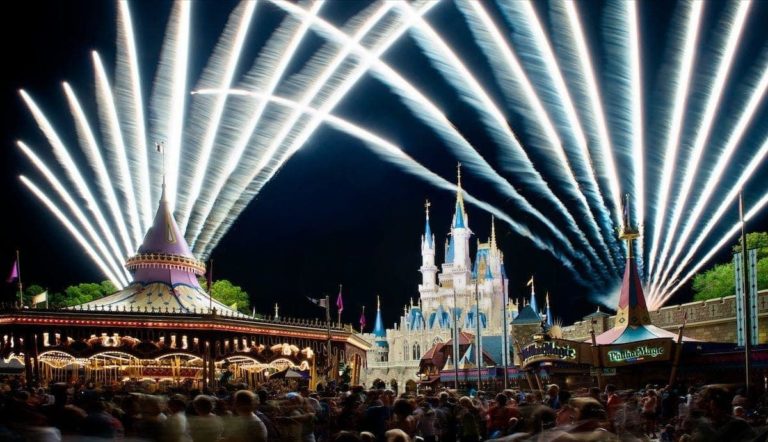
I wanted to do some long exposure photography over the weekend to play with motion. There are plenty of photos with light trails on streets, so I really looked for a different subject to show motion. That’s why I ended up going to Walt Disney World’s Magic Kingdom – lots of moving rides. Even better, lots of lights and color around those moving rides.
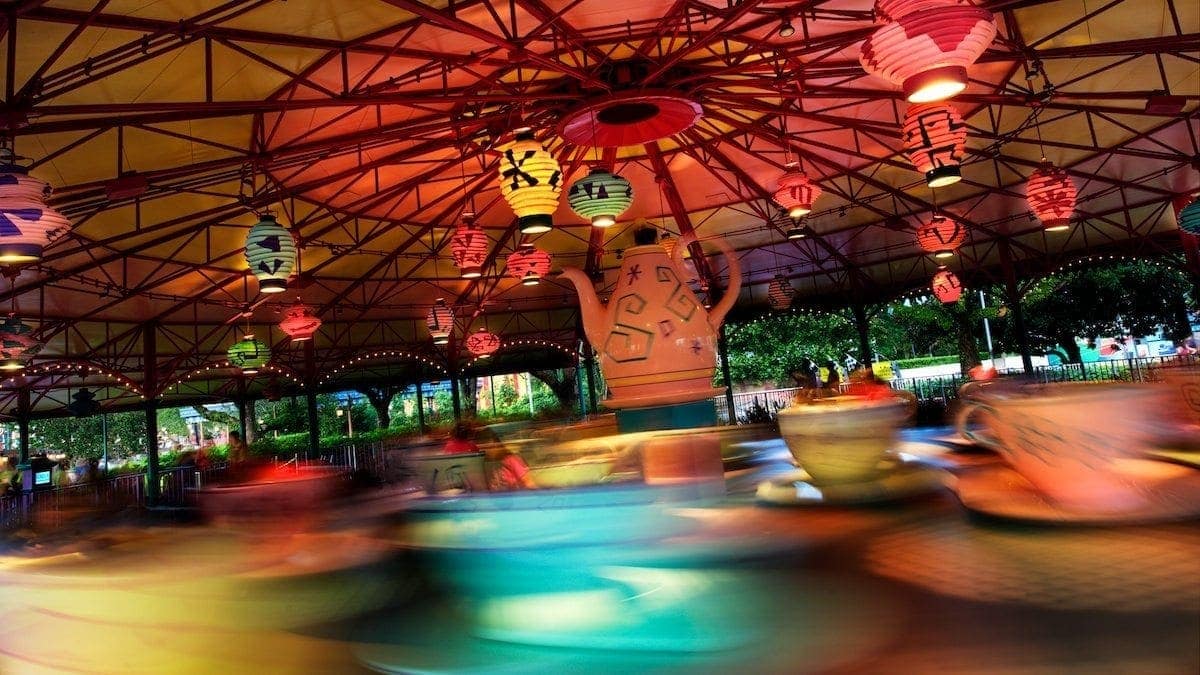
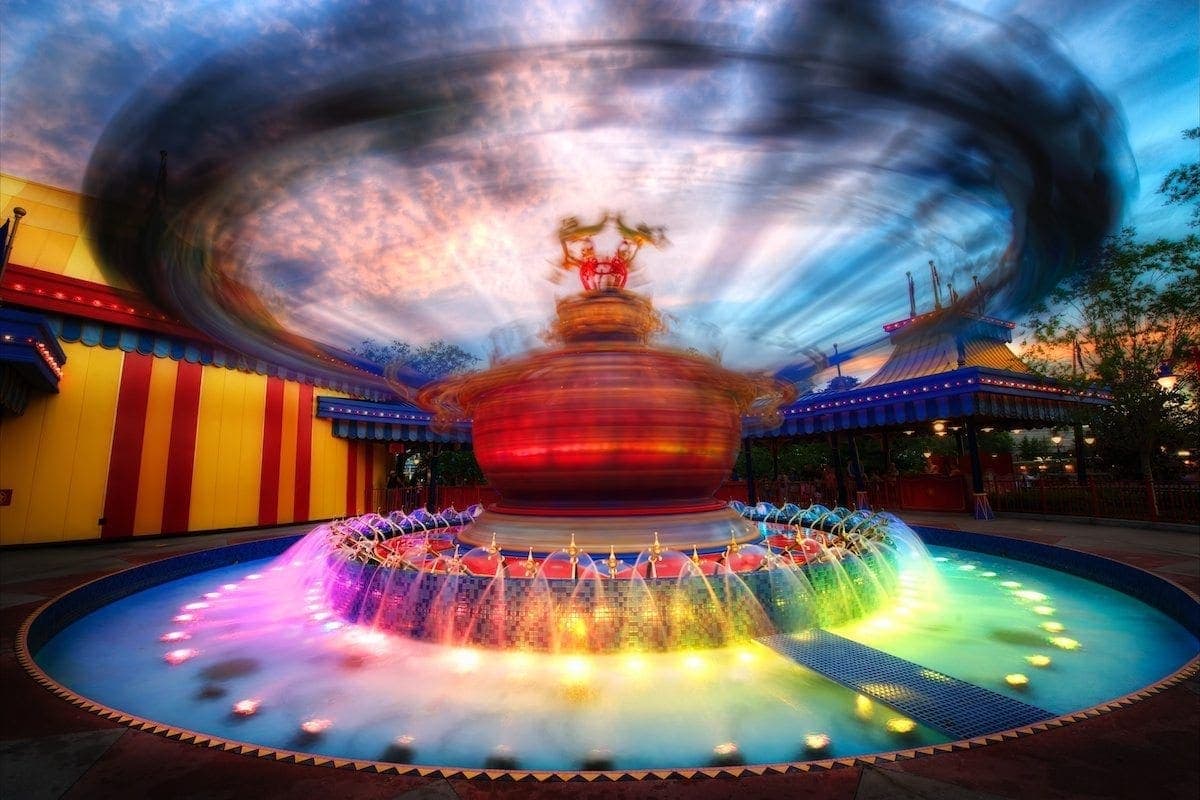
Here’s an example of one of my shots using this technique of long exposure HDR to take advantage of motion and color.
Evaluating Dynamic Range and Motion
Although I wasn’t going out for HDR, I still needed my tripod to keep the camera stable for a long shutter speed.
In this case, that meant a one to two second shutter speed. Not a very long exposure, but definitely longer than you can hand hold with any stability. It didn’t take long for me to realize that a single exposure wasn’t going to work for me.
Although two seconds seemed about right for the level of motion I wanted on the Mad Hatter Tea Party ride, my background was getting blown out and the ceiling was too dark. I was running into the classing dynamic range limitations of a camera, so the solution was long exposure HDR.
I shot brackets of five exposures, but chose to use a -1 exposure compensation to keep the background elements from blowing out too much. I could have bumped up to a seven-exposure bracket, but I really didn’t need the upper-level bright exposures.
That’s why I was shooting for the basement. Here are how the exposures worked out, starting with a .5 second exposure and doubling in duration for each following frame.

The last frame is my finished image.
A lot of folks who shoot HDR say that you only need the -2, 0 and +2 exposure. My experience is different.
In the final image, I used elements of every frame that I shot. Even the dark exposure of the first shot, which is technically -3 because I used exposure compensation, made it into the final piece.
I used the background of the treeline from that frame to avoid having a very bright line running through the shot. In the second frame provided the teapot in the center of the ride. For the 3rd frame had the level of motion I liked for the teacups. My fourth and fifth frames really pulled out the lanterns and ceiling of the ride. I didn’t waste a single shot.
Blending Frames for HDR
If you’re willing to do a little more work in post-processing to blend parts of different images together, you can use long-exposure HDR to create any kind of scene you want.
The Mad Hatter Tea Party
There is a place. Like no place on Earth. A land full of wonder, mystery, and danger! Some say to survive it: You need to be as mad as a hatter.