Affiliate Disclosure: We earn a commission if you purchase through one of our links at no additional cost to you.
Improve Your Available Light Photos With 8 Tips to Evaluate and Use Free Light
Thank you for listening to The Photo Flunky Show, episode 38. If you want to improve your available light photos, follow our eight tips to make the most of your light.
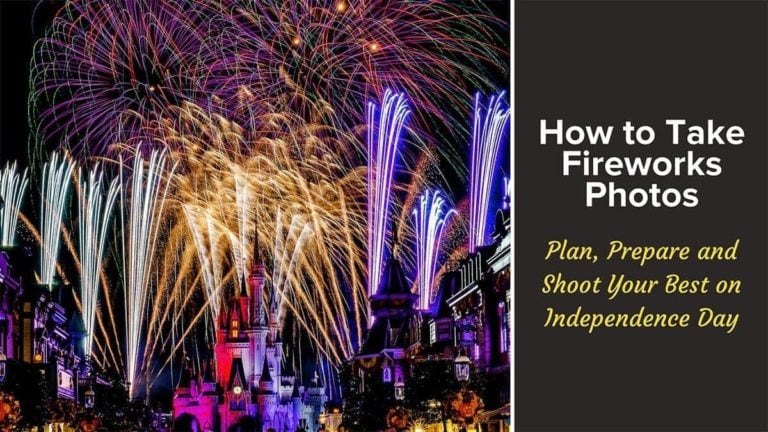
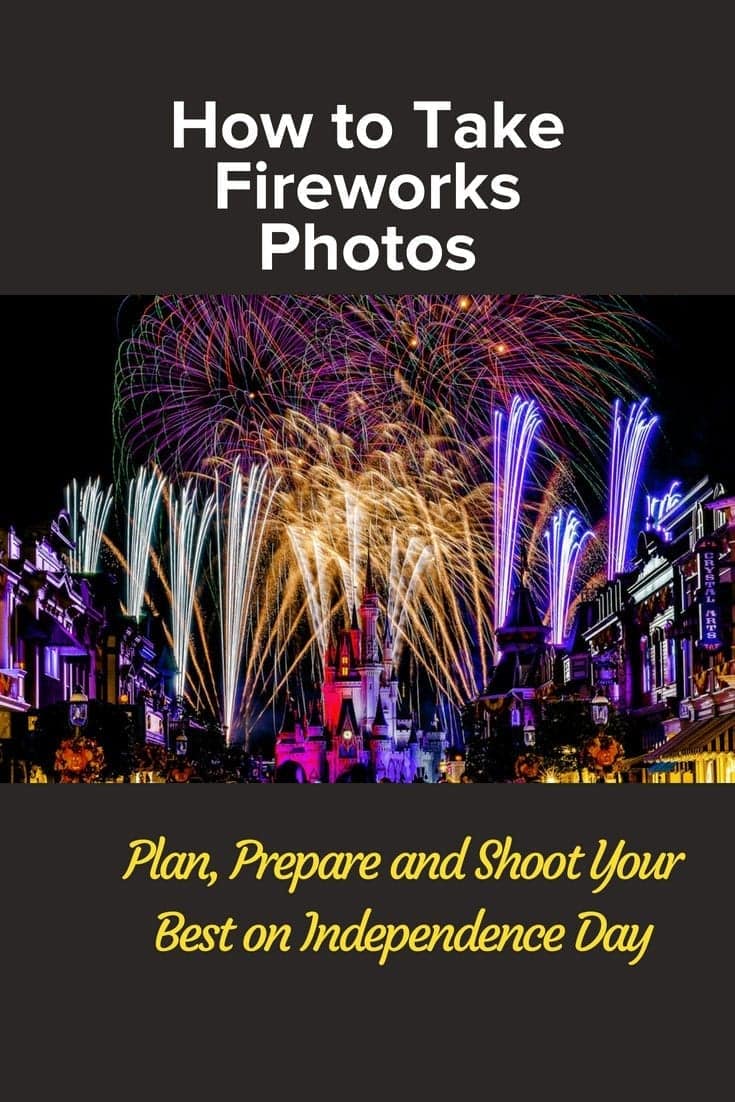
It doesn’t matter if your available light comes from the sun, interior lighting, stage lighting or even fireworks. Light is light. We cover the issues you need to remember for every shot and discuss some ways to bend available light to your will.
Even if you can’t bend the light, you may be able to move around it or have your subject change to make the most of your available light photos.
We cover the basics of light direction and quality, but also give you some creative camera options to make something more than a document of your subject. Learn to see possibilities for motion and blur in your available light photos to enhance your creative vision.
Related Links
Here are links to some of the products mentioned in this podcast.
Nikon 14-24mm Lens (my review)
Tokina 11-16mm f/2.8 AT-X116 Pro DX II Digital Zoom Lens (AF-S Motor) (for Nikon)
Sekonic L-758D DigitalMaster Light Meter
Subscribe to The Photo Flunky Show
Thank you for listening to The Photo Flunky Show. Make sure you get every episode by subscribing.
iTunes – https://williambeem.com/itunes
Stitcher – https://williambeem.com/stitcher
Google Play – https://williambeem.com/googleplay
Blubrry – https://williambeem.com/blubrry
Social Media Links
We love seeing your photos and keeping in touch with you on social media. Here’s where you can find us.
Transcript
THE PHOTO FLUNKY SHOW: Episode 38
Welcome to the Photo Flunky Show, Episode thirty-eight.
On today’s show we’re going to be talking about available light photography tips to help you get a little bit better photos when you’re working without your flash, just with the light that’s around you.
William: Hi, thanks very much for joining us on the Photo Flunky Show. My name is William Beem.
Lee: My name is Lee Beem.
William: And we just want to let you know that show notes are going to be available at williambeem.com/episode38 and you can get a transcript of the show there for free. And of course there are links to subscribe to the show at photoflunky.com.
Alright, we’ve been going through our lighting month. We’ve had a couple of conversations and a couple of blog posts already about shooting with light and how you’re going to get and make the most of the light available for your photography.
Today we are going to be talking about tips for photography and available light. By that, it doesn’t just necessarily mean sunlight. Available light can come from any kind of source, so whether you are shooting in sunlight, whether you are shooting in an area that has illumination around it – maybe you are doing concert photography; maybe you are shooting fireworks – whatever the source of light is doesn’t really matter. All you know is that the light is going to be outside of your control.
Lee: Yes. Just whatever is there.
William: Just a couple of examples. Like we said, sunlight, you’ve got everything from dawn to dusk, fireworks we mentioned, there is stage lighting – I’ve done a little bit of practise with concert photography and very little actually, at real concerts, but it’s really fun and the lights are going crazy all over the place. You kind of have to learn to wait for what you are looking for.
I think the difference between shooting with available light and shooting with flash, you know lights or strobes or something that you can control immediately as far as the placement and timing and so forth, is that shooting with available light you’ve got to handle a number of decisions about the light and evaluate it before you ever really get started.
Lee: Timing is a big one as well. Available light changes.
William: It’s changing throughout the day if you’re looking at sunlight; it’s changing every second if you’re looking at an event like concert photography or some kind of a stage performance.
Lee: Yeah, that was definitely my trickiest. Not a concert, but stage performances where the lights are constantly changing. You frame your shot, you click off two or three and each one has got a completely different color cast, because of the light.
William: So what is your biggest challenge you find? You pretty much don’t really care to shoot with a strobe or a flash, so almost all of your photography is going to be available light.
What’s really your biggest challenge that you’re looking at?
Lee: Mine is often the quality of the light and the direction of the light. For the most part, the type of photos that I take, I’ve managed to move around them, but sometimes you are not able to move yourself and you are not able to move the subject and those are probably the most frustrating because you’ve got to deal with things like reflections or glares and flares and things like that.
William: That’s kind of where we are going to start off. We are going to start off with our first tip. Evaluate the direction of the light.
If you’ve got a stage, you could have lights all over the place. You would have backlight coming up, you’re going to have light coming from the rafters that are going down on your subjects. You are also going to probably have floor lights coming up at them as well and they can be changing any number of times, but for most of us, I’d say probably available light photography is going to be a little bit more stable than that.
Whether you are using sunlight or you are inside of a building with interior lighting, you are probably going to have something that is a bit more stable for the time being.
The only other exception is fireworks. The problem with shooting fireworks is you never really know what’s going off when or where.
Lee: Unless it’s a show that kind of gets performed routinely, where you can go and look up a YouTube video, because that is what I did with the Disney shows. They happen at a certain time and having the music as cues helped. So I actually watched the shows a number of times and tried to figure out when – it wasn’t so much when I wanted to get bursts, because if you get lots of bursts you usually get a good photo – but when did I want to release that shutter to close it up? There are sometimes big blown out parts of your shot you can end up with.
William: Oh, absolutely and that’s happened to me a number of times. I wasn’t clever enough to go look at the YouTube videos. It was actually a pretty good suggestion!
I kind of shot it live and there are a number of tricks that you can use with shooting fireworks or something where you are going to be doing longer exposures and I think we’ve got a few other examples of that when we get through with our tips.
Let’s start off with evaluating the direction of light.
The first thing you want to know is where is your light coming from? In other words, is it going to be side lighting, is top lighting, is it coming from a source that works for the subject you are shooting? To Lee’s point earlier, do you have access to move around or to move your subject to work with that existing light?
Lee: Well yes, at the moment it’s food where I’m taking photos and although most of it is with my iPhone, right now, the same principles apply. You want to get a shot; you want to get a certain amount of light to work with. It doesn’t matter what you’re using to capture the photo. You’ve got to work with that light pretty much in the same way. I find the most challenging thing is when it’s coming in from directly above, because especially with food, I’ll sometimes try and tilt the plate of food a little bit, but you don’t want to lose the food onto the table. And that’s something that I can actually move. Sometimes you might have a fixed subject where you are not able to move it and you have to move yourself around.
William: And that’s the problem with direction of light. If you are relying on, particularly sunlight, and it’s moving throughout the course of the day, you may have a limited opportunity to get the light where you want it and you have to be ready when it’s available.
Lee: That changes seasonally as well.
William: Exactly, and it’s also something to keep in mind if you are doing window light photography.
In some cases, if you’ve got a large window and there’s just enough light coming in, the time of day may not be as important, so long as you’ve got enough of a volume of light. If you’ve got plenty enough for your exposure then window light is beautiful because it’s not coming directly at your subject. It’s kind of being filtered in the window and bouncing all around and you don’t get those harsh shadows unless maybe you have got a clear glass window and you are right up against it at a certain time of day and you’ve just got really harsh light, which is the next thing we are talking about.
The quality of light: are you getting hard light? Are you getting soft light? And what can you do about it?
Lee: Window light can be great, but that goes onto quality of light as well. For example, the sun might just hit a particular spot at a certain time of day where it’s shining straight through and you can actually end up getting harsh light if you don’t step well away from that window.
William: It depends. That’s good or bad depending upon creatively, what you want to do. You can play some wonderful games with shadows. Some of your subjects might be able to handle hard light better than others, but it depends. Usually window light kind of diffuses and gives you a nice soft light, particularly when the sun is not coming directly at you.
Lee: Yes.
William: The other thing you can do if you can’t control the direction of light and you’re getting hard light over there, is maybe you can put a diffuser up in front of it and soften the light and change the quality. So you don’t necessarily have to have a big soft box to get nice light. If you’ve got straight sunlight and there are no clouds diffusing it for you, put up a silk or something like that and diffuse it yourself.
Lee: OK, could you bounce it, maybe?
William: You can absolutely bounce the light. If you’ve got a reflector, the light is not coming exactly where you want it to, stand opposite it and have someone over there – an assistant that’s got the reflector –bounce it back on your subject.
Lee: I don’t know why I prefer bouncing light better than I do with filtering it.
William: When you say ‘filtering’ are you thinking of like a diffusion?
Lee: Yeah, diffusion.
William: You know, honestly, it depends. I’ve seen bounced light off some of these gold metallic things. They still come across as very harsh light. But then again, you are also getting the warm color that is coming from the gold material. So it’s kind of a nice look if you’re doing something like beach photos. I really like the look there.
But if you’re shooting something that is supposed to be a bit more gentle, you wouldn’t want that harsh light going on a baby, for example.
Lee: No, absolutely not.
William: OK, something else that you want to keep an eye out for when you’re working with available light is watch out for high contrast. In other words, you are looking for opportunities where maybe you’ve got a really bright hotspot or maybe very deep shadows; something that is just beyond your camera sensor’s range.
Lee: Yes. Especially the hotspots. I think the hotspots are more of a problem than the shadows.
William: I think they are because you can kind of recover the shadows, so long as there are no hotspots there.
If you’ve got hotspots in the way, there is not much you can do about that. It’s going to blow out your exposure, at least in that section.
Lee: It absolutely does and that goes for anything like fireworks, harsh sunlight, and also reflections. You might not be facing the sun, so you think your light is fine, but somewhere, just as you move yourself, you could end up positioning your camera so that you capture a big glare or something on a piece of glass or something shiny.
William: It could be glass or it could even be water. I’ve seen some compositions that looked really beautiful, kind of like mirroring over a lake or a reflecting pool. But if the sun is in the wrong place and you get that harsh, bright light that comes down and just creates a big hotspot, it’s going to draw your viewer’s eye right down to it and away from your subject.
Lee: You can get that on a portrait as well. That’s where you often have to be careful. Often on the nose, top of the head or even on something that they are wearing. And you often don’t see that when you are taking a photo of a person, because you’re paying more attention to the background and to their face and the exposure and you step back and you suddenly see this blown out ….
William: What’s worse is if you don’t see it until you get home and then there’s really not too much you can do about it.
Lee: I never see this until I get home!
William: But that’s why we are giving out these tips. These are the things you need to look for at the time. So you’ve always got to be evaluating the quality of your light for your photos that matter.
I mean, if you’re taking some snapshots and you get a hotspot, you kind of go, “Oh, well.”
But if you’re shooting something that matters, either for yourself, for your art or for a client, maybe it’s a client named Art, but you’ve always got to be evaluating the light, as well as a million other details. But the light is always going to be foremost in your mind. Are there hotspots out there and high contrast when you’re working with available light?
Lee: Yeah. What is your problem with the shadows? What don’t you like about the shadows?
William: Sometimes you may have a beautiful light on someone’s face, but then the background is gone. So you think you’re shooting in this lovely location and then you find out you’ve just got a head floating in a dark space.
Lee: I understand. OK.
William: You need to have enough light on that background and maybe the answer to that is not necessarily using the reflector on your subject, if you are doing a portrait. Maybe you need to reflect and add a little fill light to the background to bring that out.
Lee: Just to bring it through. I don’t think like that because I don’t typically shoot portraits. I certainly don’t do anything in a studio.
William: It doesn’t necessarily always have to be portraits either.
Lee: I realize that. I think depending on the different subjects that we tend to shoot, we have an eye for different problems.
William: That’s true and I do tend to kind of think of these as portrait problems, because I’m leaning more towards portrait photography these days than anything else.
Lee: Just like I’m leaning more towards food.
William: Yes, and the nice part about your food photography is I get to eat after you’re done.
Lee: Yes. I don’t eat his models!
William: Well, thank you for that!
OK, the next tip we’ve got is sometimes it is a waiting game and a timing game. So you need to make sure that your subject is facing the light. It’s not always just a portrait subject.
For those of you who are into wildlife photography, let’s pick a critter. I mean, I don’t care what. If you’re shooting birds or you’re shooting a little fox or a grizzly bear, when that animal turns its face into the light and you start getting some nice shadows defining it, that really adds a lot of character to your photographs.
Lee: You see the definition in the fur, the little hairs, the feathers …
William: If the critter is facing away from the light, then you’ve really got nothing.
Lee: Well, your exposure gets messed up as well, because if you take a picture into the light and they are facing away from it without some kind of fill light or flash or strobe, it’s very difficult to expose for the face.
William: You know, this could also be something that you are looking at with a number of other types of photography. Maybe it’s architecture. You don’t necessarily have a face, but you’ve got part of the building or part of the structure that you need to emphasize. That means that you’ve got to pick the time of day when the sun is in the position to emphasize what you want. Then you’ve got to be there to photograph it.
You don’t necessarily have to be there right in front of it; you can move around, and that’s kind of our next tip.
Move around your subjects and photograph the light from different angles.
Lee: That’s also true and you get different reflections as well, in different light and different times of the day.
William: Exactly. So you may want that direct harsh lighting, but you also may want to go for side lighting and you get that angle of light that is coming across from left to right or right to left, to see how the gradient moves along your subject.
That’s just a wonderful look for your photographs and for your subject. It kind of flatters them when you see some shadows in there and you go from light to shadow, it defines them, it wraps around the contours and it just makes your subjects more interesting.
Our next tip is you want to make sure that you are capturing things at the optimal exposure.
Since you don’t have a flash that is going to have a short duration that is going to freeze your subject, you may have to get used to shooting with larger apertures. You may have to shoot wide open or shoot with a prime lens that’s got even more light gathering capability than your zoom. Or you may have to bump up your ISO or both. So you have to get comfortable with shooting a bit on the edge.
Lee: You do. I think what helped me a lot was just changing my exposure metering to spot, zooming right in on – for example if it’s a person, the face and I’m using that as a random example – setting my exposure in manual based on that, and then zooming out again and taking the photo and seeing what needs to be adjusted.
William: That’s kind of the same technique that I like using if I’m going to be out using available light. I know the area or the spot where I want to make sure the light has the correct exposure. I’m willing to let other things kind of fade back. So I’ll do the same thing.
I’ll set to spot metering or I’ll use my flash meter and I’ll measure the light exactly where I want it. Then I will change my camera to manual control and I’ll do whatever I need to do to get the exposure just right for that spot. And then you get the shadow kind of coming behind it.
Lee: You do. I mean, you have to sacrifice somewhere. I just don’t want it to be the subject.
William: I’m going to backtrack on this. You don’t want your subject to be blurry.
One of our other tips is going to go with that angle a little bit later on. If you are really trying to get a nice, sharp photo of something, you need to be able to play around with your exposure values and again, using that exposure triangle, maybe you need a faster shutter speed to get the sharp shot that you want. Or maybe you need a tripod and take a longer exposure of the shot that you want, because instead of working with a large aperture, maybe you really need to stop down.
Lee: Well, the large aperture is great if you are needing to let extra light in for the sensor, but it also has other trade-offs. You’re going to lose some sharpness in certain places.
William: You are and that is one of the reasons why I am a person who loves a tripod. Some people really don’t like being tied down with one, but when I’m going out taking photos these days, I am more of the mind of concentrating on getting this one photo, rather than I am going to go all over the place and take as many shots as I can get.
Lee: I was having a look at somebody’s food photos from an event, so I’m going to guess that this person was trying to use available light or maybe it was just his or her style. It had obviously been shot at maybe F1.4, I’m going to guess. There was just a specific piece of every photo – there was a certain part in focus and everything else was blurry.
After a while I looked through and thought, why don’t you just crop it? I don’t know. At first I thought maybe that was just the style and then I did start to wonder if it had something to do with the light and the best they could do was open up wide.
William: You know what? That’s a possibility and then like you said, some lenses are going to be soft around the corners and that can really kind of bug you if you are looking at every photo the same way.
Lee: It was beautiful. They just started to get a bit “same old”.
William: One of the things I like about large apertures is when I’m shooting for depth of field.
Lee: Yes.
William: Rather than shooting for the amount of light. It is still a creative thing, but if I’m going around doing street photography, which I really don’t do that often, but if I do I’m going to be handheld. I need to be mobile.
I am probably going to go with some larger apertures. One of the things I’m thinking of wasn’t street photography, but I got a chance to go to the United States Capitol and I got a tour there. I went with one lens, the Nikon 14-24 mm and I shot everything in F2.8.
Oddly enough, it worked.
Lee: Yeah, but not all lenses are equal. I mean, some lenses are pretty good right through F2.8, others are a little bit softer so it depends on your lens as well.
William: It really does. That lens is… I love it. I know some people don’t like it, because they can’t put a filter in front of it, but for walking around a building like that, I thought it did a great job without really distorting the images.
That was an available light shot. Even though in the interior I was using the lighting that was inside of there or in some cases, where they had daylight that would come through parts of the Capitol, it just worked for me and I never really had to stop and think about exposure. I just knew that I was there at F2.8 the whole way through and my exposure was pretty even throughout the entire building.
Lee: That was my experience with the Tokina that I had, the 11-16 mm. There was some distortion on there and I knew when I got the lens, but I was fine with that; it was ultra wide. But even at F2.8 everything was really tack sharp.
William: The next tip we’ve got for you is take multiple shots. This is particularly if you are unsure of your exposure. You might want to use bracketing. It’s not necessarily for HDR, but if you don’t know which exposure is going to be right because you’re running and gunning, then maybe you do one under, one right at the meter reading and then one over. And you’ll find out which ones work best for you.
The other thought though is you may want to do continuous shooting. So if you are not exactly sure of your subject and if you’re not getting quite the shot that you want in available light, maybe the strength of the light isn’t enough for you. You may want to take a few shots just in case something might be moving and you might get something blurry that you don’t want to be blurry.
Lee: Yes, and then take the best of.
William: Of course I’m going to turn that on its head now with our last tip and that is, be creative with motion. There are some things you can do with available light that you simply don’t do with flash. The reason is flash has such a short duration it’s going to make everything appear sharp, but if you want to show motion, you need to leave the shutter open longer and let things blur.
Lee: Yes.
William: I’ve done this a number of times. I’ve got some creative examples. Everything from dancing on stage, just watching a little hip shake blur to longer exposures. I’ve done this at Disney World with some of the rides, whether it’s a thing that circles around like Dumbo or going to the Teacup ride and just opening it up for a couple of seconds and letting the spinning teacups kind of blur around.
Lee: Yes, it’s super cool with the different lights at night but you can get some really nice daytime shots of moving things, too.
William: That’s when I think it works really well: when the light is low, but there are plenty of colors. In other words, if you’ve got a place that has lights with color combined in there and you can get some motion going with that, I think you can come up with some very creative photos.
Lee: Pretty, yes.
William: Pretty! I take pretty pictures.
Lee: Yes, you do! I always told you your pictures are pretty.
William: It’s always good to have someone who’s always on your side.
Lee: Always!
William: The nice part is there are a ton of things you can do with available light and as much as I do love my flash and my strobes, sometimes some of the more creative things I’ve done have been with available light, simply because you can hold still, get a tripod and just let the world go by and get some creative blur in motion out of it.
Thanks very much for listening to episode thirty-eight of The Photo Flunky Show. I hope we gave you some food for thought. And please, go out, try a couple of things. Take some photos and come back and share a link with us. You can find us williambeem.com/episode38
Of course you can get a free transcript of this show. You can check out links to subscribe to us on iTunes, Google Play Music, Blubrry and Stitcher Radio. And finally, we would really appreciate it if you would sign up for our email list. We will keep you up to date when there is a new release for both our podcast and our blog posts.
Thanks very much for joining us. We appreciate you. We’ll see you again next week.

