Affiliate Disclosure: We earn a commission if you purchase through one of our links at no additional cost to you.
Deciding how to pack your travel photography gear is always a compromise. There’s no “one size fits all” answer, but there are key points to consider as you make your travel plans. Why is it such an issue? Getting it wrong can screw up your results.
Start With The Basics
Let’s start with some simple considerations about your trip that will drive everything else.
If you’re taking a weekend trip to visit family and friends, you may not want to lug a lot of gear with you, particularly if you don’t have time to plan your shots. There’s something nice about stepping onto a plane with just a carry-on and your personal item. Travel fast, travel light, and take things as they come. If some photography comes your way, that’s fine, but it may not be your primary purpose for every trip.
If that’s the case, don’t sweat any potentially missed opportunities. Grab a body and a lens, and go enjoy yourself. You can still capture some fantastic images in a short time. The key is to set your expectations to shoot with the light kit that you brought.
If you’re going on a trip specifically for photography, you may want to pull out the big guns. Let’s face it, why buy gear if you’re not going to have it when you need it? Some of your best creative tools – shallow depth of field, long exposure, light painting, portraiture – depend upon carrying more than a body and an ultra-zoom lens.
Ultimately, you want to make the most of your travel. Whether photography is the purpose of your trip or not is an enormous factor that helps you decide what to bring.
Too Much Or Too Little?
I hate to admit it, but I fall on the side of overpacking. It’s the Boy Scout in me. They taught us to be prepared. Well, I can’t be prepared if I don’t have my tools. So whether I use them or not is irrelevant to me. I want to have my tools in case a situation calls for a creative option at my disposal.
There are limits. I’ve never felt the need to bring my studio lights and modifiers. Yet, I’ve brought a few flashes, diffusers, and a Lastolite 24″ EzyBox with a grid on a trip or two – just in case. Then I needed something to hold that softbox, so I tossed a stand in my case, too. For most of my trips, that crosses the border of “too much” stuff.
The Lastolite Joe McNally 24-Inch Satin Ezybox offers an excellent quality of life and is easy to set up. This softbox is perfect for use with shoe mount flashes and gives your photos a beautiful, soft light quality.
The Ezybox folds up for easy storage and has two removable diffusion layers. It's also compatible with Lastolite's softbox accessories, such as grids and creative mask strips. The white satin interior eliminates the specularity that often comes with silver-lined softboxes.
It’s not that I haven’t tried the other end of the spectrum. On a business trip to San Francisco years ago, I took my D200, a Nikon 18-200mm lens and just happened to bring a Tokina 12-24mm wide angle lens.
This wasn’t a photography trip. I had a full day of business on my trip, which left me to spend some time in the evening for photos. On my first night, I ventured up to the Sutro Baths area and started with dinner at the Cliff House. Nice place. Hard floors.
How do I know the floors are hard? After ordering my meal, I cleaned my 18-200mm lens. I cleaned the front element and then turned it over to clean the rear element. As I did so, I felt something brush my leg and heard a definite “crack” as something hit the floor.
When I turned the lens around, I could see that the front element fell out, and it’s the piece that hit the floor. Big crack through that glass, but it didn’t shatter in multiple pieces. Yes, my heart sank.
The only lens I had was the Tokina 12-24; it was all I had left to shoot. All my plans went out the window because I put most of my eggs in that ultra-zoom basket, which broke before I could take a single shot.
That’s the downside of traveling light. When your gear breaks, you are no longer a photographer if you have no other gear. Since that day, I’ve been content to overpack and not rely upon a single piece of equipment.
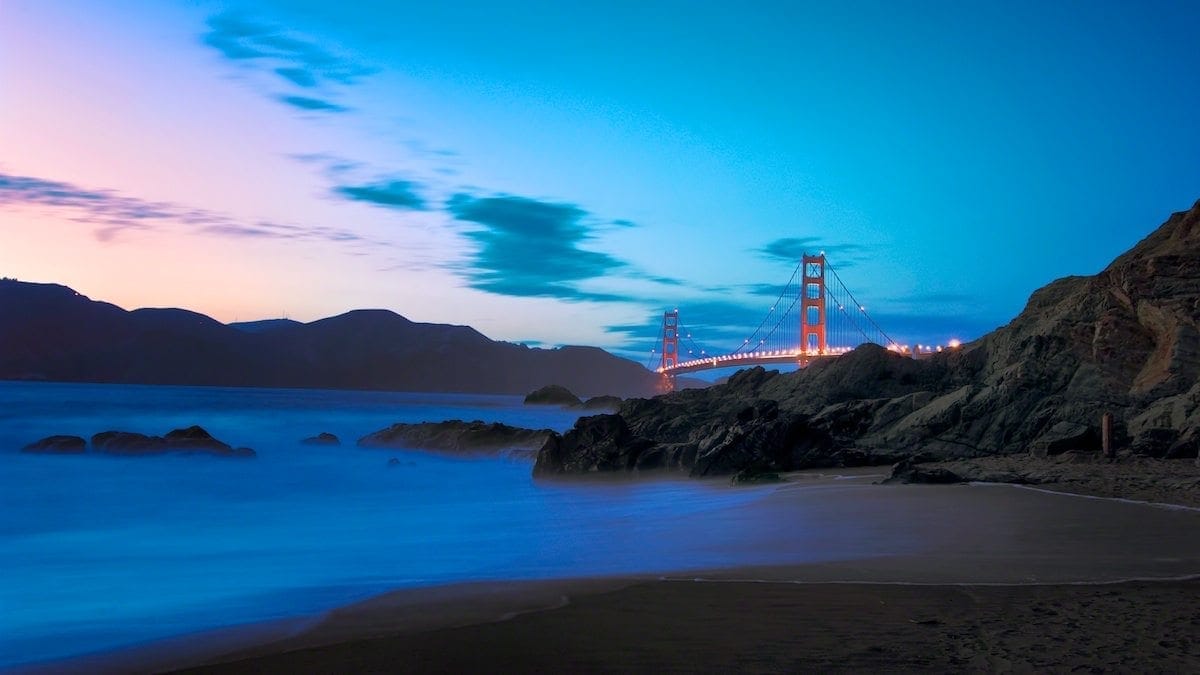
Here’s one of the shots from that night.
This isn’t the image I envisioned creating that night, but it’s what I could get with the gear at my disposal. The only reason I brought the Tokina was on a whim. Had I left it behind, I’d have nothing from that trip.
That was back in 2008, and I’ve not been able to plan a trip back to San Francisco. Sometimes you miss an opportunity, and that’s all you get, so I prefer to be prepared. Maybe that’s why we had those long hikes with big backpacks when I was in the Boy Scouts.
My Travel Photography Gear
The complete list changes depending on each trip, but a core set of gear goes with me on every trip. Here’s my travel photography gear “must have” list.
There you go, the bare minimum. Let’s start with the two bodies. It’s the same reason why I bring at least two lenses. As soon as one breaks, you are no longer a photographer if you don’t have a backup. I have a Nikon D700 and Nikon D800. The odds are I’ll shoot every photo with my D800, but stuff happens.
On my trip to St. Lucia last summer, I broke the 10-pin connector on my D800 by jamming the GPS connector into it. That was also my shutter release port. If I wanted to use either on that trip, I had to fall back to my D700. In some cases, the faster frame rate of the D700 is preferable to the D800. Having both offers protection from failure and options.
My experience with the 18-200 put me off the idea of using ultra-zoom lenses. Also, I prefer having a constant f/2.8 aperture through the entire focal range. It’s heavier to do it my way. It’s less convenient to change lenses. On the other hand, I can shoot in lower light, have better bokeh, and I’m protected from the failure of a single lens when I carry both. That’s my compromise.
Not everyone wants to carry a tripod around, but I’m comfortable with my Really Right Stuff TVC-33. That said, I decided to break down recently and get a TQC-14. It’s smaller, and lighter, but still very strong. It isn’t as tall as the TVC-33, but I’m willing to make that sacrifice when I want something that easily straps to the side of my camera bag.
I bring plenty of CF cards with me, but they’re small and have the potential to get misplaced. Once I get back to my room, I offload my images to my MacBook Pro and duplicate them on an external drive. Now I have three copies with me – the CF card, the computer, and the external drive. One of those suckers is going to make it home with me.
Sometimes I like to process images immediately, and I’ve decided that it’s not fun to use a touchpad or even a mouse for post-processing. The Wacom Intuos 5 is easy to pack, and it’s the same one I use at home, so it’s comfortable on the road.
There's simply nothing like a Wacom Intuos Pro Small when it comes to drawing and painting digitally. It's responsive, adept, and intuitive - making it feel like a natural extension of yourself.
I find the Small tablet works best for me because I move the pen with my wrist. If you move with your elbow, get the medium. Artists who move with their shoulder will feel more comfortable with the Large table.
Finally, you never know when you want to flash someone. Better to have some light than not, so I bring at least one with me. If I want a lightweight and easily portable portrait kit, I bring the Lastolite EzyBox I mentioned. It’s easily held with one hand or mounted on a tripod, and the quality of light is just fine for close portraits.
Luxury Items
Anything else is a luxury item. Filters, more lenses, more stands, etc. I bought some prime lenses last year and I like to carry a couple of them with me. Yes, the zooms cover the same focal range, but the primes have their own look and feel. Sometimes I want a portrait with my 85mm prime instead of my 70-200mm zoom.
Sometimes I like how my Nikon 24mm f/1.4 prime collects the light.
Every lens has its quality. Is it worth lugging it along on a trip just so you have the option to decide whether to use it or not? Maybe. That’s why it’s a luxury item for my travel needs. It may be overkill for some or an absolute necessity for others.
When it’s time to plan your travel photography gear, the real question you need to answer is what tool brings home the images you expect from your trip. Anything from your phone camera to a honking 800mm lens is fair game if it works for you.





I’ve bookmarked this post. It made me chuckle thinking of a man over packing; it’s usually the other way round. However, I am on the opposite extreme when I go away and tend to under pack in general. My camera and associated gear are the exception; again, to the opposite extreme! Accidents can happen and my vacation souvenirs are almost always my photos so take that away and I feel robbed. To me filters (a select few), external flash and a laptop and external drives for daily backing up are all essentials. I rarely go out without them. It’s always interesting to see how others travel when a bit of photography is on the cards, yet when viewing people’s photos, the last thing I ever wonder is how much stuff they lugged around with them.
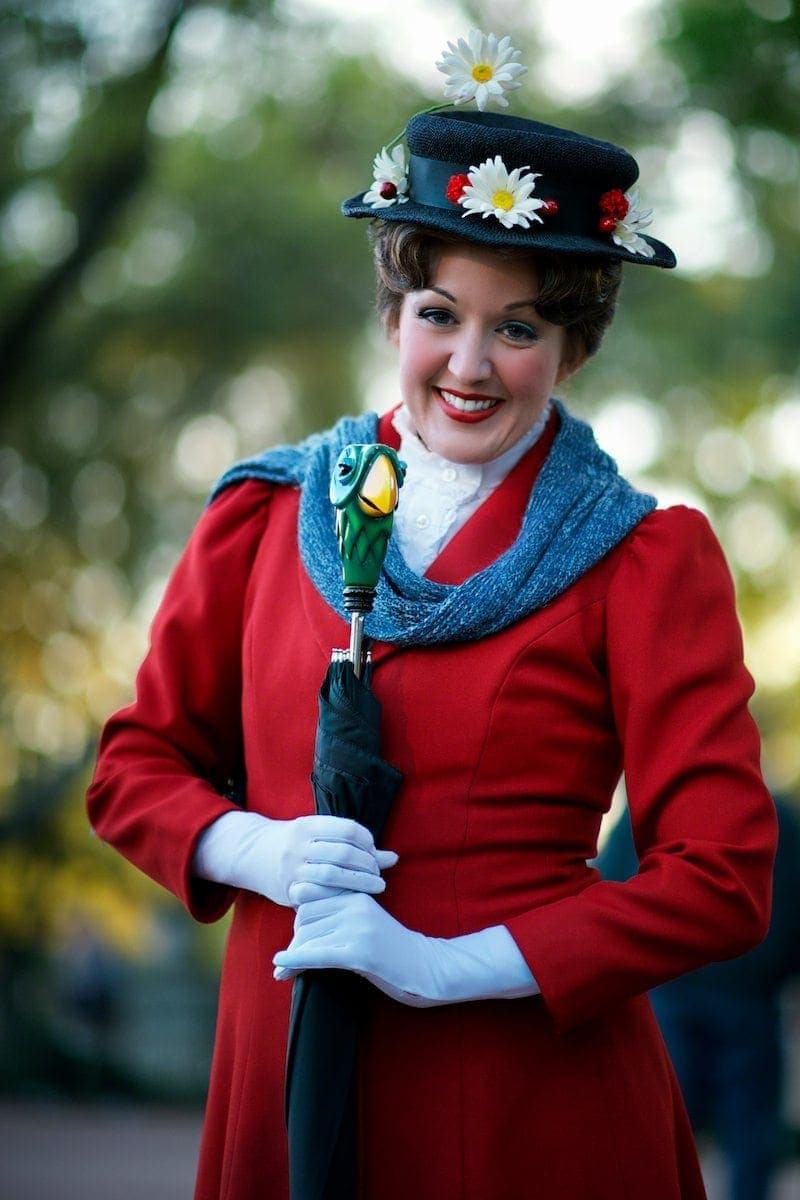
Great post, William, as always. Love the Mary Poppins photo!!!!