Affiliate Disclosure: We earn a commission if you purchase through one of our links at no additional cost to you.
We called this episode “How to Use Graphics with Your Photos.” The truth is that it’s more likely to think of it as “How to Use Your Photos with Graphics.”
A photo ought to stand alone to tell a story without descriptive text or graphics. That’s because photos convey so much information without the need for words or pointy arrows.
On the other hand, graphics really benefit from photos. So how do you blend them together, at least from a photographer’s point of view?
We want to give you some guides to:
- Compose your photos for use in graphics
- Understand how to choose the right font
- Know how to pick the colors and shapes to use with your graphics
- How to make your text stand out on your images
So let’s get started.
Why and When to Use Graphics with Your Photos
There are plenty of times when you can use a photo to enhance your graphics, but let’s go over a few times when these two worlds collide. Essentially, it’s to convey a specific message:
- Business Cards
- Advertisements
- Flyers & Handouts
- Blog graphics
- Social Media Headers and Posts
The idea is to convey a message. Maybe it’s a wedding announcement with your engagement photo. While the photo shows a happy couple in love, it doesn’t really tell you about the wedding time, date or location. You need graphics and text to help share that message.
Maybe you’re a dentist promoting your services. A photo of someone with a nice smile doesn’t help people know that you just gave them a root canal, added a bridge and cleaned their teeth to make that smile look so nice. You need graphics and text to inform people of your services, location and phone number.
A lot of social media users combine photos and graphic to create their message. It could be anything from an announcement of the next paintball tournament to your wisdom of the day quote. Photos and text or graphics create compelling messages.
How to Compose Photos for Negative Space
Composing a photograph to use with text and graphics is a bit different than your typical composition. Some of the good advice you often hear about photo composition doesn’t work when you need to add text and graphics.
For example, “Fill the frame” is common advise. That’s nice to put the viewer right up against the photo. However, it doesn’t give a designer room to place a message.
You have to create compositions with negative space. If you’re not familiar with that phrase, if means you next some empty space in the photo to allow space for the written message.

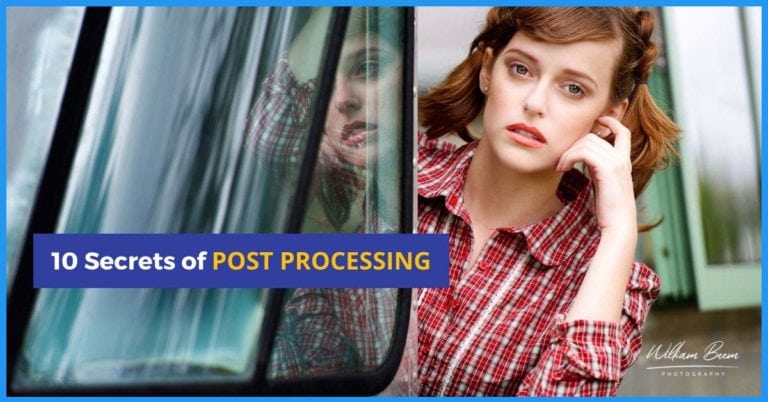
This photo is a good example of a composition that includes negative (or empty) space on the left while showing a lifestyle image of a young woman. Does it work in all cases?
Perhaps not.
The photo is part of a graphic, so you have to create your composition with the end in mind. The designer may not want to use this image if they need more space on the left, or if they are looking for a vertical composition – like a magazine cover.
Get used to the idea that you may need to crop your images for several different types of use cases. Some may be for horizontal or vertical uses. Maybe you need a square for Instagram. Your dimensions for blog headers, YouTube channel art, Twitter and Facebook are all different.
If you shoot with a high megapixel camera, it may help to shoot rather loosely so you can crop in a number of different dimensions. Otherwise, get use to taking the same photo multiple times to potentially use in different graphical compositions.
How to Use Shapes in Your Graphics
Why would you want to use shapes on your photo in the graphic composition?
Shapes do a number of things.
- They guide the eye where you want it to go
- Shapes provide a place to hide part of the photo
- Shapes provide a place to add text
- They can convey information
- Shapes may affect how someone perceives the whole image
Let’s start with guiding the eye. Carefully placed triangles may point toward your message. Used on opposite edges of the graphical composition, they act as barriers to keep your eye in the center where the message resides.
Sometimes you have a photo with a great subject, but part of the image just doesn’t work for your overall need. You can sometimes crop the photo or extract the subject, but that isn’t always desirable. In those cases, placing a graphic shape over the undesirable part of the photo works in a couple of ways. It eliminates a distraction and provides room for text.
Adding text to a photo doesn’t always work well. Text works better when it appears to have some contrast or dimension. You can achieve that by adding some other color and shape behind the text, overlaying the photo.
Sometimes your shapes say something obvious that you don’t want to write. If it’s a seasonal case, you may want to use graphics for a Christmas tree, Minora, Jack-O-Lantern, Sunshine or other seasonal graphics. People recognize shapes for different messages, so you aren’t limited to geometric shapes.
Whatever shape you add, it can change how someone perceives the message. You may want something soft, like a circle or oval. A bolder message may need hard angles. You can even combine different geometric shapes for a unique purpose. Do you need something like stair steps, a cityscape outline, or a mountain background? Each one conveys a different message.
How to use Color in Your Graphics
Choosing a color to use in your graphics can work in so many different ways.
- You may use existing brand colors
- Maybe you choose colors that exist in your photo
- You could use seasonal colors that your user perceives by association
- You could determine how colors make you feel
Let’s start with brand colors. Does your project promote your own brand or message? If so, you may want to stick with your brand colors for consistency. When you do this, people can pick out your message based upon its look and feel before they ever get to the message itself.
If the project is for someone else, then you can determine if you need to use their brand colors, or if you need to convey a message specific to this project.
Lee often decides which colors to use based upon how she feels. It doesn’t hurt to go with your gut feeling if there’s a strong pull to use certain colors, shapes or fonts.
Seasonal colors are familiar, and familiarity is comforting. There’s a reason why so many sales ads use Red & Green in December, Orange in October and pastels in Spring. People resonate with familiarity.
Another useful trick is to extract color from your photo. Get an eyedropper tool in Photoshop or Canva to search for colors already within your photo to help create a sense of balance between the photo and your graphics or text.
If you don’t want to use the exact same color, use a Tint (lighter) or Shade (darker) version of the same color. You’re basically adjusting luminosity at this point. That helps your viewer subliminally recognize that the color you chose belongs with the overall composition.
They may not know why it works, but that’s much better than choosing a color that doesn’t work. Your viewer ends up distracted about something that’s off, rather than paying attention to your message.
How to Make Your Text Stand Out
Placing text on a photo doesn’t always work. You need to add some depth or dimension to keep your text from looking so flat.
There are a few ways to do that. The easiest way to add depth is to create a drop shadow – a small and subtle shadow of your text that’s generally slightly below and to the right of the text. Photoshop can do this with a Layer Style.
If you use Canva, there isn’t currently a drop shadow feature. However, it isn’t hard to do.
- Add your original text
- Duplicate the text layer and change the color to black
- Slightly move the duplicate layer down and to the right to create the effect you want. We’re talking a few pixels here.
- Send this duplicate text layer behind your original text layer
- Adjust the transparency of the shadow layer to your own taste. Sometimes leaving it black works well.
Another way to make your text stand out is to put it on top of a geometric layer. A common method is to create a separate rectangle for each line of text, with a slight break between the lines.
You can put the text on any shape that works, but be sure to create a lot of contrast between your text color and your background color. That contrast builds dimension and helps your text stand out.
Start Working with Graphics
If you don’t know how to use graphics with your photos, I recommend starting with the free version of Canva. There are plenty of templates you can use. That gives you a chance to see how different layouts work.
Discover what suits your style, or possibly suits your audience’s style. It’s a great skill to have, and one that you can hone with plenty of practice.
The benefit of doing work with your photos and graphics is that you start considering your results before you take the next shot. In turn, that forethought makes you a better photographer.
Isn’t that what we all want to achieve?
Subscribe to The Photo Flunky Show
Thank you for listening to The Photo Flunky Show. Make sure you get every episode by subscribing.
iTunes – https://williambeem.com/itunes