Affiliate Disclosure: We earn a commission if you purchase through one of our links at no additional cost to you.
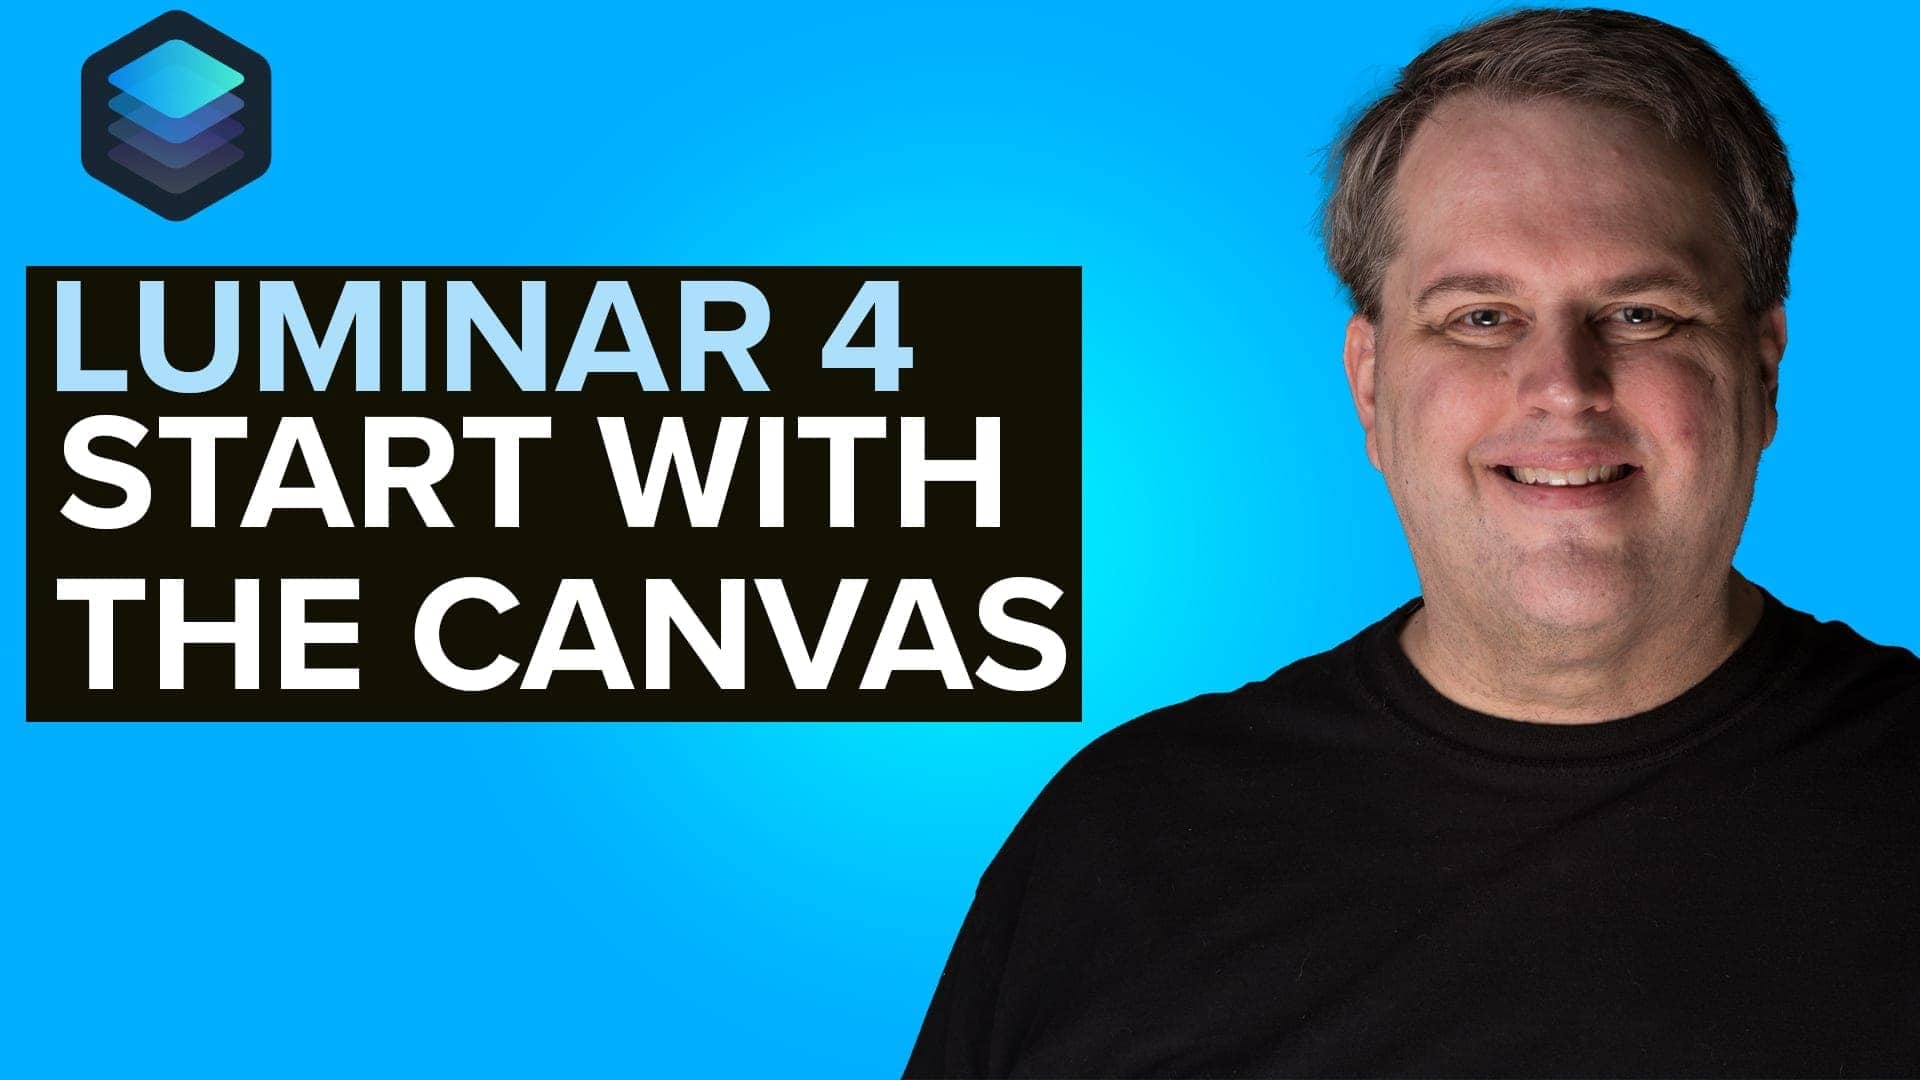
In this Luminar 4 tutorial, I’ll show why you always want to use the Canvas tools first on any photo to prepare your image.
You’ll learn about the Lens & Geometry, Crop & Rotate, Erase and Clone & Stamp tools. I demonstrate how and why to use each tool, and point out some potential pitfalls they can cause if you don’t know to look for them.
When you use these tools to prepare your photo, you get in the habit of saving time by eliminating unnecessary element before you start doing other post processing work in Luminar 4.
Learn the Canvas Tools in this Luminar 4 Tutorial
This Luminar 4 Tutorial is all about the tools in the Canvas tab – the first place you should start when processing any photo. These tools help you prepare and clean up your photo before you get into more creative filters and settings.
The Lens & Geometry tools allows you to perform lens correction. That includes everything from correction lens distortion to chromatic aberration. In most cases, the automatic correction does everything I need with just a checkbox. There are alternatives for manual adjustments, if needed. This is the very first tool I recommend.
Crop & Rotate is the next tool I recommend in order. Once you have your lens correction issues resolved, crop and rotate allows you to prepare your canvas. Eliminate anything you don’t want. There’s no point in processing something you’ll cut out later, so do it now.
The Erase tool and the Clone & Stamp tool allow you to easily remove or fix objects in your photo. The Erase tool is very much like the Healing Brush in Photoshop. It eliminates the element you highlight and replaces it based upon the surrounding area. You’ll see an example in the video.
The Clone & Stamp tool allows you to select the area to sample that you want to use to clone over the object you want to use. However, you’ll see in the video how you can also use this to (accidentally) move an object in your photo.
Hi, in this Luminar 4 tutorial. I'm going to show you the tools inside the canvas tab. And I'm also going to tell you why this is the first place you should start when processing any of your photographs in Luminar. Hi, my name is William Beem. I am a portrait photographer in central Florida. I'm also the cohost of the photography podcast called.
I Like Your Picture. Let's go ahead and get started. I'm going to show you where to go in Luminar to get to the canvas and the four tools inside and why those are the most important tools to begin with before you do any other post-processing. Okay, let's start here. This is the photograph I've taken of the subway in Washington, D.C. area,
and it's a little off center, but that's not really what I'm looking at to begin with. What I want to start with. I'm going to go over to the edit tab and this little thing right over here, where it says canvas, it looks kind of like a pencil and a ruler. We want to start there because the first thing you want to do when you're starting to post-process your photographs is you want to do some cleanup work,
first. You're preparing the image before you do any correction or creative stuff with lighting or any of the other tools that are in Luminar. So let's start here. The very first tool that I start to work with is lens geometry. And honestly, it's really very simple to use. Most of the time I do one thing. I click this check box where it says auto distortion corrections.
And if you're paying attention and you may have seen how that just kind of popped the image a little bit. So let me turn it off and take a look down to the bottom. You can see where this railing is curved a little bit, and that's because of there's distortion, I'm using a very wide angle lens on this photograph. So I click that and you can see how the photograph kind of pops and it just corrects for that lens distortion.
I don't really need that little bar down there and it's not perfectly done, but that's okay. We can fix that with some of our other tools, but before we go anywhere else, I just wanted to show you that, uh, just the way that pops and corrects either pin cushioning or barrel distortion. We've got a photograph over here that I took of the Treasury Department.
And I'm going to use that to show just a couple of the other tools inside of the, uh, lens geometry section. Now, you may notice that I'm kind of at a bit of an awkward angle and also the building is kind of slanted down. I just quickly walked by and did this handheld. So I'm going to go ahead and I'm going to click auto distortion corrections,
and let's take a look down to, if you want to do this manually with the lens distortion, you can do the slider and kind of move things to see if that helps the look versus the auto. Honestly, I kind of like where we land with the auto. I don't recall a single time I've ever had to go in here and do that,
but you may want to come down here and use some of these other tools, uh, vertical, horizontal, and so forth. We're not going to try and fix this image. I just want to show you what the results are. So if you do this vertically, I'm going to click way over here just to see it kind of tilted on an axis vertically to see if you want to move something at an angle.
Horizontal does the same thing. Only it does it from side to side, so left to right. And as I said, you can tell that I clicked or that I took this photograph at a bit of an angle. You can try to correct that. It really depends on the photograph that you have, and you can see that it almost looks like it took it a little bit more straight forward,
but you're going to have to do some cropping because you lose some of the image here on the side when you, uh, use those tools. Rotating will help us fix kind of what we do in the crop tool. So I'm gonna move this over the side a little bit and you can see how we're kind of rotating it. And what I'm trying to do when you,
when you're rotating something is maybe fix that a horizontal line from the top of the building in this particular case. But the problem is then I've created another one over here. So you can rotate your image, but you may end up needing to do other correction. And I'm just double clicking the title is to reset them back. Aspect is going to change your aspect ratio.
In other words, it's going to either stretch or shrink to try and fit it in. Let's say, if you're looking for a 16:9 aspect ratio, you can get it this way. But I think the problem is that you also end up distorting the image. So I would use this one sparingly, but it is a tool that may help you out.
If you've got some kind of correction issues that you need to overcome. Scale is kind of gonna zoom you in and out. So if I click over here to 42, it kinda zoomed in a little bit. And if I clicked the opposite side of the center, you can see it kind of pushed us away. Again, keep in mind that your canvas may be different than what is in the photograph after you've done that.
So you may still need to come back and do some cropping. And the X and Y offset, are just kind of shifting things either left or right for the X offset and up and down for the Y offset. Alright, so that's a quick look at the lens and geometry section. Okay. Let's take a look at the crop and rotate. So I'm coming back here to this little underground photo crop and rotate.
So you've got a number of options here, and let's start off with this aspect ratio. As I hover over that, you can see how the little brackets come around. You can kind of free hand this a little bit and it keeps it's aspect ratio as you move it. So I'm not holding down a shift key or doing anything else like that. It just automatically knows to keep that.
But if you want a different aspect ratio, for example, I really like 16 by 9 on most of my crops, then you can just choose it there. One of the things I like is that you do have an option here to free transform. So if we check that, then you can move it around and make your own aspect ratio. So you've got options to do,
basically whatever you want to do, because there are times that you may need to come up with a crop that just doesn't fit any of the standard ones. Transposed changes your crop from the original. So in other words, let's say if I did a 16 by 9 and we come over here now and change this to Transpose. It's simply going to make it from a landscape to a portrait or vice versa.
There are a couple of things down here that I like, um, Facebook cover, Facebook feed. Those are dimensions that you need for some social media. I'm hoping that they come along and do a few more. If you're doing Instagram, then there is a square crop that you can use. And the transpose could probably help you if you're doing a Facebook or Instagram stories.
All right. So these items at the bottom here, let's start with on the right hand side, this is your rotate tool. So if you want to change this and flip something or kind of around clockwise, you can do that and just move it the way you need to. This one over here, where the arrows are pointing up and down flipped vertical is basically going to turn the thing upside down.
So it's another way to do the same thing you could with just one click instead of using twice on the rotate tool. This last one here, instead of flipping it upside down, like this tool does, is going to flip it horizontally. So sometimes you may want to have somebody with her hand on this side. Maybe you want to have them with a hand on the other side and you don't have a shot like that.
You can just go out and flip that and it'll just simply mirror the image. All right, so that's all for crop and rotate. Okay. The two tools at the top I've kind of saved for last, and this is part of cleaning up your images. So you have an erase tool and you have a clone stamp tool. They do similar things,
but they accomplish them in different ways. Erase. If you're familiar with a healing tool in Photoshop tools is very similar. So I'm going to go ahead and I'm going to click Erase and let's just say, I don't like this bird right here. He's bothering me. I am going to go ahead and highlight him. And when I'm done with that,
I'm going to click done. And that bird's gone. Let's go ahead and undo that now. Now that works by determining the area around it. So in this case, I've got a blue sky. It was very easy for the tool to determine what should have replaced it by looking at the surrounding area. If you have a more complex scene, you're probably gonna want to use something like Clone and Stamp.
The idea with Clone and Stamp is that you select the source area that's going to replace the item that you want to get rid of. So you can see where it says click to select source. I'm just going to click on the blue sky right next to him and watch as I go through this, you can see that it's trying to select the source.
The problem is if the source goes over where the bird was, then all I ended up doing is drawing the bird in another place. Not the result we were looking for. So you need to select a source and then watch to make sure that whatever it goes over, isn't what you're looking for. So if you want to change your source, you can hold down the option key on Mac or the alt key on Windows,
select a different source. And then we go through here. And so the bird's gone. Now, one thing that's a little bit different because I selected a source. You know, this far apart, you can see that the color is slightly different in the sky up here, it's a bit darker than it was down here. So I really like the,
a Clone and Stamp tool, but I use it for very small details, not for large ones like this. Let's go ahead and undo that. And there's the bird where he was in his original position. What I would do here is probably select something a little closer down here where the color is the same and just brush like this. And then I might really select to come over here and he's gone.
So it's one of the things that takes a little bit more thought when you're using it. But I think you can get some very good results. It's particularly really great when you're working with portraits and you've got some skin imperfections or blemishes that you want to get rid of. Okay. That's a quick look at the canvas tools inside of Luminar 4. Now, I want you to think about why this is important is you're kind of preparing your image before you do any other work.
If you notice with the lens geometry, that it kind of changed the edges a little bit, same thing with the crop and the reason you want to do those things first is there's no point in working on an area that you end up removing from your photograph. So if you've got some lens dust response that you want to get with the Clone and Stamp tool,
I would do the lens geometry and your cropping first. That way you define the area of your composition, and then you eliminate work that you may have done beforehand and then just crop it out. And that turns out to be wasted time. I hope this was helpful to you. If you found value in this, please I'd urge you to go ahead like the video, subscribe and leave a comment.
I'd like to know what your thoughts are on the erase tool versus the clone stamp tool. Which one do you think you would end up using? Leave a comment and I'll respond to you.
Want to learn more about Photography software? Click below to check out articles about Adobe, ON1, Skylum, and more.
Photography Software Articles