Affiliate Disclosure: We earn a commission if you purchase through one of our links at no additional cost to you.
I know you don’t want to ruin your photograph. It’s always a bit of a surprise and disappointment when it happens. Fortunately, we have a list of 10 ways to ruin your photograph that you can keep in mind completely. Just don’t do what I’ve done and you’re on your way to photographic success!
What Are 10 Ways to Ruin Your Photograph?
Although we have 10 issues to consider, you can really boil all of this down into three points.
1: Visualize your photo before you take it to avoid problems
2: Start with the end in mind
3: Understand how to lead the eye and make an emotional impact
So, let’s get started.
1: Nothing Draws your Eye
Nothing bores a viewer quite like a meandering mess that doesn’t have a subject or compositional element that lets them know where to look. This mistake happens more than you would think.
Many people visit a place and have a lovely time. They want to capture that experience and share it with others. What they’re forgetting is that “the place” isn’t really a subject.
The thing that impressed them may not even be something visual. It gets lost in the photograph. That’s because photos don’t carry on the memories of the salt air by the sea, or the smell of that great little bakery where you had coffee and a roll every morning.
These photos end up like so many snapshots that collect on your phone. They don’t tell a story. They don’t have any impact for the viewer. They document the fact that you were standing somewhere when the shutter clicked.
All of those compositional elements were hear of – like leading lines and rule of thirds – are there to help concentrate the viewer’s attention on something. The rest of the frame is supporting material to put that something – your subject – into context.
When you have all context and no subject, and likely no story, the photo fails to impress anyone.
2: Visual Distractions Take Your Eye Where it Shouldn’t Go
While not quite as bad as a photo with no subject, visual distractions are a close second as problems go. The good news is that you have a subject.
Yay!
The bad news is that there’s a pile of laundry or a toilet in the background that’s just as bright and in-focus as your subject. That isn’t helping anyone.
Distracting backgrounds can take a photo of a subject and lead the eye away from where you want it to go. In other words, you have elements in your frame that don’t draw the eye to the subject. They aren’t doing their job as supporting cast members in your photo.
Anything that isn’t necessary in your photo to support the subject ought is something to eliminate from the photo.
A common response I hear to that statement is that sometimes you just can’t move the distraction. Fair enough.
Can you move your subject? Can you move your angle as a photographer so the distraction isn’t in the frame? Can you block the distraction with something else that helps keep your viewer’s eye on the subject?
Basically, get up and move. Move things out of the way. Move your camera to a better spot. Move your subject.
If your response is that you can’t photograph the interesting subject from any other place in the area, and you cannot move the distractions, then I have to ask you why you found this scene to be interesting in the first place?
Fortunately, perhaps all is not lost. You can sometimes eliminate distraction with shallow depth of field. Not always, but sometimes. Another approach is to use light fall-off. Set your exposure so the subject gets lit, but the background fades to black.

I photographed this model in a pool hall. A really ugly pool hall. The only way I could present her to the viewer without a distracting background was to use off-camera flash to light her and let everything else fall to black.
There’s usually a way to deal with and eliminate distracting backgrounds that lead your eye away from the subject.
3: You Missed the Exposure
It happens to all of us. We make some simple mistake and the photograph has a horrible exposure. If not that, the focus isn’t quite as sharp as it ought to be.
The smart thing to do is to just forget that photograph. Do it over if you can and get it right.
You don’t always recognize your mistake before moving on to the next session or place. Then you’re stuck with the photograph as it is. That’s when you start trying to save it.
Don’t.
Just don’t.
You have a bad photograph. The fact that you really, really wanted this photograph doesn’t mean that you can save it, or that you should even try. You’ll end up with a photo that looks over-processed and amateurish.
If you want to save it for yourself and your own memories, that’s OK. Just don’t show it to anyone else.
Why not?
Because photos your share construct your reputation as a photographer. Also, because it actually prevents you from improving your photography. If you’re unable to part ways with a bad photo, then what incentive do you have to improve your skill as a photographer?
Instead, you improve your skill trying to save bad photos. Now that’s a good way to ruin you photograph.
Work on being a better photographer and you will become a better photographer. That means sometimes you have to kill your darlings and let the bad photos go.
4: The Light is All Wrong for the Photo
Light has its characteristics. If you have the wrong light for your subject, it just doesn’t work. With that in mind, I don’t believe in “bad light.” The question is whether you’ve chosen or managed the light in a way that’s appropriate for your subject.
Remember the characteristics of light that you need to consider:
- Direction of Light
- Quality of Light
- Color of Light
- Amount of Light
Let’s review a little bit.
Direction of Light
Simply stated, does the direction of light flatter your subject? Sometimes you want sidelight. Maybe you need to fill in the subject from the front – typical with fashion photography. Portraits often do well with the light coming from an angle. Backlighting may create a mysterious effect by turning your subject into a silhouette.
The direction of light can create some really great, or really awful, results. It depends upon the mood you want to strike. It depends upon where you need the shadows to fall.
If you can’t change the source of the light, you can either move your subject or move your camera to work with the available light.
Quality of Light
Speaking of those shadows, are they casting hard lines or giving you soft, wrapping light where the shadows fade away? Both are useful, but the appropriate choice depends upon your subject.
I love shadow-play with hard light. You can do some interesting things with shapes and hard light.
However, I wouldn’t put hard light on an older face. It really accentuates wrinkles. Unless you’re going for a hard-life portrait, most folks would go with soft light.
Younger skin can tolerate hard light better and gives an edgy appearance.
Color of Light
We have Golden Hour and Blue Hour lighting at sunrise and sunset. Light changes color as it passes through or bounces off something with color. Golden Hour and Blue Hour have warm and cool colors because of the direction of light passing through the atmosphere.
However, you can do the same thing at any time. Bounce a flash off a green wall and you’ll have a green color cast on your subject.
This is why reflectors come with options for gold or silver, and even white. The gold color warms up the light before it hits your subject.
Amount of Light
Too much light or too little light is an exposure problem. We discussed this problem as item #3 in our list of ways to ruin your photograph, so I won’t recap it here. Just remember to keep your exposure in check at the point of capture so you don’t get into a position of trying to save a bad photo.
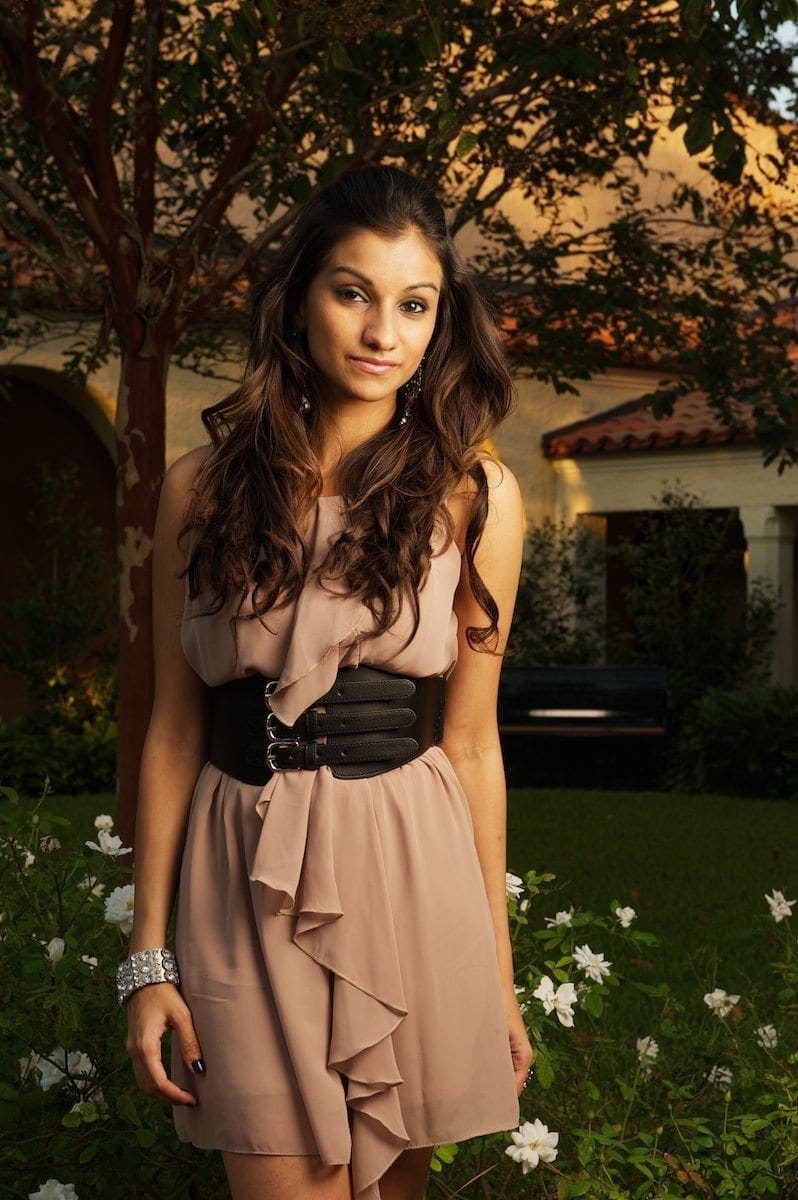
5: Your Subject Isn’t the Main Element in the Photo

I often find this problem in travel portraits, but it can happen in other genres.
A good example is the “Welcome to Las Vegas” sign. It’s huge, yet people want to get right next to it to pose for their photo. When they see the photo, the subjects are tiny compared to the sign.
It’s a case of trying to get everything in the frame.
You see this with large arches, monuments, statues – anything that’s just too big to stand next to it and take a photo.
I know folks who thought it would be great to take photos of a model on the bow of a yacht. The problem is that they got a really nice photo of the yacht, and then a seemingly tiny person you couldn’t identify on the bow.
There’s a simple solution. Move your subject forward so they fill up most of the frame. Leave the large background behind. You know, because it’s a background.
If you want to take a photo of yourself with the Eiffel Tower, you don’t stand at the base of the tower. Get a mile or so away and let it show in the background.
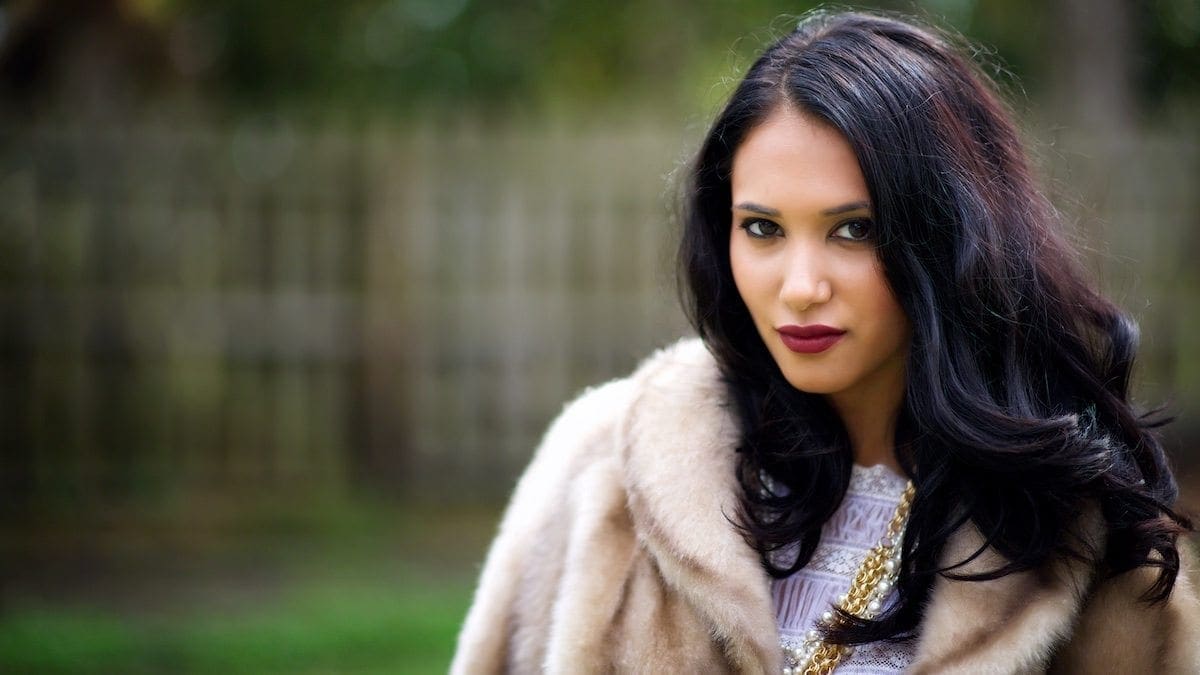
6: The Colors Don’t Work
When you started photography, I’m going to bet you never thought about color harmony or theory. I know I didn’t. That left me wondering why some photos didn’t work, despite having a good composition and exposure.
Quite simply, colors have meaning. Some work well together and some clash. That doesn’t mean you can’t have clashing colors in your photo.
The colors must support your message.
In most cases, your photo works better if your colors are harmonious. Try using a tool like the Adobe Color Wheel to find colors that work together. Then work on getting those colors in your composition.
Not all of your photos include items under your control. However, you can start looking for colors in your environment that work well together and compose your shots to use them. You may find that it changes your ideas of which photos you take and which you ignore.
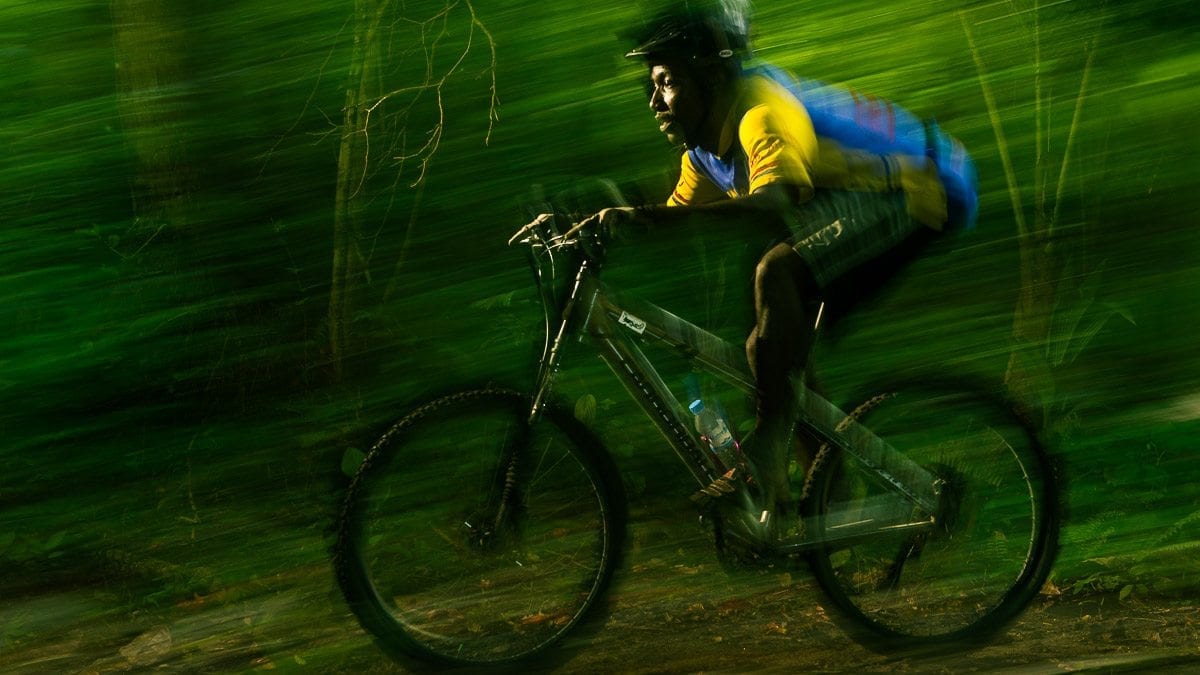
7: Did You Get the Right Depth of Field for the Photo?
Do you love bokeh?

This photo doesn’t have bokeh and I’m not sure it would work if it did.
Bokeh is the lovely effect we get from shallow depth of field. It defocuses the background so that you can isolate your subject. That helps the subject really pop out to the viewer. After all, we focus on things that are sharp in contrast to things out of focus.
You don’t need exceptionally strong bokeh to isolate a subject. In fact, sometimes it’s best not to smear out the entire background. The shapes, colors and objects in the background may provide some context to your subject.
In some cases, your background is just as plain and boring as could be. Using shallow depth of field isolates your subject and helps eliminate distractions from the background.
The depth of field you need depends upon your subject. Sometimes you want that infinite focus because your viewer needs to see depth from foreground to middle to background. In other cases, varying the depth of field can help tell a different story.
It’s up to you to decide.
Here’s the good news. You don’t have to decide on the spot. Take photos with different depth of field. Then compare when you get back to your computer and decide which one works best. You can only do that if you think to get a variety of shots at the moment of capture.
8: The Photo Has No Story or Message
Your photo ought to tell a story. That means it should emotionally impact the people who view it.
Your photos aren’t going to impact everyone. Even among those who feel something or understand the story, they aren’t all going to feel the same way. They won’t all take away exactly the same message.
Your family photos are precious memories to you. To someone else, they may not hold any interest. That’s OK. It’s better to find a niche and tell a story for a specific audience than to try and tell a story to everyone. You wind up being so generic that the story isn’t worth telling.
So please don’t be afraid that some people may not like your photo. That isn’t a failure. If you find an audience that likes what you do, that’s success. If you experiment and find what stories you like to tell, that’s a path to success. Photography is a constant process of compromise and refinement.
9: Lacking a Sense of Style
Style. It’s such a simple word, yet full of potential. It can be the way you blend in with the crowd or stand apart from everyone else. Having your own sense of style means creating something unique to yourself and identifiable to others.
There are plenty of ways to create your own sense of style:
Here’s the question to ask yourself. If someone looks at a body of your work, do the pieces fit together in some way? Is there a look that binds your photos together?
Please give it some thought. Take some time and look at galleries from other photographers. Do they have something cohesive? If you can spot that in the group, you can identify the photographer’s style.
Should you copy or steal someone else’s style?
I don’t think so, but you can borrow elements of it to create your own style. You don’t want to copy someone else, or people will attribute your work to someone else.
That leaves you either ignored or branded unoriginal.
For all the fuss about originality, there’s a lot of borrowing going on in the art world. Find the pieces that define your style, and then explore how it works with your photography.
10: You Can’t Crop or Use the Photo in the Place You Need It
One of my common reminders is this:
Here’s what that means.
You need to have a vision of your photograph in mind, as best you can. Likewise, it would be best if you had an idea where you will use the photograph.
Is it going on Instagram with a square crop? Does it need to go on a blog header in a 16:9 frame? Do you need to make an 8×10 print?
The default frame of your camera at capture may not be the size of the frame you need for your output. If you don’t give yourself room to crop the photo to use as you need it then you have a decision to make.
Do you make an awkward crop or throw away the photo?
Start with the end in mind.