Affiliate Disclosure: We earn a commission if you purchase through one of our links at no additional cost to you.
Studio Lighting Setup Practice Sessions
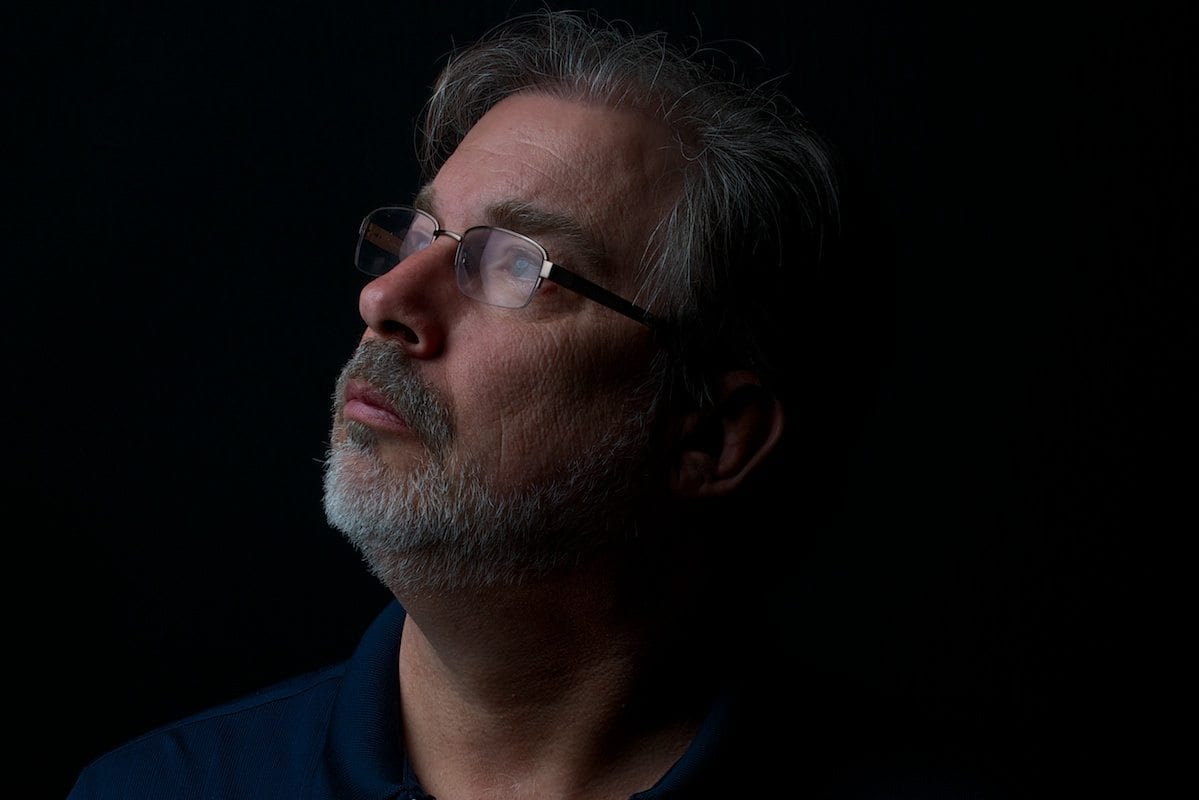
I spent a fair part of yesterday in my living room doing some studio lighting practice for a shoot coming up this weekend. My friend Steve (above) and I hired a model and rented some studio time.
For him, it’s a chance to enjoy his hobby. For me, it’s work for a future project. We have four hours to get in, get our shots, and get out. I want to make sure that I’m prepared to get everything on my shot list. If I’m ready, then it shouldn’t be a problem. If not, then it’s amazing how quickly you can piss away four hours tweaking a studio lighting setup.
1: Before the Studio Session
Call me paranoid. I try to imagine everything that can go wrong. You can’t fix something if you don’t know its broken. When I first visited this studio, it was brand new and a friend was going to shoot a pair of models. Steve and I visited to check the place out.
It seemed very basic, but it’s a large space for us to work. As we discussed it outside, we noticed everyone was coming out. It seems the power was off. Not because of an outage, but because someone forgot to pay the electricity bill. It was an oversight, but it ruined the photoshoot.
You can bet that I asked if the power bill was paid up when I booked my session. I also wanted to know what resources they had. Things like backdrops, stepladders, power cords, lighting stands, furniture and props.
I’ll use what they have, but now I also have a list of things that I may want to get before my studio session. For instance, I want to use some V-Flats and the studio doesn’t have them. Fortunately, a friend of mine is a VP at a large graphics shop in town. He tells me they buy Gatorboard by the pallet and asked me to call him tomorrow. One more thing off my list.
2: Pre-Visualisation Helps Studio Lighting Setup
By pre-visualization, I mean that I know what shots I want. Some bright, some dark. I know how I want the model to pose and what I want her to wear. To help her know what I have in mind, I found similar shots and shared them with her. She already told me she has the needed wardrobe and other things.
I never want to rule out spontaneity. Just the same, I also don’t want to rely upon it too much. It’s like the old SCUBA mantra, “You plan your dive and dive your plan.” When I walk into that studio, I have an agenda and I want to be prepared for it. That’s the Boy Scout in me.
I’m glad I also put my studio lighting setup to the test yesterday. My gear consists of three Elinchrom BXRi 500 lights and a plethora of light modifiers. I tried each of the lights and the modifiers.
Something quirky was happening, though. Some of my Elinchrom lights weren’t firing all the time. They’d fail to go off, but then I heard the beep as if it just recycled. It was very puzzling to me.
I stopped to investigate the problem and found some comments that it was as simple as a battery problem in the Skyport transmitter. OK, I’ve had it a few years and never had to replace it.
This must be how you know it’s going dead. Knowing it would happen, I had a replacement battery in my camera bag. It turns out that the battery wasn’t dead. It’s just that it wasn’t securely seated in the SkyPort.
This may seem like a simple problem, but it wasn’t obvious to me when it happened. Now that I know, it’ll be an easy thing to check if it happens in the studio.
If I hadn’t checked my gear to make sure everything was working, I’d be screwed trying to cover things with a single SB-900 flash as my backup. That’s not the experience I wanted. So a little studio lighting setup practice just saved me a massive panic attack this weekend.
3: Exposing Myself
I have a pretty good idea what studio lighting setup I want and the exposure values I need on my camera to get my shots. After all, I can see the exposure values in my previous photographs. The shot of Steve up there was one of our test shots last year when we were working out something on a previous photoshoot. F/16, ISO 200 and 1/160th shutter speed in front of a black wall using my Elinchrom Deep Octa.
The only thing I don’t have documented is the power of the light. Since I always start at the lowest power and increase, getting that one value set correctly for this kind of light falloff shot is not hard. Of course, try the same thing on some white walls and it’s an entirely different ballgame.
Since I didn’t have a test subject around, I setup my camera on a tripod with a timed release and went through all of the shots. I wanted to remind myself about the differences where I placed the light. Do I need to feather the light on this type of shot, or get it full blast? What ratio do I need between my key light and my rim light?
You’d think I’d write this down at some point, but I prefer using some studio lighting setup practice before a shoot. If I wait until I get there and refer to notes, I may forget some nuances. For folks who do this every day, it’s always fresh in their mind. Since my studio experiences are a bit farther apart, it makes sense to have some home studio lighting setup practice.