Affiliate Disclosure: We earn a commission if you purchase through one of our links at no additional cost to you.
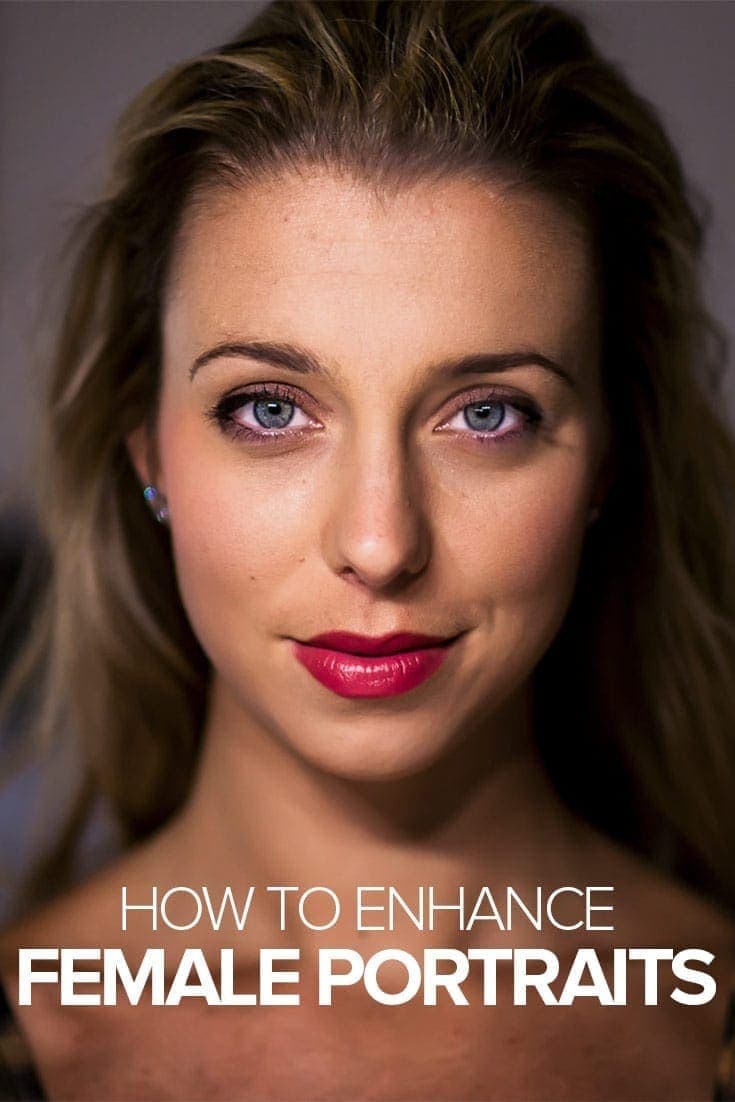
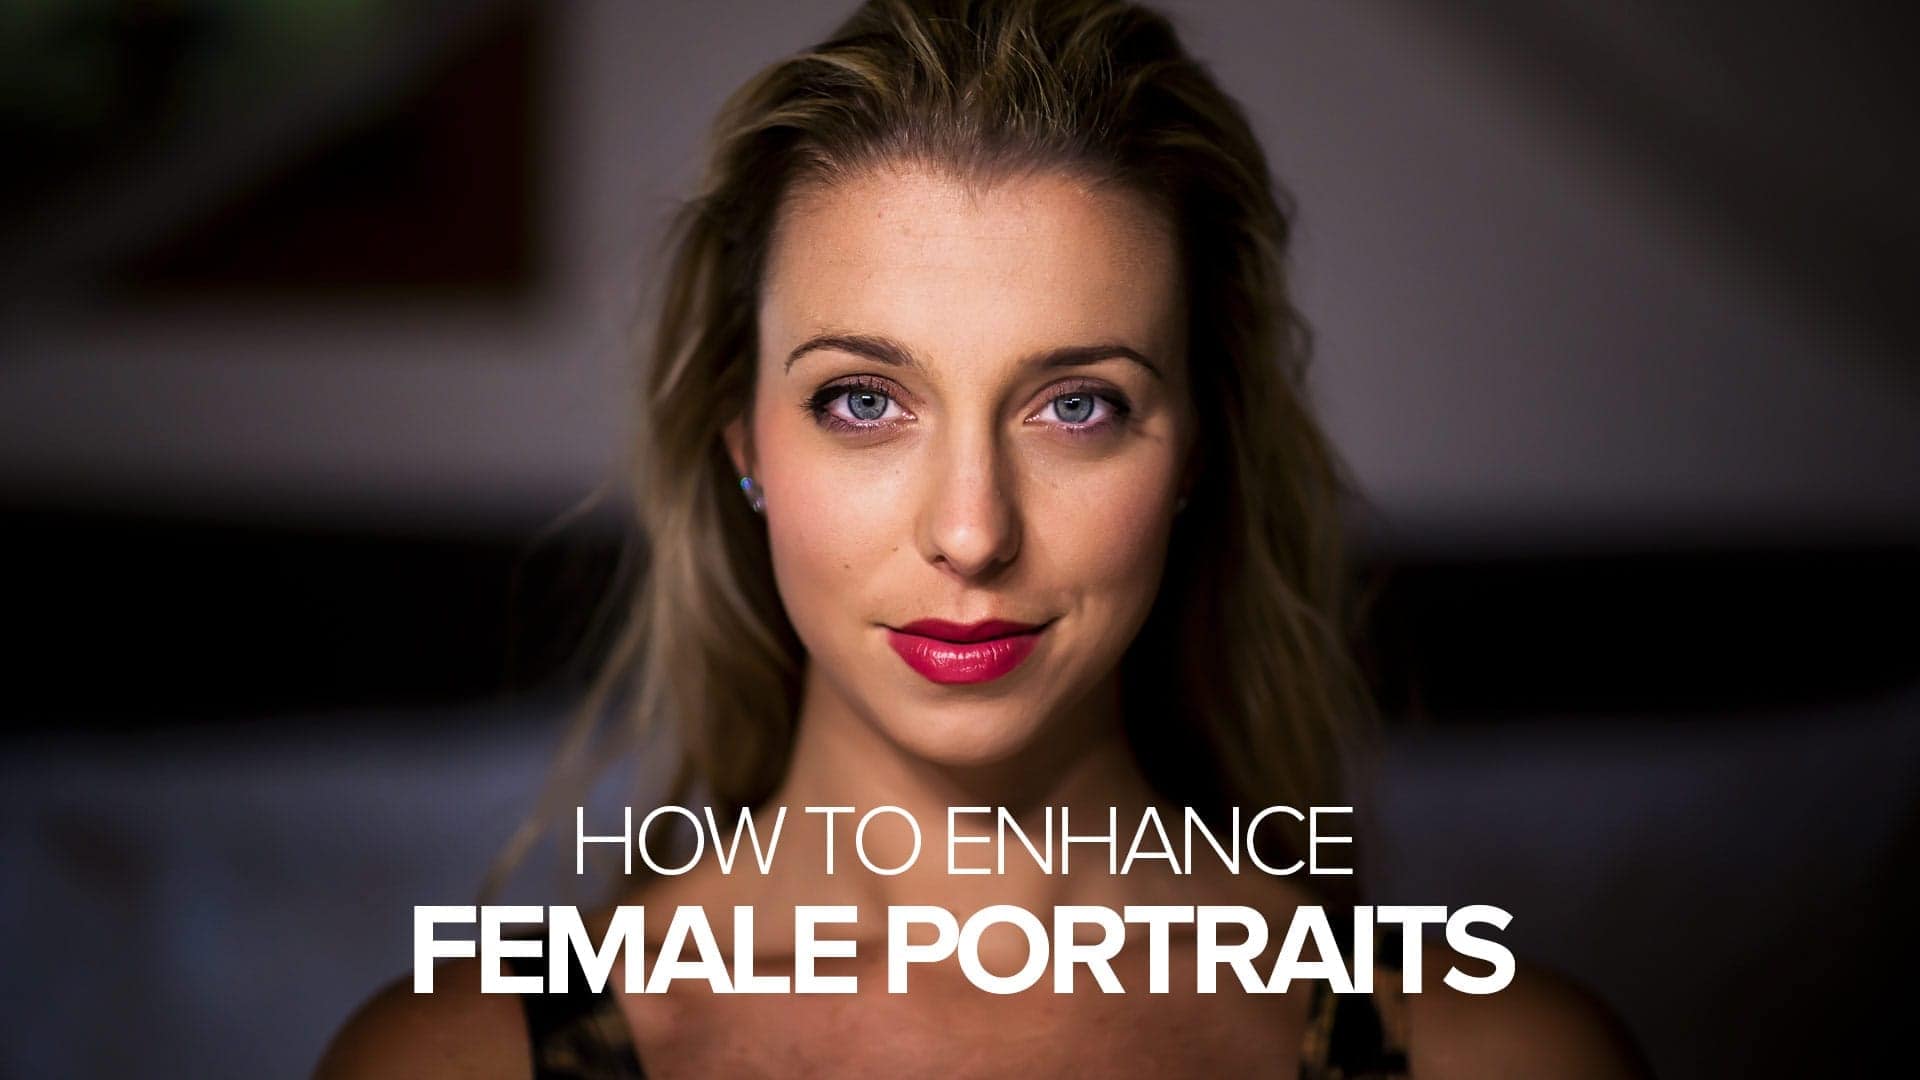
The reason photographers need to know how to enhance female portrait is pretty simple.
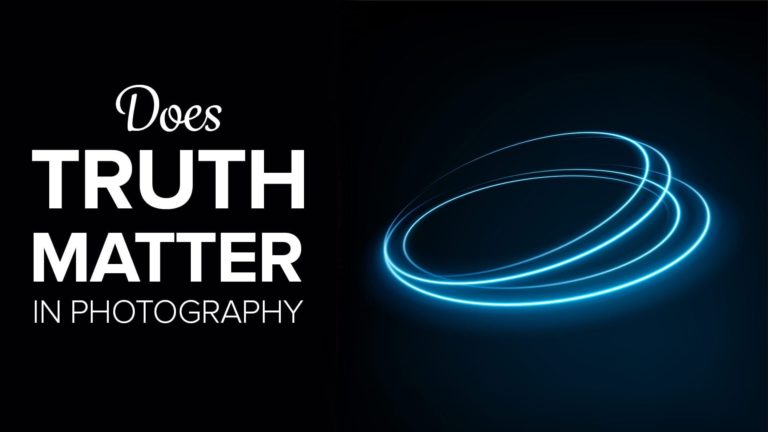
The camera lies.
Think about it. We see people alive and moving. The camera doesn’t. It captures a split-second of a person’s life and tells you that’s the entire story.
What if that moment doesn’t match what we remember about the soul in front of our camera? Lighting may do harsh things to a person’s face in that split moment. Minute details become overbearing obstacles on your subject’s face.
That isn’t really truth. It’s fact, but it isn’t truth.
Our portrait subjects deserve more than merely being documented. We need to show the flattering part of their beauty that inspired us to take their photograph in the first place. Here’s how we go about enhancing our female portrait subjects.
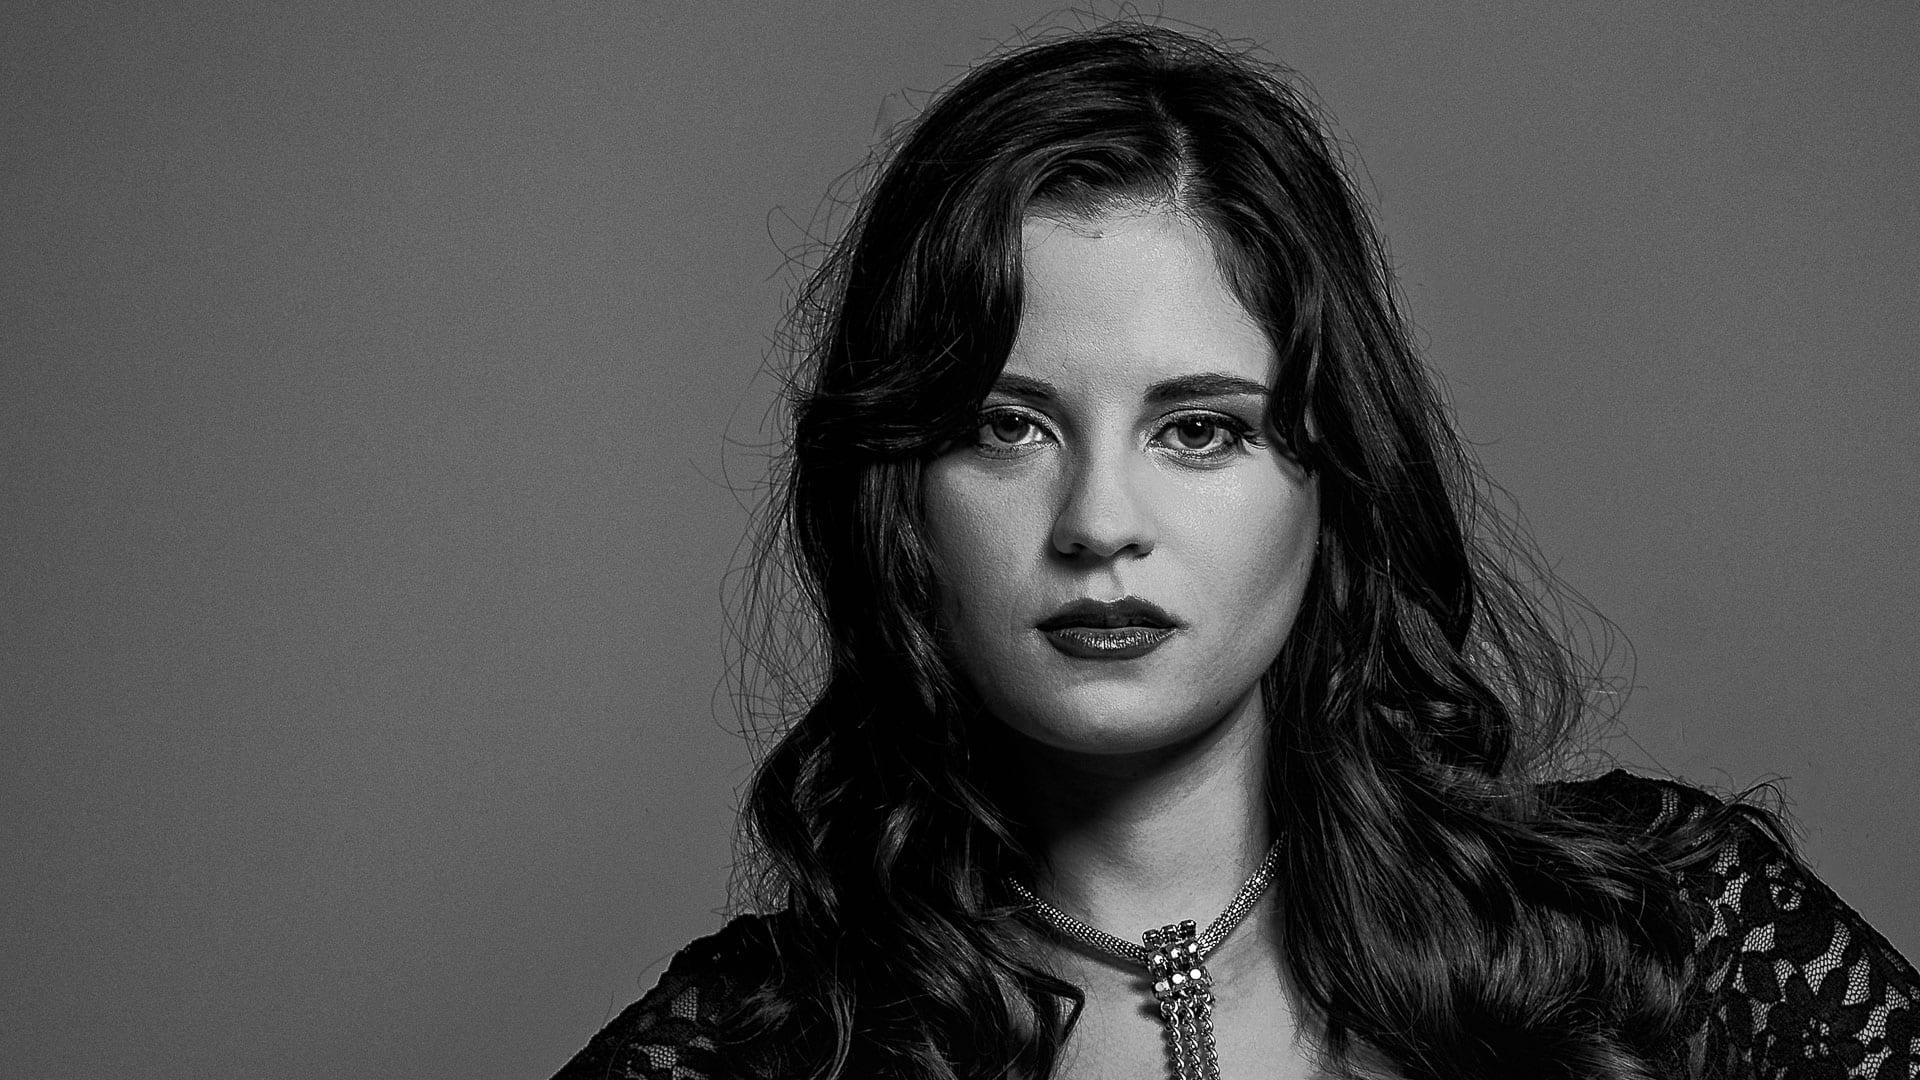
How to Enhance a Female Portrait
No matter the age of your subject. she wants to look her best. She’s trusting you to achieve that result. Not to lie to her, but to make her look her best.
So let’s take a look at what enhances female beauty.
I typically start by looking for any blemishes or features to see how they will react to light. It’s your choice of lighting that will make your work either harder or easier for you.
Young, tight skin can handle harsher light. If you’re going for a fitness, beauty or adventurous look – hard light helps you sell that story.
As we get a bit more life experience, our skin develops wrinkles, blemishes and some discoloration. You want to manage the way those features on the skin appear in your portrait.
That could mean changing your light source to something softer, or changing the angle of light to avoid shadows that enhance the appearance of wrinkles or blemishes.
It’s amazing how easy it is for something a millimeter in size can cast a shadow that creates a dark, definitive line on your subject’s face. It’s drawing everyone’s eye to say “Look! I’m over here!”
Lighting, Makeup and Post Processing
The best way to enhance a female portrait is to take action before you ever pick up the camera.
You have to decide how you’re going to manage these potential problems. No matter what you decide, it’s going to take a bit of time. Most likely, you can save on overall time if you manage each of these items.
The right lighting helps you carve our or protect features of your subject. If you want to show off that jawline and those cheekbones on a young subject, so with a harsh source like a beauty dish. When you need to diminish shadows on some features, the soft, wrapping light of a large soft box is your subject’s friend.
Deciding on makeup, or how much you want to use, is a choice about where you spend your time.
If you go with a makeup artist and apply some foundation and concealer on your subject before you shoot, then that saves you time in post processing. Likewise, claiming that you’ll fix it in post means less time waiting on the set.
Except that now you have to process every single photo you want to share to correct the things you could’ve done with makeup.
How much makeup do you need? Going with a clean, natural look allows you to do some creative makeup effects in post processing. Of course, the same problem applies if you want the same look on each photo – you have to post process each one the same way.
My preference is to do as little correction in post processing as necessary. The results with some good makeup and lighting can save a lot of time later in Lightroom or Photoshop.
Just to make things interesting, the kind of makeup you use also matters. Makeup with SPF protection tends to reflect light. You end up with a lot of shiny skin and specular highlights that are difficult to clean up in post processing, if you didn’t want that kind of look.
You may be better off using a matte finish with your makeup choices.
Of course, these issues are a matter of style. Sometimes you want some sparkle, reflection or highlights to show off the light.
What to Do Before and After the Photo Session
The first thing you need to do is visualize the result. Whether you have a simple portrait session or an elaborate story to tell, think about the result you want to achieve.
Plan the lighting and makeup that works for your subject.
Evaluate your model for potential problems that you can eliminate before you start taking photos. A good hair and makeup professional with experience in photo sessions is truly invaluable here.
That’s because they also should get photos from the session and they want to show off their work. Everyone wants to ensure the subject looks her best.
That means selecting the right kind of makeup for the planned result. Correcting issues with makeup – as much as possible – before the session. I’ll take waiting for a subject to come out of makeup anytime over trying to correct a bunch of photos alone after the session.
Another benefit of having a hair and makeup artist on the session is that they can double your effectiveness during the session to watch out for problems.
During the portrait session, you’re busy thinking about a number of things:
- Your composition
- The subject’s pose
- Her expression
- Your exposure
- Details in the background
- Hot spots that detract the eye from your subject
Flyaway Hair
It isn’t always easy to spot this problem when your eye is in the viewfinder. Modeling for a photo session can be quite active. If you’re asking your model to flip her hair about, some of those strands are going to go their own way.
The best way to enhance a female portrait is to keep an eye out for problems during the photo session. An assistant or makeup artist can keep an eye out issues like flyaway hair and step in to correct it when something is wrong. Trust me, the hair brush is much faster and far more effective than any brush in Photoshop. It’s an amazing way to enhance a female portrait.
By the way, I really like this model and I hope she doesn’t kill me for showing this as an example.
Fabric/Clothing Lumps

OK, this example isn’t a female portrait. Hopefully, you get the idea. The shirt is a hot mess.
When people start moving, their clothes start bunching up. If your model is going in a flow with one pose leading to the next, her clothes will start to get little bumps and ripples. It’s usually most apparent around the middle and hips.
Once again, an assistant or makeup artist keeping an eye out for these things can step in, quickly smooth out the clothing, and then you’re back to taking photos.
That’s much faster and easier than settling in with the Liquify tool in Photoshop repairing the problems – ON EVERY SINGLE PHOTO.
Skin on the Arms, Hands and Chest
You can only do so much with makeup, but don’t just think about the face. Whether you’re trying to clean up skin before the shoot or after, make sure it matches.
If you have a photo with retouching on the subject’s face, but you overlook her hands or her chest, it’s going to stand out. Not in a good way, either.
Before the final photo goes out, review your skin smoothing and overall tone to make sure her body matches from head to toe – or wherever you left off in your composition.
Reducing vs. Eliminating Features
If you’re photographing someone with a bit more life experience, it’s OK to have wrinkles in the photo. Your subject would look like a freak if you eliminated those wrinkles. The idea is to enhance the female portrait, not turn it into a lie.
One of the worst things you can do is hand a finished photo to someone who thinks “This doesn’t look like me.”
Instead, you want to hand her a photo that makes her think “I look better than I thought. What a great photographer!”
People know they have wrinkles or birthmarks. It’s part of who they are. These aren’t things that you eliminate from a photograph, as they exist for life.
On the other hand, I have no problem at all removing redness in the skin or other temporary blemishes. That’s not going to offend anyone, since those are temporary issues.
When you look at permanent features, you have to decide if you want to leave them alone of diminish them in the photos. For wrinkles, dark circles or bags under the eyes, my preference is to leave them in the photo with a bit of reduction.
You can create a new layer in Photoshop, eliminate the wrinkles, and then reduce the opacity to bring them back in a softer form. So the features of the person are still there – they just aren’t exaggerated due to being caught in harsh light or frozen in a split second of time.
As for something like a birthmark or beauty mark – tread carefully. From Marylin Monroe to Cindy Crawford, some women celebrate their marks and won’t accept someone changing who they are in a photograph.
Another touchy topic is weight. There are a number of subtle ways to make someone appear slightly less weighty than the original frame shows. However, going overboard with the Liquify tool or other methods won’t result in a photo that shows your subject at her best.
Instead, it’s something her friends will ridicule and refer to as an “air brushed” photo.
One easy method to make someone look a little thinner without being too noticeable is to use Free Transform in Photoshop. Then bring in the photo frame just slightly from the side. We’re talking less than 5% of the image size. It’s a nice tweak, but not an obvious one.
Three Things to Remember When Retouching to Enhance a Female Portrait
All portraits need some retouching. You need to sharpen every photo, and bring out some contrast. There are inevitably little distractions to fix in portrait photos.
When it comes time to work on skin retouching, remember TTC:
Tone
The first T is for Tone. This is primarily about the contrast in your photo. You’re going to pay attention to the highlights and shadows in your portrait. Enhancing those highlights and shadows, often with a Dodging and Burning method, defines your subject.
If you want to enhance cheekbones, slim down a nose or create some mystery – that’s when you darken areas of your subject with shadows and enhance other areas with highlights.
I like to remove the color from the photo before doing this, so I can concentrate solely on the tones. Color is a liar when dealing with tone.
Try removing the color with an adjustment layer – something you can remove later. Do your dodging and burning work without the color. Then check the result after.
Some dodging and burning methods may affect color. I tend to use a new layer and draw my dodging and burning using Black or White with a brush. Then I change the Blend Mode to Soft Light and reduce the opacity to 5-10%. Give it a try.
Texture
The next T is for Texture.
Before I turn on the color, I start removing blemishes in monochrome. It’s easier for me to spot texture flaw in this view. Sometimes a few bumps or blemishes hide from your view in color. It’s like camouflage.
Review your portraits in monochrome. With less visual information, it’s harder for texture flaws to hide from view. Then go zap them with your Clone or Healing tools.
Color
When the color comes back to view, then it’s easier to spot things that don’t fit. You don’t have to look for tone or texture, so your brain doesn’t have to work as hard.
Is there some redness on the skin? That’ll stand out now. Are there other colors that just don’t look right? Easy to spot.
Finally, I usually like to finish a portrait with some color grading. It brings everything together with a unifying look. You can do this with Color Balance, Hue & Saturation, LUTS or any other number of tools and presets.
The final color grading makes the portrait YOURS. It’s part of your sense of style and leaves your signature on every portrait you create.
Think Ahead to Enhance a Female Portrait
Although parts of this article talked about saving time, I want you to spend time wisely. That means having a plan for your photo session. You don’t always have to nail down every detail and it’s good to let the moment inform the photos you take. Spontaneity is a wonderful thing.
Yet so is an idea of the end result you’d like to achieve. If you want your subject to look good, and I know you do, think ahead about some critical factors:
- Location
- Lighting
- Wardrobe
- Posing
- Hair and Makeup
All of these factors come into play when you’re crafting your portrait. Slow down, take the right amount of time to get it right. Believe it or not, that will save you a lot of time in the end and you’ll get better results.
Also, don’t forget to have fun!