Affiliate Disclosure: We earn a commission if you purchase through one of our links at no additional cost to you.
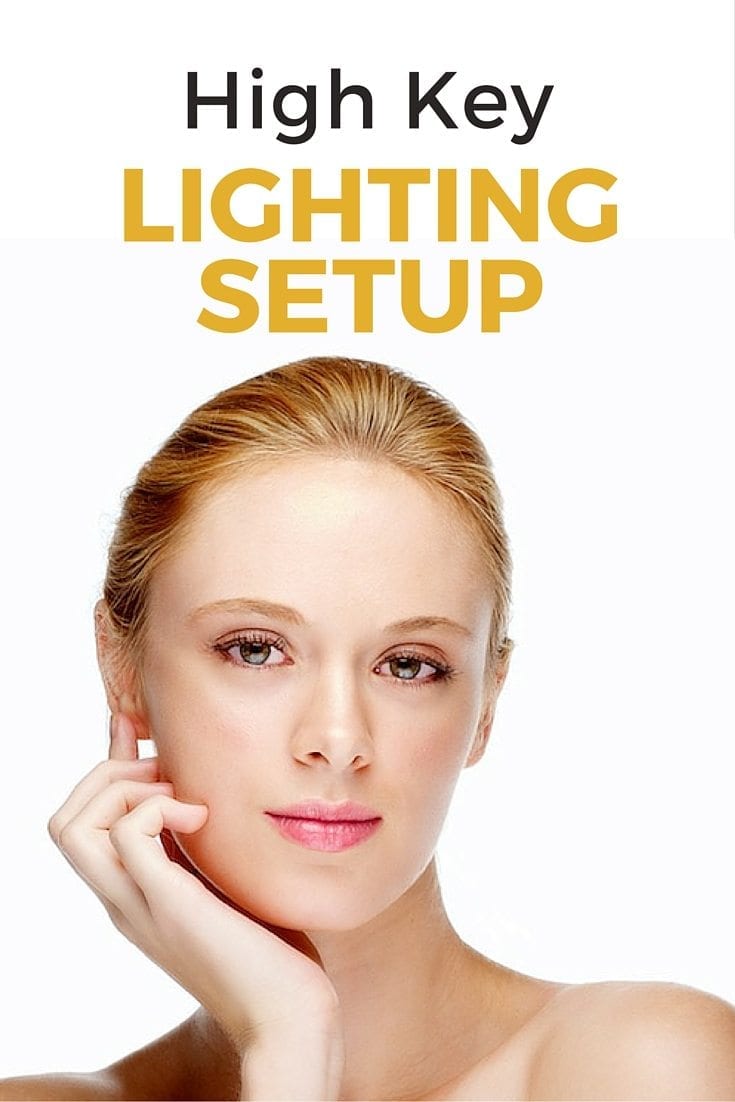
High Key Lighting is a common photography setup for portraits. It creates a bright and cheerful environment without going over the top with exposure. Some high key lighting reduces contrast and delivers a very flat result. I’ll show my favorite lighting setup here and some of the things you can do with it.
It’s pretty easy to create with a home studio if you have the space.
My High Key Lighting Setup

With a white backdrop and a few pieces of white foam board (the product name is Gatorfoam, easily found at sign shops of Gatorfoam Polystyrene Foam Board, 96" Length x 48" Width x 1/2" Thick, White/Black/White (Pack of 1)), it’s easy to create a high key lighting setup.
You can find Gatorfoam in different configurations. I prefer white on one side and black on another to provide more versatility, but there are times when it’s good to have white on both sides if you’re bouncing light. Look for 48″x96″ boards
The shot above shows the basics. Four pieces of Gatorfoam board held together with gaffer’s tape help create the high key box on the set. In this case, we had a studio with a white cyc wall, but the same setup could work just as easily with white seamless paper.
We taped two pieces of 4×8 foam board together to create a V-flat. Then we put a studio light behind each one aimed at the background. Just using those two lights gives us the high key background as you see above, but it’s not the entire setup yet.
The Benefits of Using V-Flats for High Key Lighting
You can tell by looking at the light on my friend Steve and our model. Take a look at the gradation of light on the V-flat walls. You can use that fall-off to your advantage, but also to reflect very soft light back on your subject. It’s best to bring your subject away from the wall into an area inside the box, or else you can really create a nuclear appearance from overexposure.
You could just put two lights off-camera aimed at the background to create a high key lighting setup, but there are some advantages of using the V-flats. Perhaps the best reason is to avoid any flare from those lights coming back into camera. You’re flagging off the light so it goes where you want.
The other reason is to create that soft area of light between the panels. Although the background is too bright and harsh, it reflects light onto those V-flats and creates another light source that can wrap around your subject. If you’d like to minimize the light from one side, use foam board that’s black on one side and white on the other. Just flip the V-flat around to make the sidelight seem more directional.
Creating a Silhouette Lighting Setup
Without adding another light, you can use the setup we’ve described so far for silhouettes. Just bring your subject in front of the V-flats to to eliminate some of the light. You’ll end up with a soft wraparound backlight, such as on this photo.

Adding a Key Light
All we’ve really done so far is create a high key background. You can do some nice things with the background in this setup using gels to add color or a cucoloris to cast a pattern on your background. However, you still need to put a key light on your subject. The idea is to make a distinction between your background lights and your key light. Here’s an example without a key light to show what I mean.

This is Steve being his charming self. He’s inside the box and it’s reflecting soft light back on him. However, it’s not really bringing out his features. You can identify him, but this backlight and wraparound from the V-flats isn’t making him pop. Once I add a key light – in this case, an Elinchrom 53″ Midi Octabox – you can see that he pops quite a bit more in the next photo.

I used 8″ reflectors on my Elinchrom lights behind the V-flats aimed at the background. You can use whatever modifier you like for your key light, since it’s not really interacting with the background lights. Go ahead and throw in a beauty dish or a soft box. Use the wrap from the box inside the V-flats or move your subject forward to eliminate any spill.
Used in this high key manner, you could put down a piece of tape to mark your subject’s position and start shooting a product catalog if you needed.

High Key Lighting vs. White Seamless
What we’ve done here is effectively created a white seamless background lighting setup. It’s great for product photography, fashion and other bright moods.
For some, high key photography is a low contrast style. My own preference is to have bold, clear contrast. There’s no reason you can’t create a low contrast result from this lighting setup, either with your key light or in post processing.
Another option is to change the position of the V-flats to create the low-contrast version of high key lighting. In the first image, you see that I have one wall of the V-flat facing the camera position and the other is at a 90 degree angle to flag off light spill going to the background.
Simply change the angle of the V-flats so they open toward your subject. Position the point away from the model and open them to a 45 degree angle outside of your camera’s composition. Place the lights inside aimed at the point of the V-flat. When you trigger the light, you’ll get a large, soft wash of light on your subject that wraps her in light with reduced contrast.
Give it a try.
One More Thing
If you want to use your subject for compositing onto another image in post, just turn off the lights behind the V-flats and let the background fall to grey. You just use your key light and, if you wish, use the V-flats for some frontal wrapping light on your subject. It’s a great way to separate your subject from the background and make things easier to cutout later in Photoshop.