Affiliate Disclosure: We earn a commission if you purchase through one of our links at no additional cost to you.
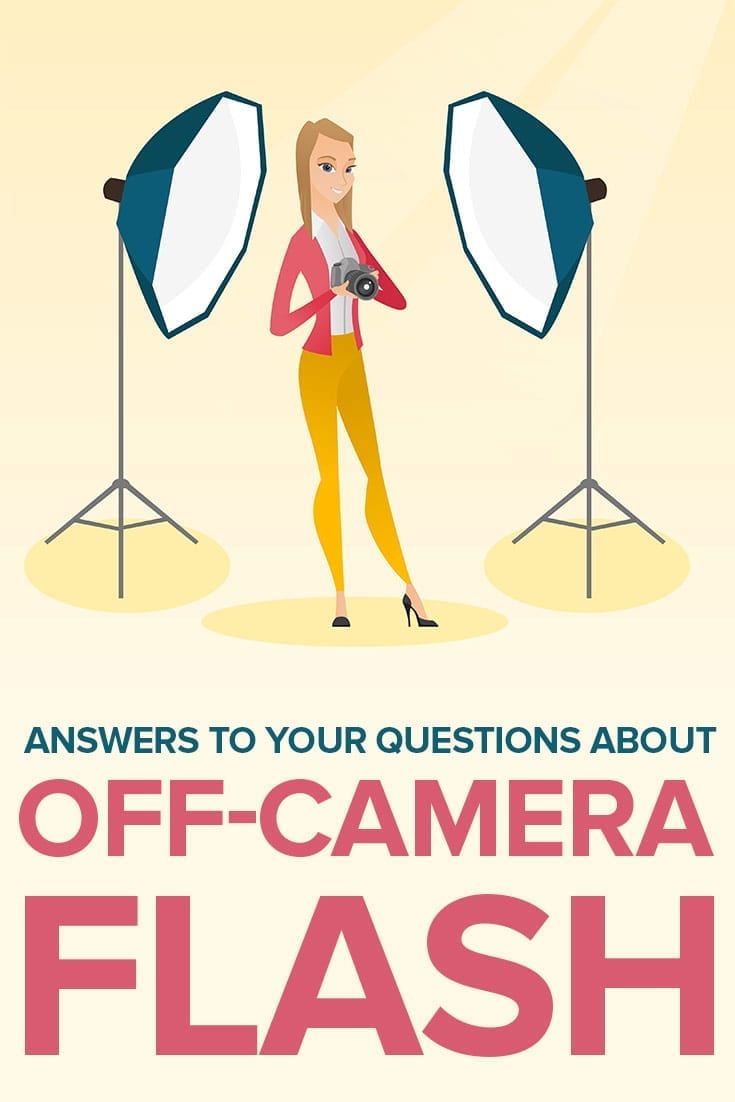
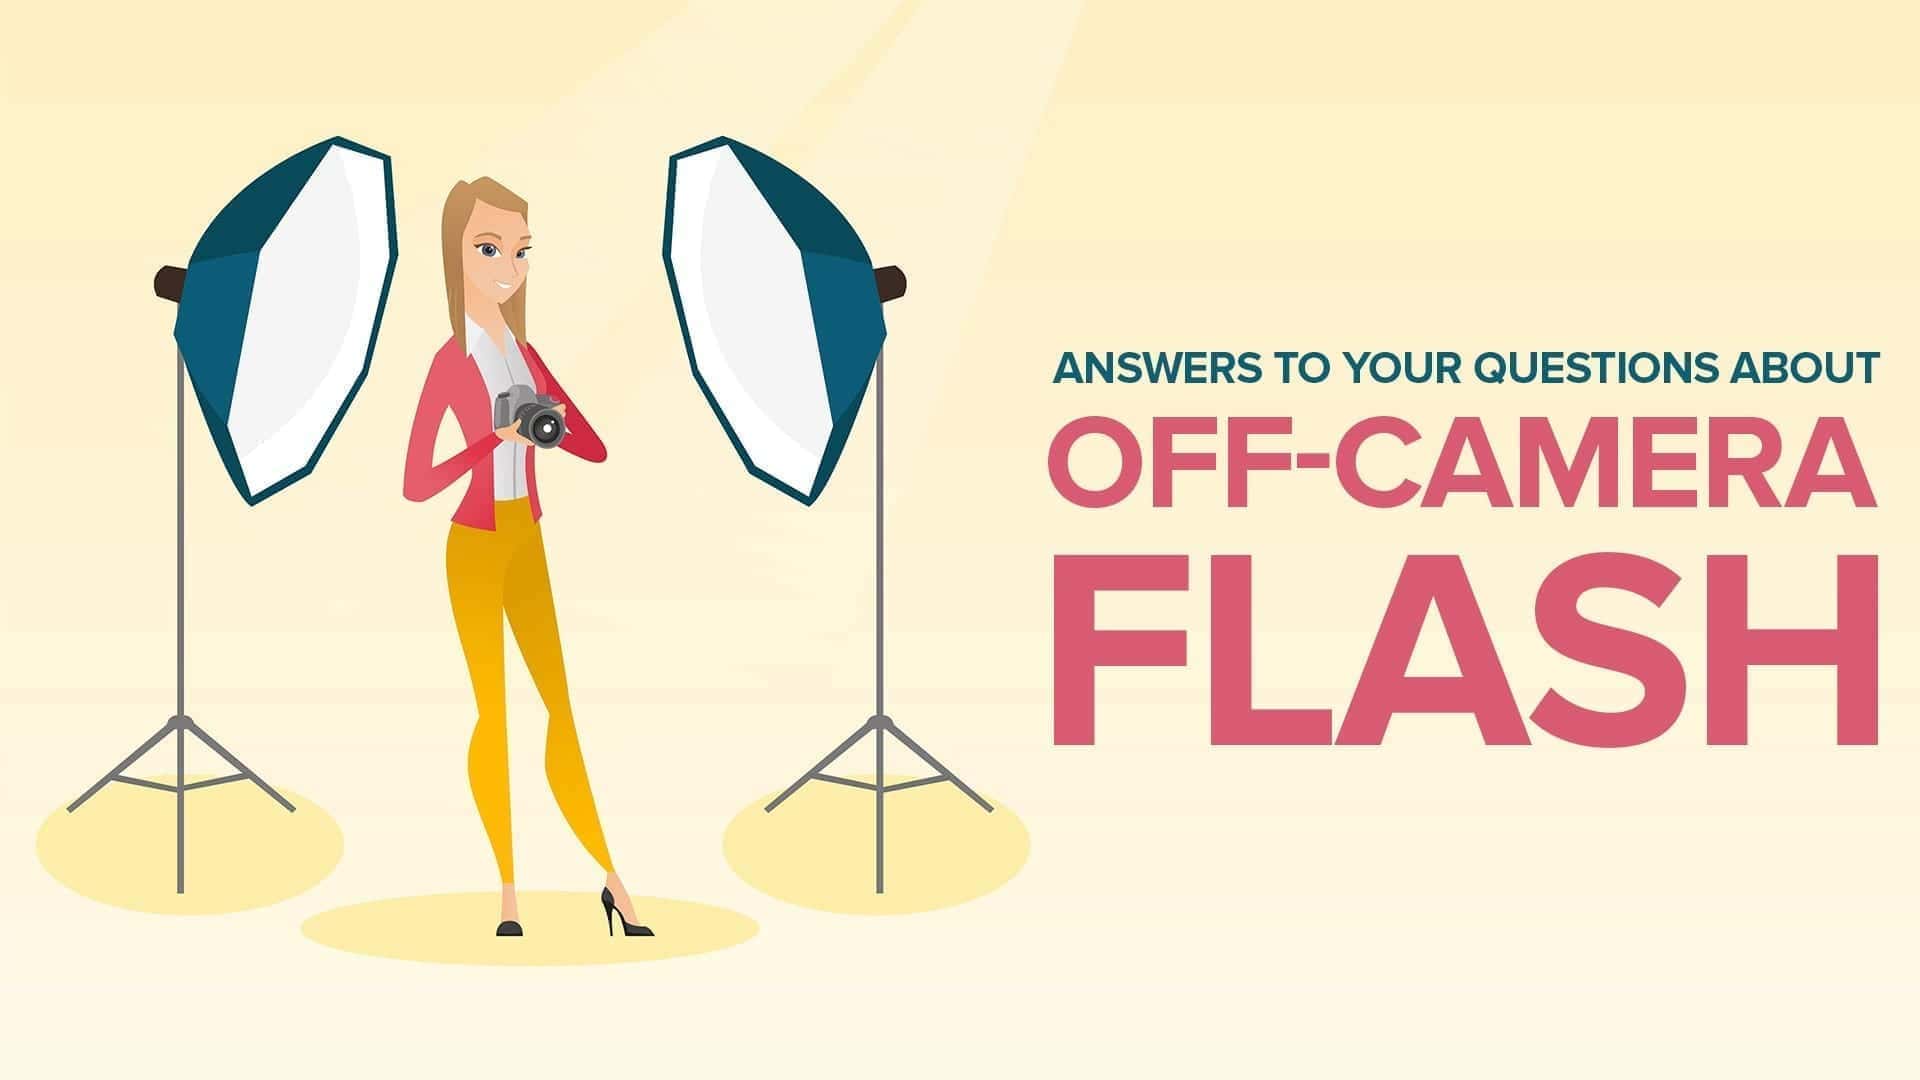
I invited readers to send your questions about off-camera flash, and you didn’t disappoint. You wanted to know why use flash photography, when to use it, how to blend flash with ambient light and much more.
So settle back and relax. Let’s see if we can provide some answers to your questions about off-camera flash.
Why Use Off-Camera Flash?
Let’s start with some of the basic questions about off-camera flash. Why do we even need to use off-camera flash? Don’t we have plenty of available light every day?
Generally speaking, that’s true. We can get plenty of beautiful photographs without ever striking up a flash. Unfortunately, that also limits us to the whims of available light. Namely, it has to be available.
There comes a time every night when available light stops being available. That’s also true indoors and in bad weather. Even if the sun is shining well, there may be times when it just isn’t suitable to take your photos outside or even next to a window.
Using off-camera flash gives you available light anytime, anywhere.
The benefits of off-camera flash go well beyond availability, though. You also gain total control of the light. That means you can decide how much light, which direction it travels, whether hard or soft, or even what color light you use.
There are a plethora of light modifiers that help you shape and control the light coming from your flash. You can decide exactly how the light falls upon your subject. While you can do a bit to reflect or diffuse available light, changing its direction, color, or intensity is hard.
You have to work with what it gives you, which can vary daily – or even from one part of the day to the next.
Using off-camera flash delivers consistency to your photography in a way that available light just can’t deliver.
When Do You Need Off-Camera Flash?
Most of us start photography with available light. Learning to use a flash may seem a bit awkward at first, finding out just how to control its power and make it look natural. It takes a bit of practice and experimentation.
Some people give up and quit.
The big problem with giving up learning how to use flash is that you get frustrated when the light isn’t right. That moment when the light isn’t just right is often when you need to use an off-camera flash.
Of course, there are exceptions. If you need beautiful sunset over a landscape, chances are you don’t have a big enough flash to make that happen.
On the other hand, you can quite easily fake showing the sun in the background behind a portrait subject by using a gel to warm up the light.
Here are a few times when you need off-camera flash.
1: Flash Freezes Motion
The duration of a burst of light coming from your flash is generally much faster than your shutter speed. That means you can freeze motion where the light falls on a moving subject. Since the light is only available for a tiny fraction of the time, you effectively freeze motion with flash.
That can allow you to create some interesting effects with motion combining available light captured at a slow shutter speed and flash to freeze part of the subject.
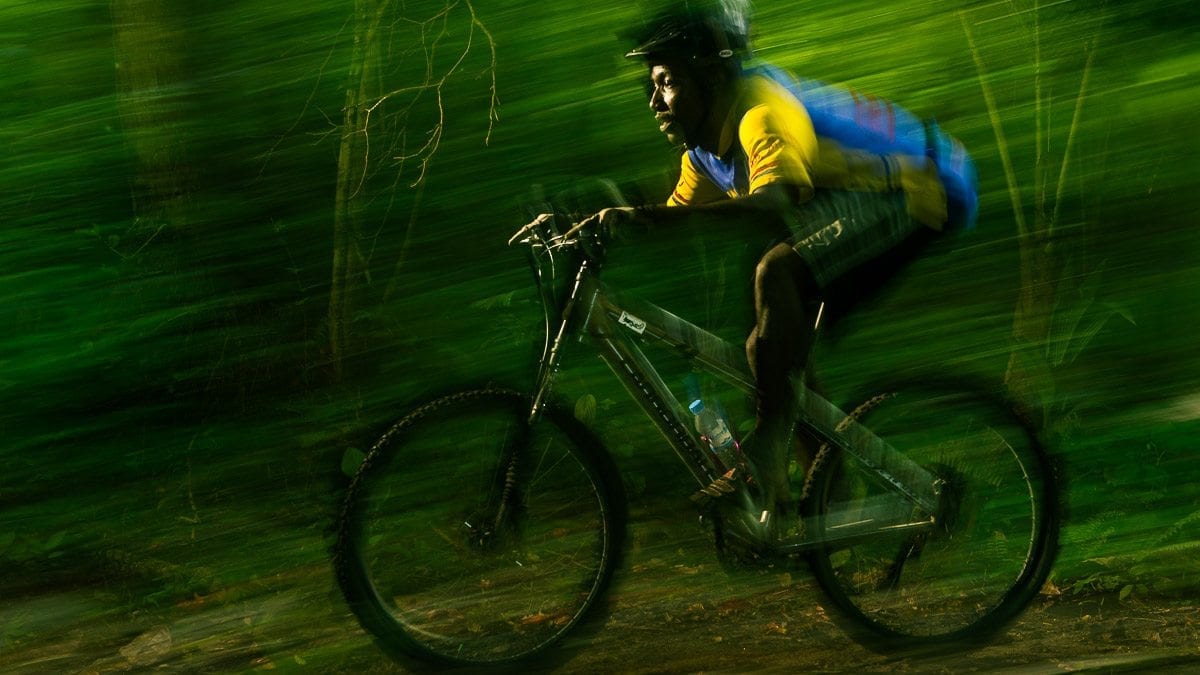
In the photo above, the short duration of flash keeps the bicyclist’s face sharp while panning at a slow shutter speed gives a motion blur.
2: Change the Background Color
Using gels, you can change the background from a boring white (or whatever color) wall into something else. Not only can you change the color, but you can also use a mask over the flash to put a design onto the background.
Project the shape of a window, a circle for a spotlight, or just a random pattern to give your background more visual interest.
You aren’t limited to just lighting the background with a different color. Use color correction gels to make your subject look natural when the available light has a bad color cast on your subject.
Another possibility is to use creative white balance to give your overall scene a warm or cool color, and then use a corrective gel on your flash to keep your subject looking normal.
There are a lot of creative and corrective applications for changing the color of light with your off-camera flash.
3: Fill in Those Shadows with Flash
The problem with available light is that you sometimes need more light in one place than another. Outdoor portraits are a common example. Do you expose for your subject or the background?
If you expose for your subject, then your background may get blown out and look unrealistic. If you expose for the background, your subject may fall into shadow and the result is unflattering.
This is where you can balance flash with the available light exposure to create a flattering image for your subject. This is one of the most popular questions about off-camera flash.
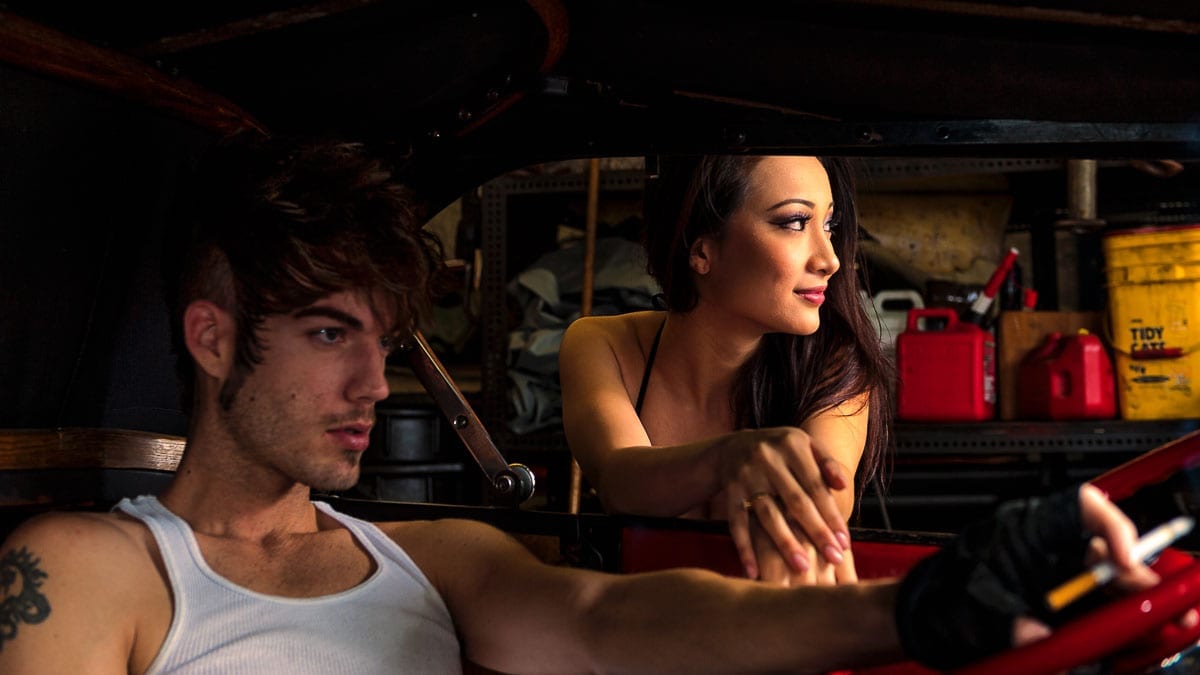
The photo above shows two subjects in different lighting conditions. The man only has available light on his face. There’s nothing that really brings him out of the background. The woman has a pop of flash on her face. You can see how it brightens her face, defines her cheekbones and helps her stand out of the background.
4: Define Shapes with Flash
The problem with available light is that you never know what you will get. Maybe you get hard shadows, or maybe you get flat light. When you use off-camera flash, you decide what light you need.
Here’s an example of a portrait in available light where everything looks flat.
It’s good light to identify her, but nothing about this light is really flattering to the subject. There aren’t really any shadows to define her features.
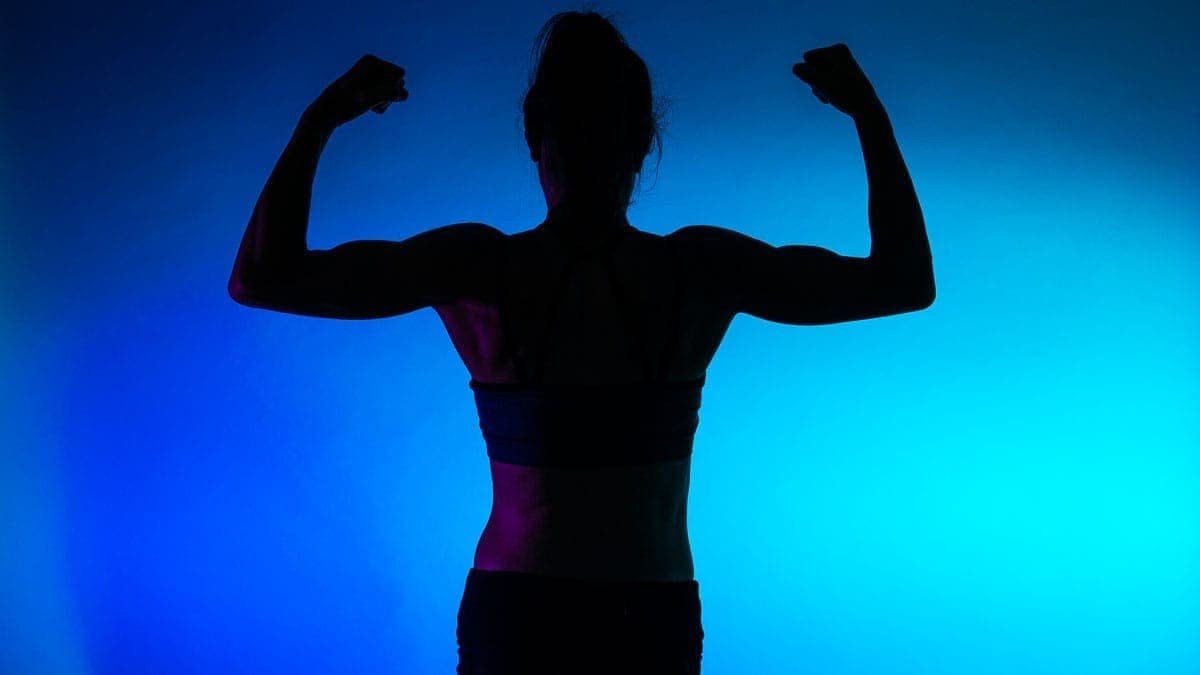
Now here’s an example of a portrait with multiple lights.

Arno is a competitive bodybuilder. This photo of him before competition was to show off his development. In order to do that, we need a combination of light and shadow. Not only do we have edge lighting coming from behind, but the shadows fall on his muscles in some places to define their shape.
A flat-light photo of Arno in available light wouldn’t really show you the development he’s achieved.
5: When You Want to Hide the Background
Sometimes you want to take a photo of a subject, but your background truly sucks.
That’s when you can rely on something called the Inverse Square Law. This freaks out some photographers, but it’s really not that hard to grasp the concept behind this pathetic name.
Here’s the concept. The Inverse Square Law determines the amount of decay in radiation as it travels. The inverse square is just a fraction you can figure every time the radiation travels a known distance.
Doesn’t sound useful for photography.
Now let me fill in the blanks. The Inverse Square Law applies to light because light is merely electromagnetic radiation in the visible spectrum. It’s the only radiation you can see. Now here’s the useful part that avoids the fractions and math.
Every time you double the distance that the light travels, you lose 75% of your light. Photographers call that “light fall-off.”
When your subject is very close to the light source, the light fall-off is very shallow and abrupt. You get 25% of the same light output as you double the distance. However, you also get double the distance of useful light from front to back of that area before the light falls off to shadow.
So let’s put this into practice with the photo below.

This is a portrait inside a cross-fit gym. That environment worked for many of the photos we took that day while Shelly was lifting weights. However, she wanted something with a clean background and…well, a gym isn’t a place for a clean background.
So I used light fall-off to get this shot. Couldn’t do it without a flash. I set my exposure on the camera to cancel out any light and give me a black frame. Then I added a pop of flash to light up Shelly. No math, no fuss.
We probably could’ve made this better with a cross-light to fill in the shadows on the back of her hair, but this was a nice little one-light portrait in an ugly gym.
How to Use TTL
The names iTTL or eTTL are brand names for the same basic function. TTL, or “through the lens”, allows the flash to read your camera’s metering and automatically set the flash to the “right” power. It’s essentially an auto-mode for your flash.
In theory, that sounds like a good thing.
In practice, there’s a gotcha associated with TTL. Your flash output may vary from one shot to the next because the camera meter reading changes. Several factors go into a meter reading inside of a camera.
Let’s say that you take a portrait by metering on a subject’s face. You get an output from the flash for the face. On the next shot, your camera meters the subject’s shirt. You get a different meter reading and a different flash output. You get a different meter reading and flash output if you have a zoom lens and change your focal length. A cloud goes overhead and…well, you get the idea.
1: TTL Can Provide Inconsistent Results
That’s why many photographers like to shoot with their flash in manual mode. You get consistent light output until you change the power of the flash output.
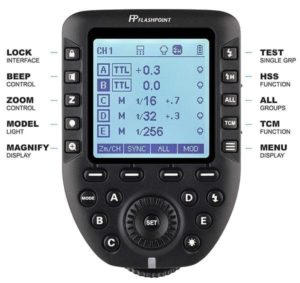
That doesn’t mean TTL is necessarily a bad thing. First, it gets you in the neighborhood of the right flash output. This image is the Flashpoint R2 Pro transmitter I use with Flashpoint (Godox) flashes. There’s a little button on the right labeled TCM. That button converts TTL exposure to Manual settings, and vice-versa.
In practical terms, you can take your first shot with TTL and get close to the perfect flash immediately. Press the TCM button and now you’re in manual mode. You get consistent light output until you decide to switch back to TTL.
While you’re in manual mode, you can tweak the light output a bit higher or lower to get the look you want. It’s a lot faster than blasting too much or too little light, and then guessing how much you need to adjust the power output.
That method works, but this is a it faster and extremely convenient.
Using a light meter is faster, but that’s one more thing you have to carry and this is pretty cool.
Where Do You Put the Light?
You have many options to place your light, but which one is best? It’s yet another one of the top questions about off-camera flash.
There is no best place, but there are some standards for portrait lighting. Check out my article on 5 Portrait Lighting Patterns and When to Use Them if you’re thinking of lighting people.
For other subjects, think about the result you want to achieve. Then reverse engineer it. You’d be amazed how often reverse engineering comes into practice with lighting.
Think about the direction of light and how it needs to hit your subject. Does the light need to be hard or soft? Should you add color to the light?
If you can answer the question about the direction of the light hitting your subject, you’re 90% of the way to your answer. After you setup the light, take a test shot. Do the shadows work for you? If not, adjust the position of the light or the position of your subject.
Last week, Lee did some food photography. We had the light set 45 degrees to her left, oriented toward the table. It was also aiming down at a 45-degree angle.
That worked for most of her shots, but there were two exceptions.
The first was a bottle. There was too much glare on the bottle. We repositioned the bottle by turning it two inches. No more problem with glare.
The other issue was a top-down photo of a bowl of soup. The position of the light cast too much shadow on the opposite side of the bowl. I moved the light to an angle closer to an overhead, top-down position. Just slightly off, so we could have a little shadow on edge. That’s all it took.
Don’t overdo it when you move your light. It’s often a game of inches to get the result you want.
Which Flash Do You Buy?
Many decisions go into your decision. Fortunately, I created a guide to help you understand. Check out this article on the Best Godox Flashes.