Affiliate Disclosure: We earn a commission if you purchase through one of our links at no additional cost to you.
Until this weekend, I never really had much use for onOne Software Perfect Resize 7. The images I capture with my DSLR are large enough for my printing needs, so it’s software that sat relatively unused on my computer. That changed last weekend.
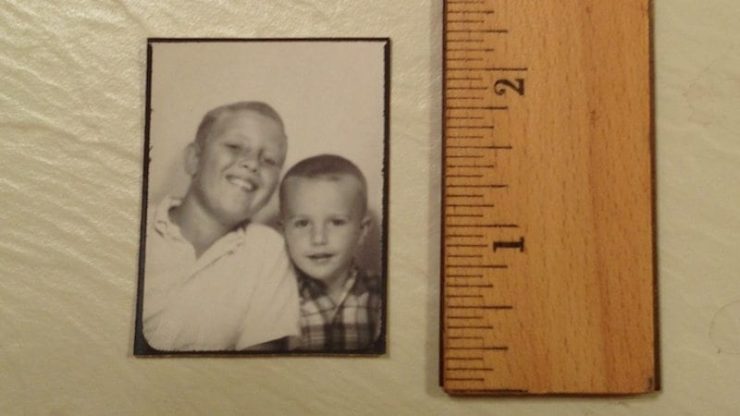
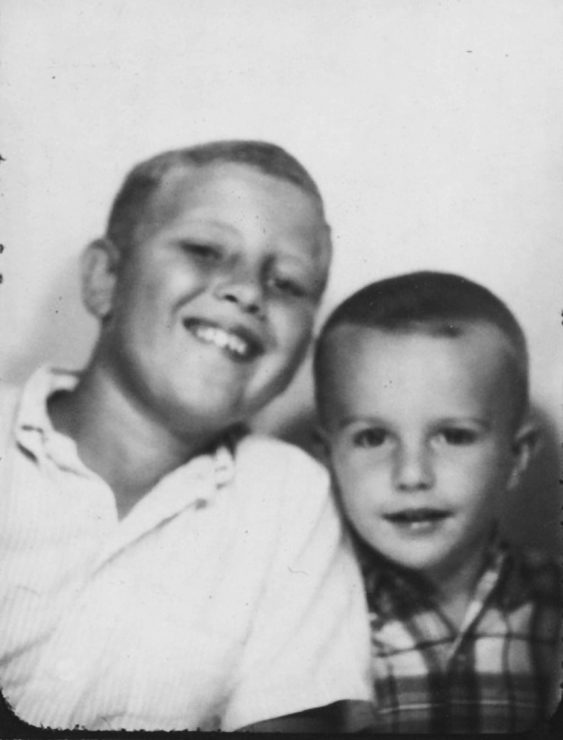
I had lunch with my family, which is something fairly rare to get us all together at the same time. Maybe that’s why my mother decided to surprise my brother and me with an old photo she found when we were very young. It’s just a small wallet photo, only about two inches tall.
That’s my brother Don on the left with the big smile – same one he has today. I’m the younger, good looking kid in the plaid shirt. I can’t tell you how much this little photo meant to me as old emotions came back. That little picture shows just how much my big brother means to me.
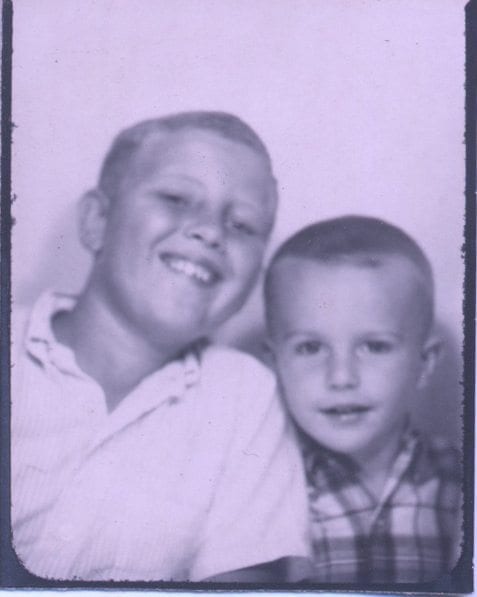
I didn’t want to lose this picture, so the first thing that came to mind was to scan it. My friend Kevin provided me with a scanner on an extended loan a while ago, so I put this little wallet photo on there and here’s what I got as a result.
That’s the full size from the scan – 597×477 pixels. That’s good enough for use as an avatar, but I started wondering what else I could do with this old photo. That’s when I decided to explore onOne Software Perfect Resize 7.
onOne Software Perfect Resize 7 in Action
I was slightly concerned that I needed to learn a new software program to get the results I wanted. That was silly. It couldn’t have been easier to enlarge this photo with great results. In fact, I felt it was absurdly simple. onOne should make it a bit harder so you have more of a sense of personal accomplishment. Enlarging the photo was about as hard as getting $20 out of an ATM.
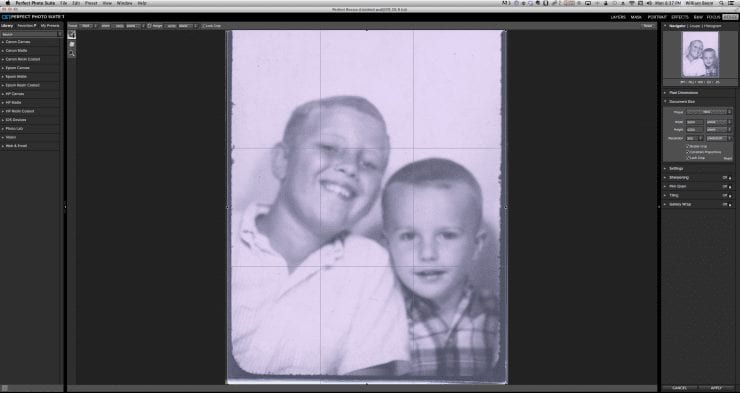
There was no need to load Aperture or Photoshop, since Perfect Photo Suite is now a stand-alone application. I launched the suite and selected Resize from the upper-right menu of applications.
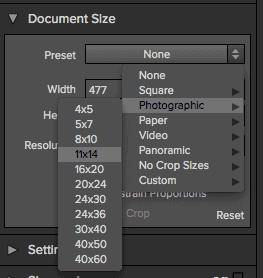
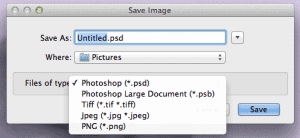
I clicked the Apply button. The screen blinked for half a second and the job was done. That was pretty damn fast! The only thing left to do was click the Save button and give it a name and a file format.
I ended up saving the photo was a PSD file. Not that I needed it in that format, but I wasn’t thinking about all of the other processing I could do with Perfect Photo Suite 7 at the moment. My mind was just focused on enlarging the image.
Turns out that my concerns about degradation were unnecessary. In fact, my mother thought the enlarged image looked much better than the original.
I thought the scan was a bit flat, so I took the larger photo back into Perfect B&W to tweak it a bit.
You can click on the image to see a larger size, but the result is probably larger than will fit on your screen. This is now a 3152×4140 image. That gives plenty of space to go in and do more photo restoration – something else I’ll have to try.
Compared to modern cameras with outstanding sharpness, this image may not hold up well technically. When you consider that Perfect Resize 7 gave me such a large image from a worn out wallet photo that’s over 40 years old, I’d say it’s astounding technology. None of that compares to the emotional impact of preserving a memory. All the imperfections in the photo fade away and what’s left is a brother’s love. Now that’s a great thing.
Want to learn more about Photography software? Click below to check out articles about Adobe, ON1, Skylum, and more.
Photography Software Articles

