Affiliate Disclosure: We earn a commission if you purchase through one of our links at no additional cost to you.
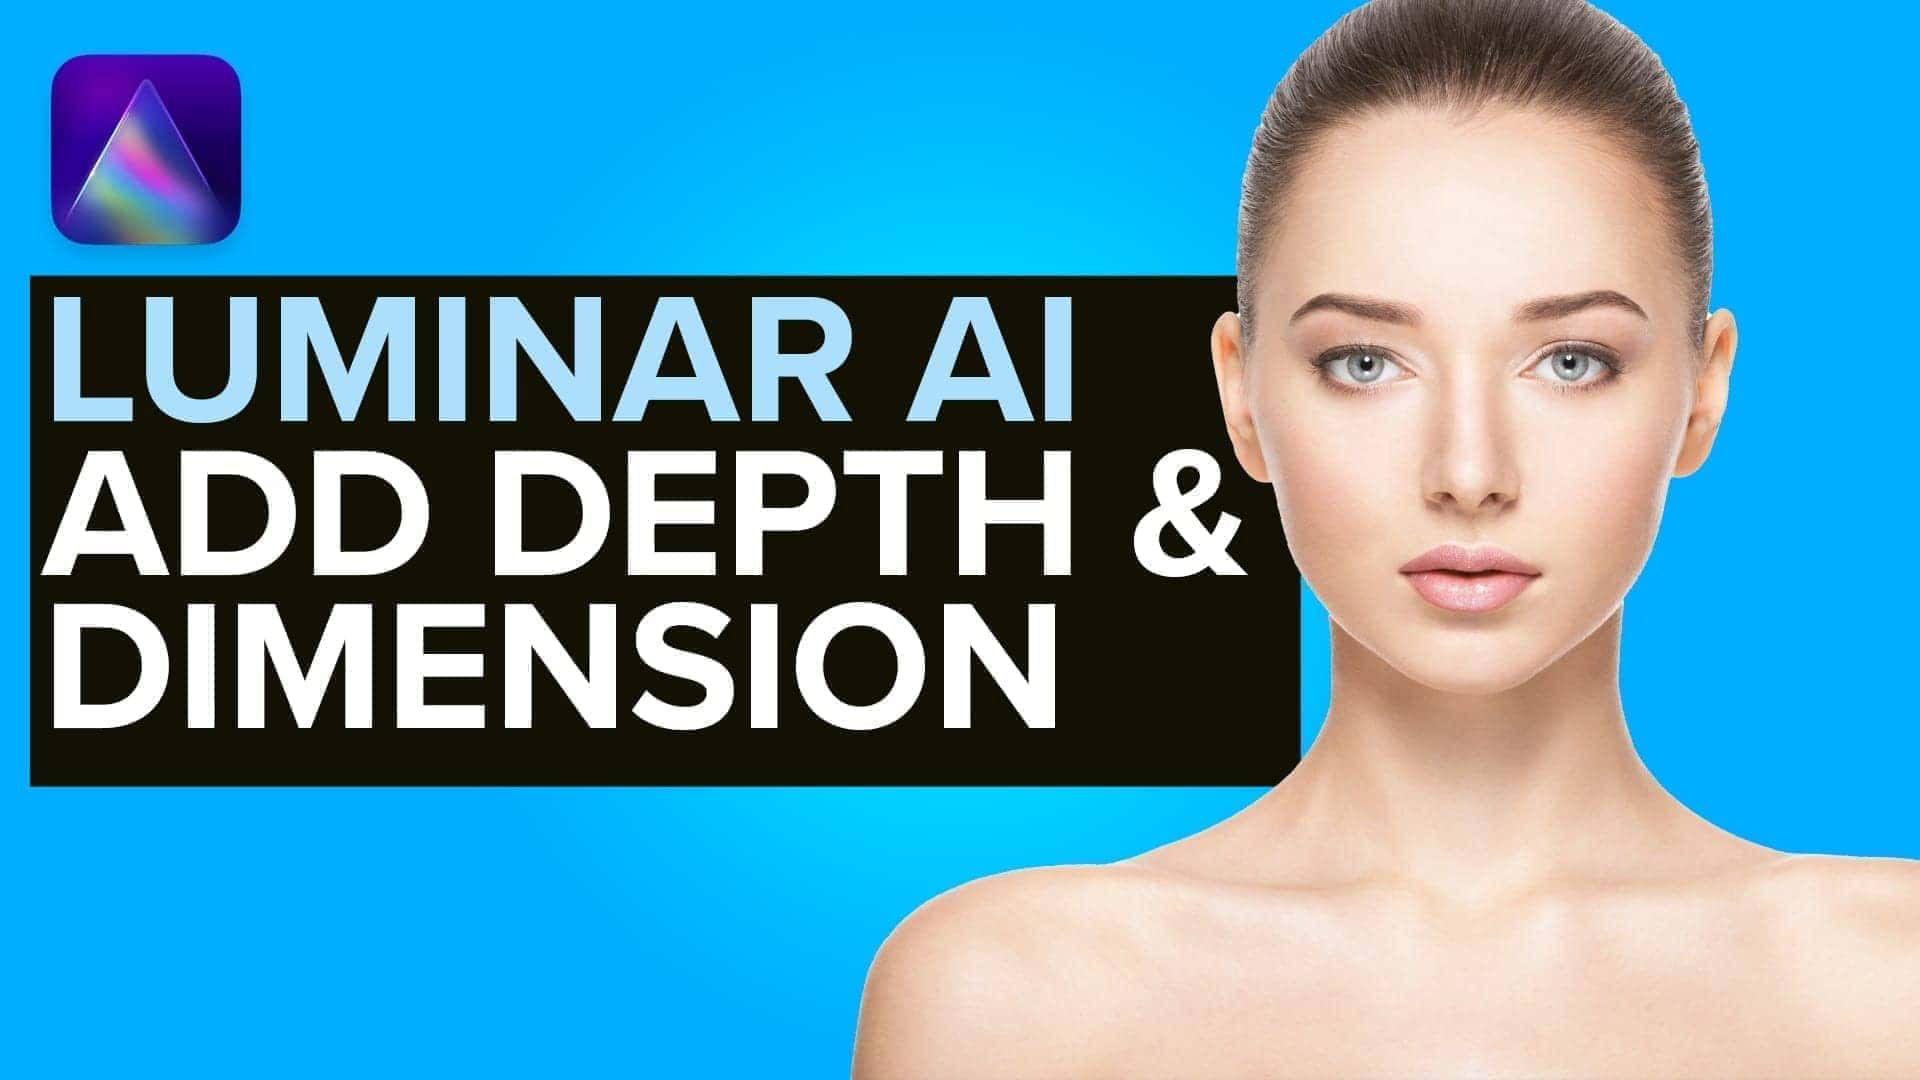
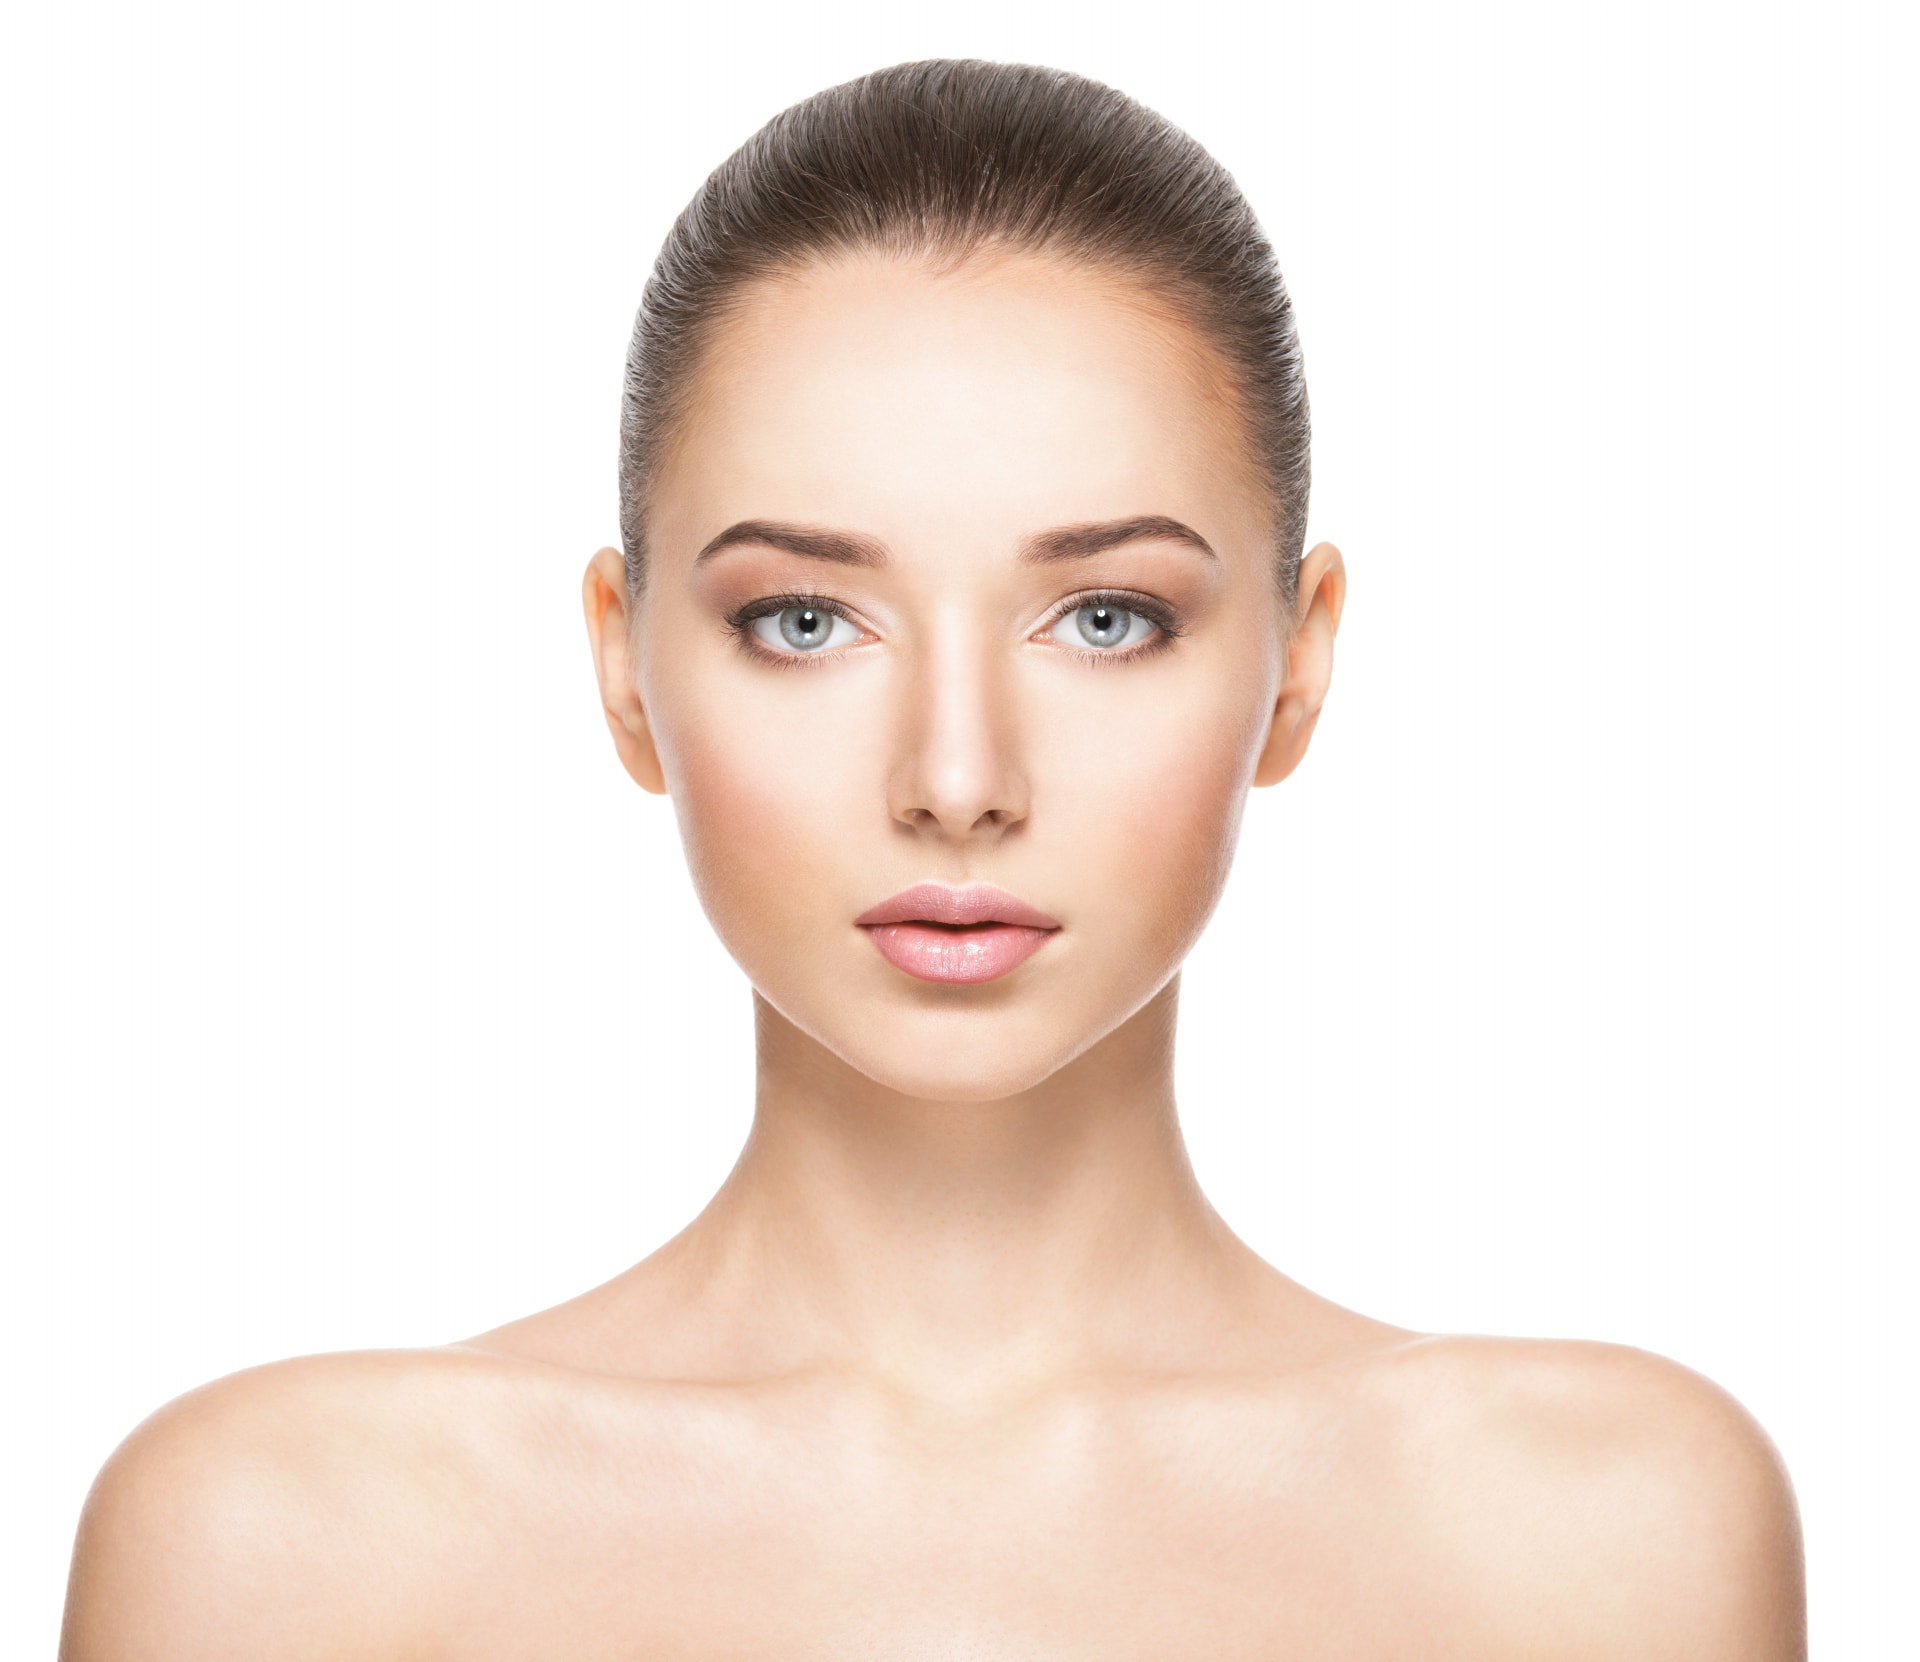
You can easily add depth and dimension with Luminar AI to give your subjects a realistic 3D effect.
Luminar AI has a lot of wonderful tools that can instantly change and improve your photos. However, sometimes you need to do things for yourself.
This video shows you have to enhance the depth and dimension of your subject – any subject – using some local adjustments.
How to Add Depth and Dimension with Luminar AI
The technique we’re using here is essentially dodging and burning.
There is a Dodge & Burn tool inside Luminar AI, but we’re not using that in this demo. We show why in the video. It’s because the Luminar AI Dodge & Burn tool tends to cause discoloration.
It’s often fine to use on some photos, but it’s clearly a problem on skin tones. That’s why we turn to the Local Masking tool, instead.
As I show in the video, you can create a Basic mask to Dodge and another one to Burn. We then change the Exposure value as needed to get the dodge and burn characteristics to add highlights or shadows.
The important thing to remember is to reduce the opacity of your brush to 10 or less. That allows you to slowly add the changes where you need it.
You can also improve the result by protecting the highlights or shadows with the sliders on the Basic mask tool.
How to Make Changes to Depth and Dimension Later
If you think you added too much highlight or shadow, you can always adjust the Exposure slider to bring it back to an acceptable range. On the other hand, you can brush in more of the Dodge or Burn effect if you need to add a highlight or shadow, since you started with such a low opacity.
You build up the effect by slowly brushing in the effect.
Dodging & Burning is an old-fashioned technique, but it’s still one of the most effective ways to add depth and dimension with Luminar AI to enhance your subjects with a 3D effect.
Video Transcript
Luminar AI has a lot of wonderful tools, but sometimes you just need to do things yourself. And one of those things I find is that there's no tool that really brings out depth and dimension in an otherwise flat photo. We have some Dodge and Burn tools in here. We're going to take a look at those. I'm going to show you another way you can achieve some of the same results using local masking.
And I think sometimes these local tools are the ones that really do it. So we're going to take a look at some tools in Luminar AI that help us add depth and dimension to our photos. Hi, my name is William Beem, I'm a portrait photographer in Central Florida. If this is your first time here, welcome, I'm really glad to see you here.
And if you're just new to Luminar, I'd want to let you know I've got a course called Luminar AI Elements. It goes through every single thing inside of Luminar AI, every tool, every feature, every option, and it shows you what they do and how they do it. So if you'd like to know more about that, you can go to williambeem.com/courses and look for Luminar AI Elements.
And I'll put a link in the description down below, so you can check that out. All right. Why don't we go ahead and take a look at our photo. In this case, I've pulled up a simple beauty portrait, but the concept that I'm going to show here really works fine for any kind of photo, because what we're talking about is adding depth and dimension.
I know how to do this on a face. You could do the same thing with a still life of a piece of fruit. You could do this on a landscape, travel photos. Wherever you need to. So let's just go ahead and take a look at what we can do with this particular portrait. I want to start off with the Pro Tools and show you one of the things that I'm concerned about.
We select our Dodge and burn tools. I like these tools. I use them quite a lot, particularly in travel and landscape photos. I don't use them so much in portrait photos. And this is the reason why. So Dodge is the same as lightening. In other words, we want to add some more brightness to the subject that we have. And then darken is same as Burning.
We want to go ahead and darken an area. The concern that I have is that we get some discoloration using these tools. Now we can change the overall amount, but I think that there is possibly a better way to go about this because of the discoloration that we may see using these tools. So here we are in local masking. I'm going to add two basic masks and it doesn't matter what order you do this.
And the only downside of this, I hope that Skylum will fix this is, I can't rename the mask. So if I'm gonna make one here for Dodging and one for Burning, I don't know which is which except for looking at the controls that we have in here. So this one I'm going to use for our exposure. And I know that looks really,
really bright, but I've keeping my opacity probably just a little bit under 10. And at 10, under 10, I think you'll be fine. What happens there is you're not going to see this effect all the way through. You're going to build this up. If you're worried about blowing out some highlights, you might want to pull this down a little bit and take a look there.
Now we're going to do the same thing for our Burn. We're going to go ahead and add another basic. And again, I've got my opacity around 10 and I'm going to bring the exposure down, but the whole key is add some exposure for the dodging, lower the exposure for the burning and keep your opacity at, probably about 10 or maybe just a little bit under.
So let's see what we do now. When we use these tools, we're going to see that the overall implementation of both these local adjustments is global. It won't show us what we really want to see until we start painting. So what I want to do is kind of open up the highlights where you see them naturally on here and bring some shadows where you can see them naturally here.
So what I'm gonna do, I think is zoom in just a little bit, get this down where I want to. So you can see here, the exposure is up about one and a half. I'm just going to start painting and you can see how that changes. So we've got a very, very subtle pink showing our mask. And I'm gonna make this a little bit bigger for this section.
I'm just going to paint kind of like a little bit of a triangle under each eye. And I'm following kind of where I see the natural outline of her highlight. There are a couple of places I want to do it. Obviously down here on the edge of her nose, I bring that down and I'll do this in a wider swath, I think across her forehead.
Cause we want to bring a little bit of highlight there. And as you get experienced with whatever your subject is, remember this, because I'm doing a portrait doesn't mean you can't do this with something else. You can kind of decide where you should have some highlights, where you should have some shadows. So for example, what I'm doing is I'm kind of looking for a way to enhance what's already there and what should be a highlight.
And if you want to see what your mask looks like, just go ahead and hit the slash key and that'll turn your masking on and off. So you can see what we've got a little bit of red. And if you've got someplace where maybe you over brush, you can go ahead and turn this to a negative. So you can either click the erase button over here.
You can hold down the option key on Mac or the alt key on Windows and kind of take away where you masked. I'm going to go a little further down here. So I've got this little spot where we see a natural highlight. I want to bring that in. And then further down, you can see a couple of places right in here, this kind of view of her neck,
and also on, along the clavicle. I want to bring this over here and just kind of give this a little bit of a highlight, not too much. And we'll back off. So I'm going to go ahead and hit the slash key and turn that off. And you're not going to see too much of a difference yet until we go ahead and do our Burning.
So I'm gonna go ahead and switch that over. And now I want to do kind of the opposite. So for example, let me zoom in again. I want to get a little bit of darkness on the edge of her nose is kind of slims her nose down. Let's go back down. We want to Burn in a little bit here under her chin. And in this part of her neck,
I'm gonna make this brush just a little bit larger. And now we're going to go ahead and do this part on the top of her clavicle, right over here and over here. And let's zoom out, turn the mask overlay off and let's take a look at our before and after. So here's where we were at the beginning and here's where we are now.
So you can see we've added some little depth and dimension here. I'm thinking that probably a little bit too much right over there. It turned us back on and off. So if you ever think that you did too much, there's a couple of things you can do. One, you can go back and you can reduce the opacity even more, or you can change the exposure and bring that down.
So I think that looks a little better when we've modified the exposure. So we've gotten a little depth and dimension to her face. I think I probably want to add some also over here kind of like on the ridge line of her hair and that kind of helps offset what we've got this. And again, if you think this is too bright, we can go to our other mask and we can pull the exposure back a little bit.
I kind of like to start with exposure just a little bit too high, because that way I can see visibly where I've done my painting without having to go through the mask and we can see what the results are. So let's go back before that's before and that's after. So you can see it with just a little bit of shading and it's a very minute amount.
I think that brings out just a little bit of depth and dimension in her subject. So that's, that's really what we want to do. And we don't have anything in our tools that really work that way. We've got wonderful tools here. We can fix skin complexion, we're gonna enhance the eyes, the lips and so forth. But if you want to go ahead and kind of really work on doing some fine shading to bring out the dimension of her face,
I think that local masking and working with your opacity and your exposure adjustment is really the way to go. And again, like I said, if you think you've got a little too much, just go ahead and bring it back down. And that way you don't have, you know, a highlight spot that's a little too much, but overall working with the,
what you have on your subject and kind of Burning in where you need to on the dark spots and lightening up on the highlights is a good way to go ahead and kind of develop your subject. Let's take another look at kind of at our before and after. So there's where we were and that's what we've done after. We've enhanced it. And this is going to take some practice.
You can do this with a portrait subject. You could do this with a pair, if you're doing a still life. You know, you want to look where is the natural highlight and the time that you want to do this is not when the lighting in the photo is really giving this to you. It's when you've got relatively flat lighting and you need to go ahead and add some depth and dimension to your subject.
Thanks very much for your taking the time to look at this tutorial. I hope you liked it. If you did, please go click the like button that lets YouTube know that we're doing something right. And hopefully it'll share it with other people. And go ahead and hit subscribe if you'd like to see more of my videos and ring that little notification bell or click that,
and you'll be notified the next time I put on another video. As a reminder, if you want, I've got a course called Luminar AI Elements. Just check out the description in the link below. It'll take you over to the course page and you can find out more details there. Also, you can get the course for free. If you buy Luminar AI from me using my coupon code,
which is in the description below, I'll give you the course for free. If you haven't bought it from me, not a problem. You can still go ahead and get the course, but if you want it for free and you've bought Luminar AI for me either in the past or you're planning on buying Luminar AI, use my coupon code that's in the description below,
and then send an email to me at [email protected] showing me your receipt and I'll grant you access to the course for free. Thanks so much. We'll see you in the next video.
Related Links
Want to learn more about Photography software? Click below to check out articles about Adobe, ON1, Skylum, and more.
Photography Software Articles