Affiliate Disclosure: We earn a commission if you purchase through one of our links at no additional cost to you.
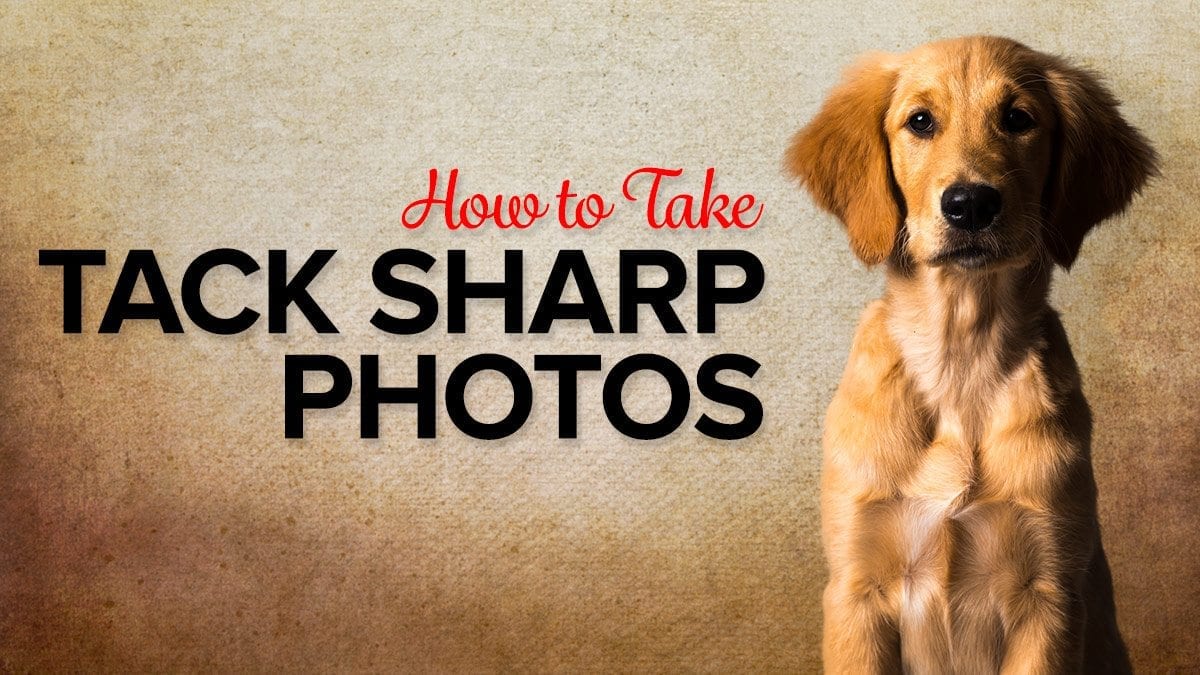
9 Tips to Take Tack Sharp Photos Every Time
If you want to get tack-sharp photos, you need to do more than nail your focus. We’ll reveal what you need to know.
Getting tack-sharp photos takes a combination of factors. Yes, you need to get your focus correct, but that does you little good if you have shaky hands with a slow shutter speed. To get tack-sharp photos, you need to eliminate as much motion as possible.
Here’s how you do it.
1: Watch Your Shutter Speed
If you’re shooting hand-held, you must consider how much your hands shake. Maybe you don’t perceive it, but the human body is always in motion. Minor tremors in your hand travel to the camera body and move the camera around.
The faster your shutter speed, the less impact your handshake will have on your photos. An old rule is to have a shutter speed that is AT LEAST the same as your focal length. The longer your focal length, the more susceptible your camera is too shaky hands.
If you have a 200 mm lens, you want a minimum of 1/200th of a second shutter speed. If you have a 35mm lens, you can get away with a minimum of 1/35th of a second shutter speed.
These are the minimums you should use. Faster shutter speeds are always better, but not at the expense of high ISO (more on that later).
2: Each Lens has a Sweet Spot Aperture for Sharp Photos
It would be nice if every aperture on a lens were as sharp as all the others. Life doesn’t work that way, though. I could tell you it’s physics, but I’m not a physicist. I’m a realist. The reality is that different apertures provide different levels of sharpness.
When you use a wide aperture, you see bokeh in the background of your subject. That isn’t your sharpest aperture if part of the photo is blurry. It doesn’t mean that your photo isn’t usable or even desirable. The trick is to see which aperture is sharpest on your point of focus, now the entire image.
So how do you determine which aperture is the sharpest on your lens?
You need to test every aperture on your lens with a known target. To be precise, you can use a lens calibration tool like this one: Focus Pyramid AutoFocus Lens Calibration Tool.
The Focus Pyramid is an essential tool for any photographer looking to get the most out of their camera and lens combination. By calibrating your camera and lens autofocus, you can ensure that every photograph is in focus, whether you're shooting landscapes or portraits.
With the Focus Pyramid, you can test for back or front focus, and then either compensate manually or save the information into your camera for automatic autofocus lens calibration.
Post a newspaper on the wall if you aren’t in the mood for that level of precision. It isn’t as precise, but it’s a place to start.
With your camera on a tripod, get the entire target or newspaper in the whole frame. Then take a photo of the subject with each aperture.
Next, import your photos to your computer and zoom in to 100% to review the photos. You’ll be able to compare the results and determine the sharpest aperture for your lens.
Of course, the sharpest aperture on one lens may not be the same on another. You’ll have to repeat this process for each lens if you want to know the sweet spot.
3: Avoid High ISO
This may or may not be obvious to everyone, but high ISO reduces the quality of your photos. The noise or grain you see in high ISO photos robs you of detail and clarity. If you want to have tack-sharp photos, they need to be clean. Shoot at the lowest ISO you can manage.
Noise reduction software is not your friend. It blurs your images and reduces sharpness. There is no magic software that restores sharpness that you missed at the time of capture.
4: Use a Tripod and Shutter Release
If you can use a tripod and shutter release, use it. It doesn’t eliminate the movement of your subject, but it greatly reduces shake and vibration on your camera lens.
We already went over hand shake on your camera just by holding it. That hand shake also travels to the camera when you press the shutter. Using a tripod and shutter release removes your hand shake and vibration from the mix and increases your odds of getting tack-sharp photos.
Not every type of photography works with a tripod, though. You may be able to compensate for hand shake by using image stabilization (also called vibration reduction). Best to get a lens with IS (or VR) built into the lens. I’ve used this feature on my 70-200mm lens while riding in a bumpy truck and taking photos of animals. It works better than I expected.
5: Use a Flash if You Can
There is a way around worrying about slow shutter speed: to reduce the time that light hits your camera sensor. You can do that with flash.
Your flash fires at a much shorter duration than your shutter speed. That’s why studio portraits are typically very sharp. They only have light for a brief time, depending on the power output.
For a typical hotshoe flash, the flash duration at full power could be as slow as 1/200th of a second. At minimum power, it could be fast as 1/20,000th of a second. Now that ought to freeze anything well enough for a tack-sharp photo.
Of course, your results depend upon how much control you have over ambient light. If you can stop down your aperture to eliminate ambient light, you could shoot with your shutter open for several seconds and still get a sharp result with a typical flash duration.
Get more than one flash to prevent slowing your flash by using it at full power. If one is right at full power, two can shoot at 1/2 power and drastically reduce the flash duration.
6: Be Careful with Shallow Depth of Field
Have a Nikon 85mm prime lens, and I love it. At f/1.4, it has a razor-thin depth of field. There are times when that’s burned me, though.
That’s because I focused on a subject’s eye, but the other eye wasn’t on the same plane. The result was one sharp eye and another soft and out of focus.
Bokeh can be a beautiful thing behind your subject, but it can ruin a portrait if it’s too thin to allow facial features to stay sharp.
7: Prime Lenses May Be Sharper than Some Zoom Lenses
This is an area where your mileage may vary.
Once upon a time, you could always count on prime lenses to be sharper than a zoom lens. That’s not always the case now. Advancements in optics put some professional zoom lenses on an equal or superior footing to many prime lenses.
On the other hand, your kit lens probably doesn’t have quite the same optics as more expensive lenses. So it’s up to you to test your gear to see which lens and aperture yield the best result.
8: Is It Better to Use Auto Focus or Manual Focus?
We’re still in the land of varying mileage.
I know people who swear by their autofocus systems and others who say manual focusing is the only way to get tack-sharp photos. Both of them are right – for their specific gear.
I use a Nikon D800/D810 camera with pro-grade lenses. The autofocus on my camera system is outstanding. It’s fast, silent, and accurate. Likewise, I know that Canon has a great autofocus system on some of its bodies and lenses.
Some, not all. That’s because Nikon and Canon don’t put their best into every product. You pay for those features. If you have top-of-the-line autofocus, use it. If not, manual focus may be your best option.
Know your gear and choose the option that works best for you.
9: Sharpen in Post Processing
Every photo needs sharpening in post-processing. I don’t care what camera you use. Every photo needs sharpening.
If you are shooting in JPEG files, the camera applies sharpening and other post-processing before it writes the JPEG file. Some of us don’t want the camera making those decisions, so we shoot in RAW. That means it’s up to us to decide how to apply to sharpen.
While I prefer RAW, I also know there are occasions when JPEG is appropriate. If you’re shooting sports and need small files so you don’t fill your camera’s buffer, JPEG is your friend, and you get shared files. For the rest of us, shoot in RAW and do your sharpening.
If you're a photographer, you know the frustration of trying to get a perfect photo only to find it blurry or out of focus. Topaz Labs Sharpen AI is designed to help you get tack-sharp images every time.
The software works as a stand-alone program or as a plugin with Photoshop or Lightroom Classic. By reversing motion and focus blur, Topaz Labs Sharpen AI lets you get the perfect shot every time.
Transcript
William: Hi there! Welcome to the Photo Flunky Show, episode number eight one.
Today we are going to be talking about how to take tack sharp photos with your DLSR.
Thank you so much for joining us on the Photo Flunky Show. We really appreciate you. My name is William Beem.
Lee: Hi! My name is Lee Beem.
William: And we’re going to get to the tack sharp photos, but first a couple of housekeeping notes. The show notes for this episode are going to be available at williambeem.com/episode81
There will be a transcript of the show there for free. And of course you can find links to subscribe there and also at photoflunky.com that has a player there of this show and all the others and also some links to subscribe.
I also want to mention I’ve got a free ebook for you. If you’re into portrait photography, it’s called Creative Portraits and this is more about the emotional and creative side, rather than the technical side, of portrait photography.
Its’ free. You can share it with your friends. You can go to williambeem.com/freebook Or if you’re on your phone, go ahead and text the phrase CPBOOK to the number 33444.
So the idea with tack sharp photos is not necessarily that the entire photo is tack sharp. If you want to shoot with a defocused background and have some bokeh, that’s fine. But your subject has got to be sharp and it’s got to be not just kind of visible; it’s got to be sharp.
So if you’re going to focus on just the eye of your model; maybe a newborn, maybe a dog, but something where you want to draw attention, it needs to be sharp. And the phrase tack sharp is enough that I guess the photos are supposed to hurt you.
We’ve got a few tips over here and the first one is probably one of the most obvious. Watch your shutter speed.
For most cases, you are probably going to want to have a shutter speed of at least 1/125 of a second, but I would say the higher the better. What you’re really doing is you’re trying to eliminate the need for any vibration or shake to get inside of there. That’s why you really want to have a nice fast shutter if possible. If you are shooting outdoors in nice daylight you’re probably going to be up at over 1000th of a second. A nice fast shutter speed is probably the first thing you can do to get you a tack sharp result.
The reason is not only is it helping eliminate your shake, but if you’ve got a subject that’s prone to movement, you want to freeze that image.
Lee: Everybody moves. I mean, you’re breathing. You don’t realize how much you move. You take a long exposure, go stand in front of the tripod, set the camera on the tripod, go stand in front of it and set it for two seconds. You see how much you move in those two seconds, even when you think you’re standing still. We move.
William: Photographers move and so do our subjects. It doesn’t matter if you’ve got a person out there or something flapping in the breeze. If you want to freeze that and get a really tack sharp image, you just need to watch your shutter speed.
The next thing is every lens has an aperture setting that is the sweet spot for sharpness. A lot of these are going to be probably towards the middle range. So in other words if you’re shooting wide open – that could be F2.8, it could be F1.4 or 1.8 – some lenses it might be even F3.5. Whatever the minimum shutter or aperture is of your lens that is likely not the sharpest spot. It’s not going through the center where it’s really optimized.
There may be a couple of exceptions. My Nikon 35mm prime seems to be pretty sharp no matter where I shoot it. But if you are really looking for that sharpness, you may need to sacrifice some of that bokeh in order to get the aperture setting that gives you the absolute sharpness.
Alright, our third item on the list: We are recommending that you don’t use a high ISO.
Lee: I don’t like high ISO. I’ll try everything else. That is my last resort and when I hit ISO it’s desperation.
William: Yeah, high ISO is when you need to get a shot, not necessarily when you need to get the shot. What we are suggesting here is you are going to get noise and grain and interference basically, that’s going to take away from the sharpness of your photo. When you are seeing noise in there, you are not seeing detail.
Lee: And the light is weird. Sometimes the color is weird with ISO. I don’t know. Something strange happens to the temperature as well.
William: High ISO is going to actually rob you of detail in your photo which means it’s really not going to be tack sharp.
Number four is eliminating your human touch and just put it on a tripod and use a shutter release. Your hands are going to shake. Even though you may not perceive it, your hands are constantly vibrating and even for that short duration of the shutter speed that you’ve got, if it’s 1/125 second, you are moving.
Lee: Well, the press and release as well. When you press it kind of leans the camera down slightly and when you release it bounces back up in your hand. It’s so slight you don’t notice it, but it’s visible in the sharpness of the photos.
William: One of the places where we notice it is fireworks photos. We can have it on a tripod but one time Lee and I went out to shoot fireworks and she had her cable release and we were both on a tripod, but the fact that I had to go touch my camera meant that every time I touched the shutter button I was shaking the camera, even though it was on a nice stable platform.
Getting a cable release on a tripod really does help eliminate that. You could also use a timer if you don’t have a shutter release, but basically the idea is avoid touching the camera with your hands.
The fifth one on here is one of my suggestions: use a flash. The reason I suggest that is because the duration of the flash is going to be shorter than your shutter speed. So we talk about 1/125 second, 1/250 or whatever. Flash speed at the slowest is probably 1/1500 of a second. It is going to be shorter than your shutter duration in many cases and it’s really the amount of light that falls on your subject that is kind of controlling what comes up back on your sensor. So if the light is only there for a very brief duration that is going to help you make sure that you don’t get any motion from your subject in there. So if you can use a flash on your subject that will really help you increase and improve your tack sharp photos.
Alright, number six. We mentioned before bokeh ... but we want to say be careful with shallow depth of field. This is particularly true for portraits. I know a lot of people really love their prime portrait lenses. I’ve got a Nikon 85 mm F1.4 and I was so excited to go try this out and take a photo where you’re focusing on the eye. The problem is if the eyes aren’t on the same plane. So if your subject turns a little bit to the left of the right one eye is going to be in focus and the other one isn’t.
Lee: And also the face goes out of focus. When I see a person as the subject I want to see more than just the eye or even two eyes on the same plane. I don’t want the lips to be out of focus.
William: It’s one of those things where you want the area behind your subject to be out of focus, but just because you have a F1.4 lens doesn’t necessarily mean that’s the appropriate aperture to really capture your subject and make sure he or she is sharp.
Think about it. If you see a baby photo. Babies are soft and cuddly and cute, but damn it, you want them to be sharp. You actually want to see the baby. If some of the eyes are out of focus or some of the other parts of the face are out of focus, it’s not tack sharp and it’s not a good presentation of your subject.
Lee: That’s not a portrait aperture.
William: No, it really isn’t. Now that said, there are some cases where prime lenses may be sharper than zooms. This is something that was particularly true in the past. With modern lenses I think zooms can be as sharp as primes. I know for some of the lenses I get like my Nikon 24-70 mm and the 70-200 mm I trust those to be sharp just as much as I do my prime lenses.
However the kit lens that you get isn’t necessarily going to be the sharpest glass that Nikon produces or Canon produces. So the zoom lens there is not necessarily going to be the sharpest lens that you can get. So sometimes if you’re looking for really tack sharp photos, gear matters and getting a prime lens is a less expensive way of making sure that you’ve got the sharp lens. You can spend over $2000 or $2500 on some of these lenses I’ve mentioned like the 24-70 and 70-200.
Now there’s a question about focus. Some people think that auto focus is better. Some people think that manual focus is better and what I’ve noticed is it depends upon your camera.
Lee: And the lens.
William: I can tell you, with the lenses and my Nikon D800 that I shoot with the auto focus is outstanding. It will do much better than I will do.
Lee: I am happy with the auto focus. I actually have my 50 mm prime which is very inexpensive. I prefer to use manual focus. I do not find that to be a remotely sharp lens. It is one of my favorite lenses, but if possible I like to use manual focus on that one. Which means you need to be able to take your time to compose.
One drawback of manual focus for me is not being able to move your focus points. Depending where you are you might not want the main focus to be in the center. I was trying something last week and thought this is a major disadvantage and it forced me to use auto focus, where manual focus there would have probably suited me better.
William: Lee brings up a good point with the focus points and I think this is something that you may want to also switch from having your shutter button half depressed to initiate an auto focus to a back button focus. On my D800 I’ve got it set. There’s a little back button there that I can set for auto focus lock and I prefer to separate the function of taking the photo and using auto focus. That way I can get my focus on my subject’s eye, but the composition I want may not have a focus point in that same area.
Lee: Yes that’s not for me.
William: But you could do that with manual focus though. You could do manual focus on the eye, so depending upon whether you are doing manual focus or auto focus and where you want the focus point to be, it’s really going to depend upon your gear and that’s something I think is going to take a little bit of individual experimentation to find out what works best for you. Just a few things to keep in mind.
And finally, the last item we have is to sharpen in post processing. Every photo needs sharpening. It’s just the way it is.
If you’re shooting in RAW it’s applying no sharpening whatsoever. If you’re shooting in jpeg then your camera is doing some post processing before it gives you the jpeg result. We are going to recommend shooting in RAW and then using your tools, whether it be Lightroom, Photoshop or other tools to do your sharpening, but every photo needs some kind of sharpening to go with it.
In Lightroom there is a wonderful little feature. If you hold down on a Mac it’s the Option button, on the PC it’s the ALT button – if you hold that down while you slide the masking slider in Lightroom for your sharpening it will turn it to black and white and then it will show you what your mask looks like. As you slide it more and more over to the right it will narrow it down to just the edges and that white area with just the edges are the areas that you are sharpening. That’s really all you need to sharpen.
Lee: Yes and it works for all the other sliders under that little section as well. And for the noise reduction.
William: Those are our tips for tack sharp photos. We hope it helps you. If you’ve got some ideas or comments, please let us know.
Thank so much for listening to the Photo Flunky Show. Show notes are going to be available at williambeem.com/episode81 And of course there will be a transcript of the show there for free. You can subscribe there on that page with links to iTunes (Apple Podcast), Google Play Music, Blubrry and Stitcher Radio. You’ll find links on the show notes page.
Thank you so much. We appreciate you. We’ll see you here again next week.


