Affiliate Disclosure: We earn a commission if you purchase through one of our links at no additional cost to you.
Portrait lighting doesn’t have to be complex. Sometimes you can get lovely results from very simple portrait lighting techniques. While it’s easy to get caught up with buying and using gear, sometimes you just don’t need it.
We’ll take a look at three simple portrait lighting techniques. Here’s the really nice part. They’re inexpensive, or even free, and still create some wonderful results for your portraits.
1: Window Light
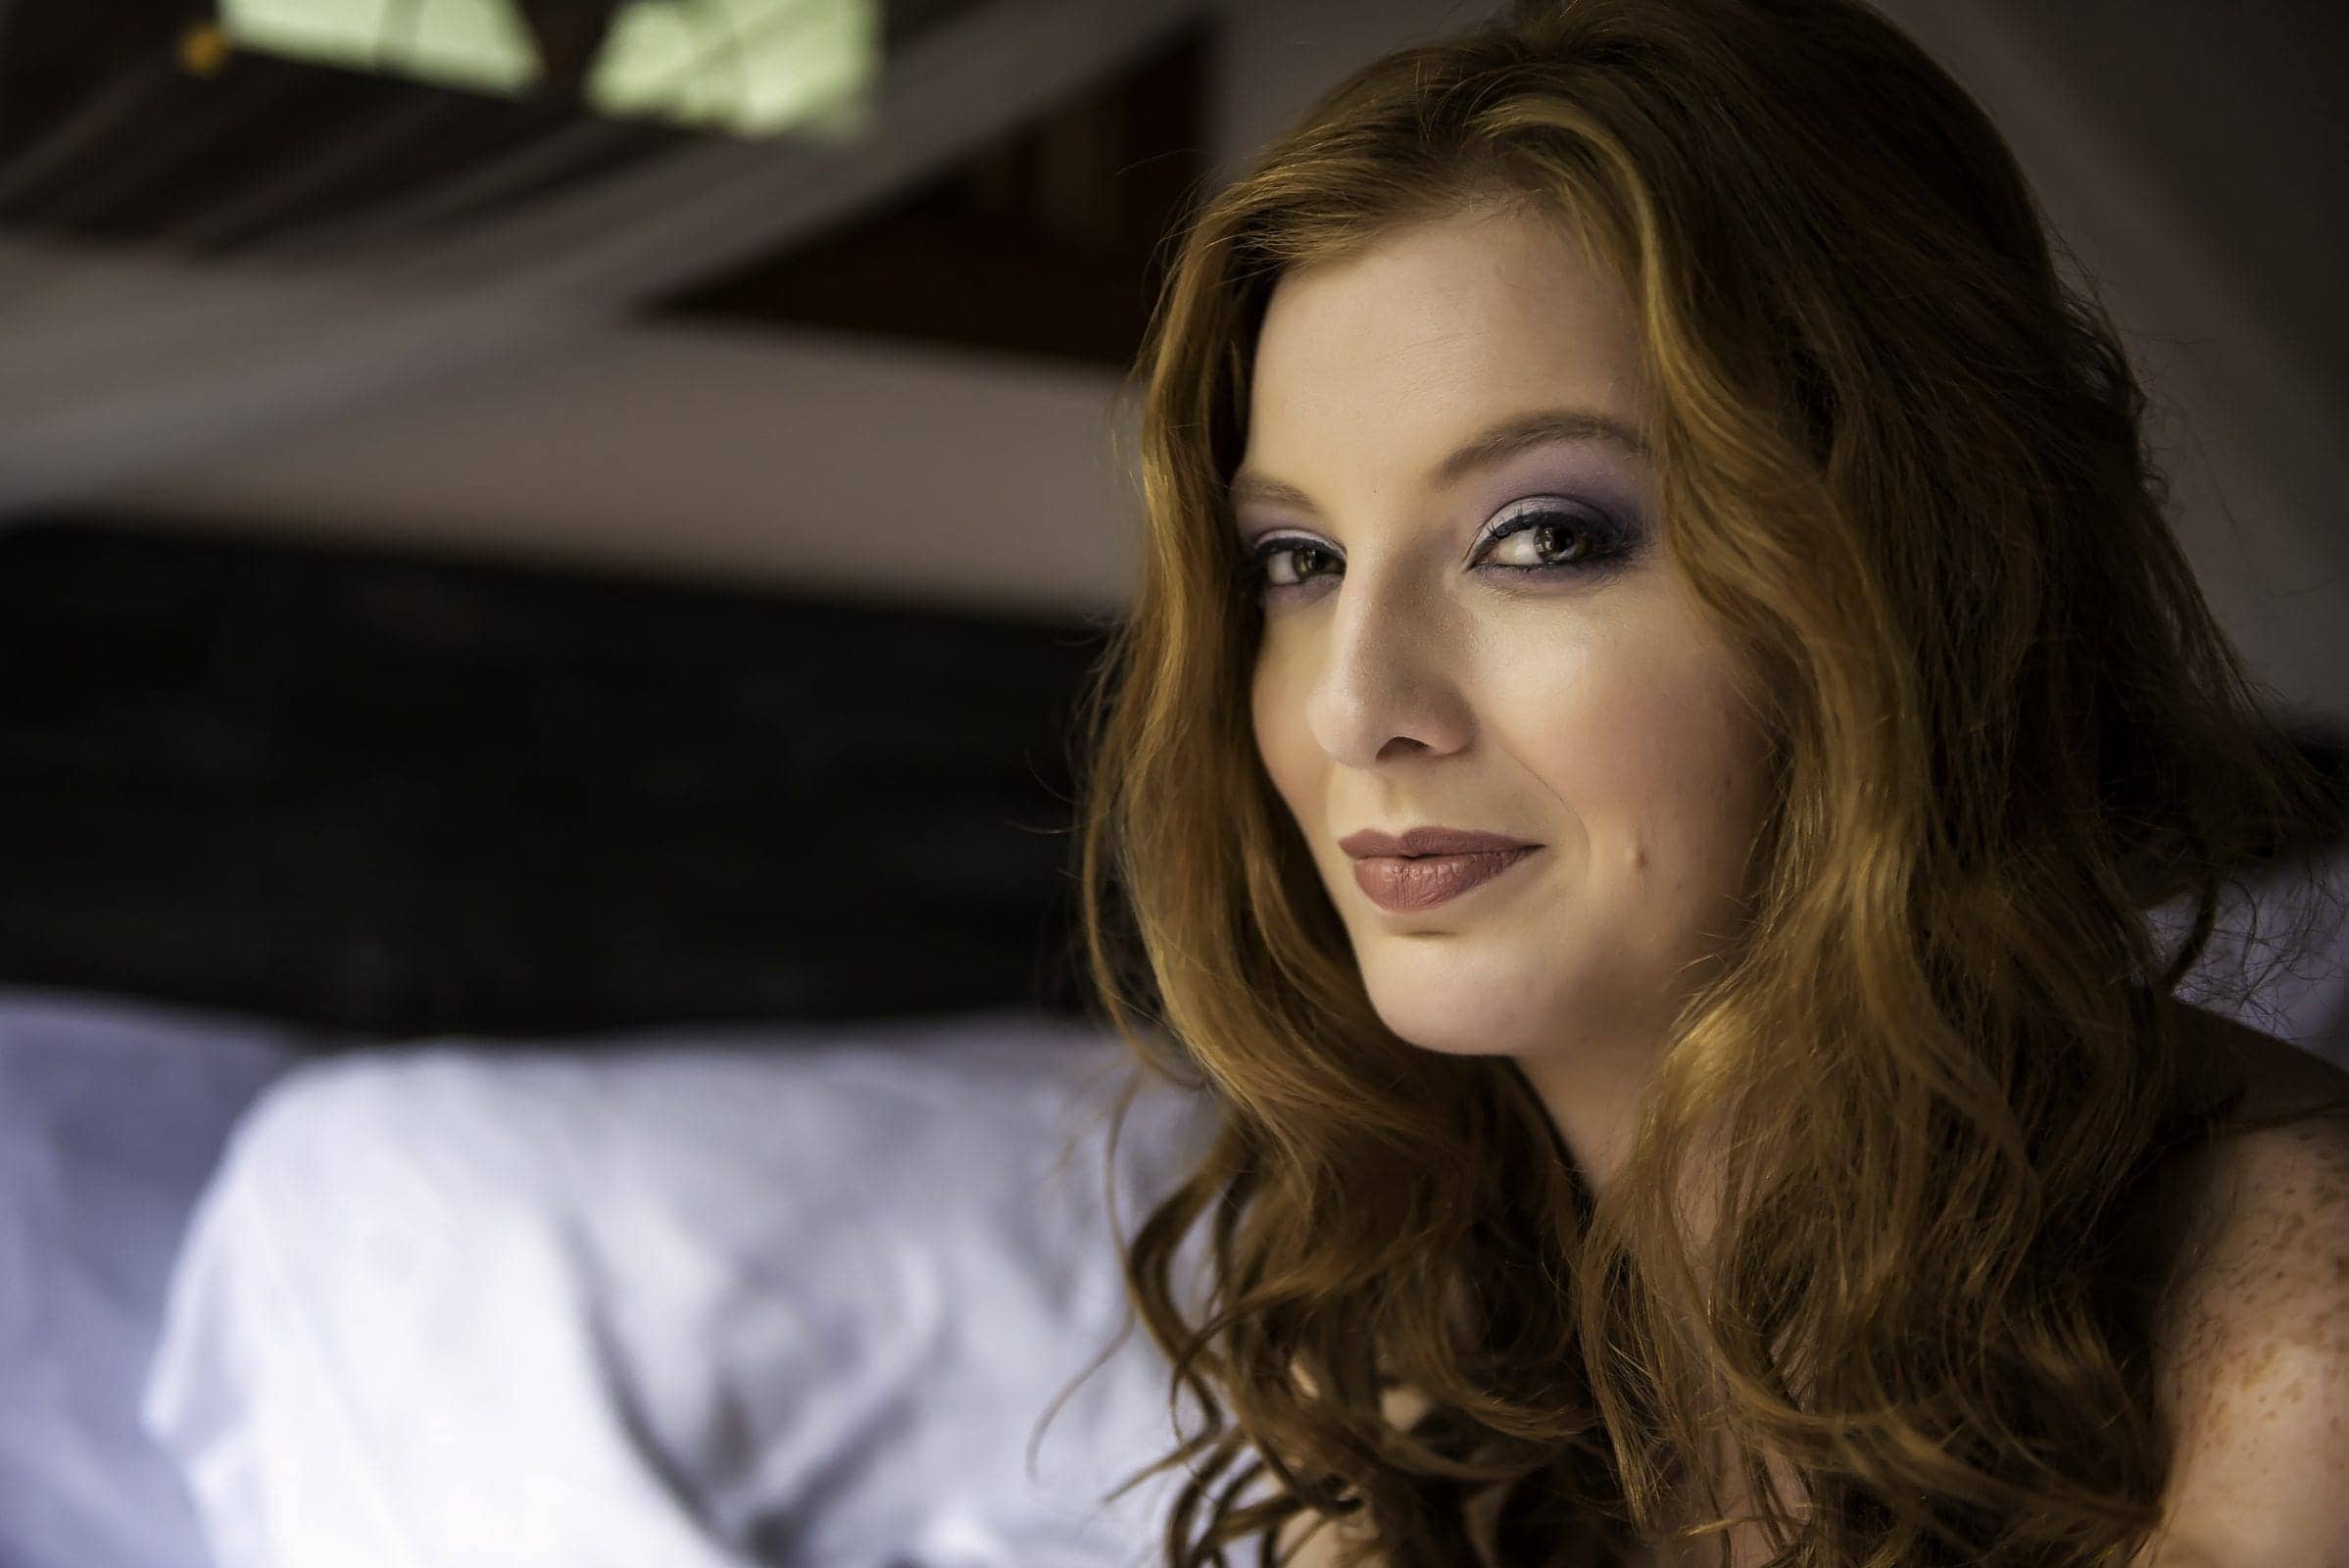 Let’s start with the free option, assuming you aren’t paying for the mortgage on the house with the nice window light.
You won’t find this at B&H. Yet you can use it at high noon and still get beautiful light for your portraits. As an added bonus, the windows doesn’t even need to be clean if it isn’t in the shot.
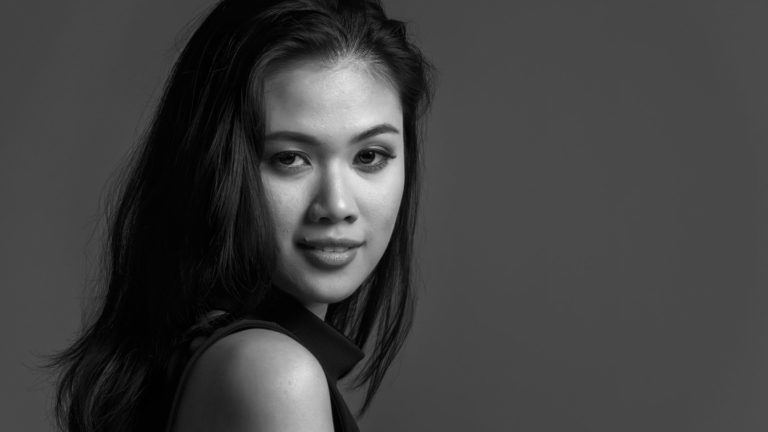
What you get is a large light source relative to your subject, which gives very soft light for your portrait. At least most of the time. Try the same thing when the sun is low on the horizon and coming straight into the window. It won’t be quite as soft, but then you get some great sidelight and a chance to work with shadows.
The down side is that the window is where the window is. You can’t move it, but you can move your camera. That gives you a range of options from front-lit to sidelight to backlighting. It’s up to you to decide if the background works when you move because you can’t move the window.
2: LED Lights And A Diffuser
Would you believe this lighting setup came from Home Depot? Seriously. The light source is a Husky 5 ft. 2500 lumen LED work light from Home Depot for just under a hundred bucks. It even comes with its own tripod. I used this along with a 3×3 diffuser (also about $100) to create a simple studio light for this photo.
The LED kicks out plenty of light, but the diffuser is the key for turning it into a larger, softer portrait light source.
As with the window light, you’re still dealing with a continuous light source. That means there is no flash duration to freeze your subject if your shutter speed is too low. Don’t be afraid to bump up your ISO a bit.
I shot this at ISO 400, but I wouldn’t hesitate to go up to ISO 1600 even more to get the shutter speed. If you have a modern camera, you can do the same thing. Sensors have better high ISO performance and you can get excellent noise reduction from Lightroom or other tools.
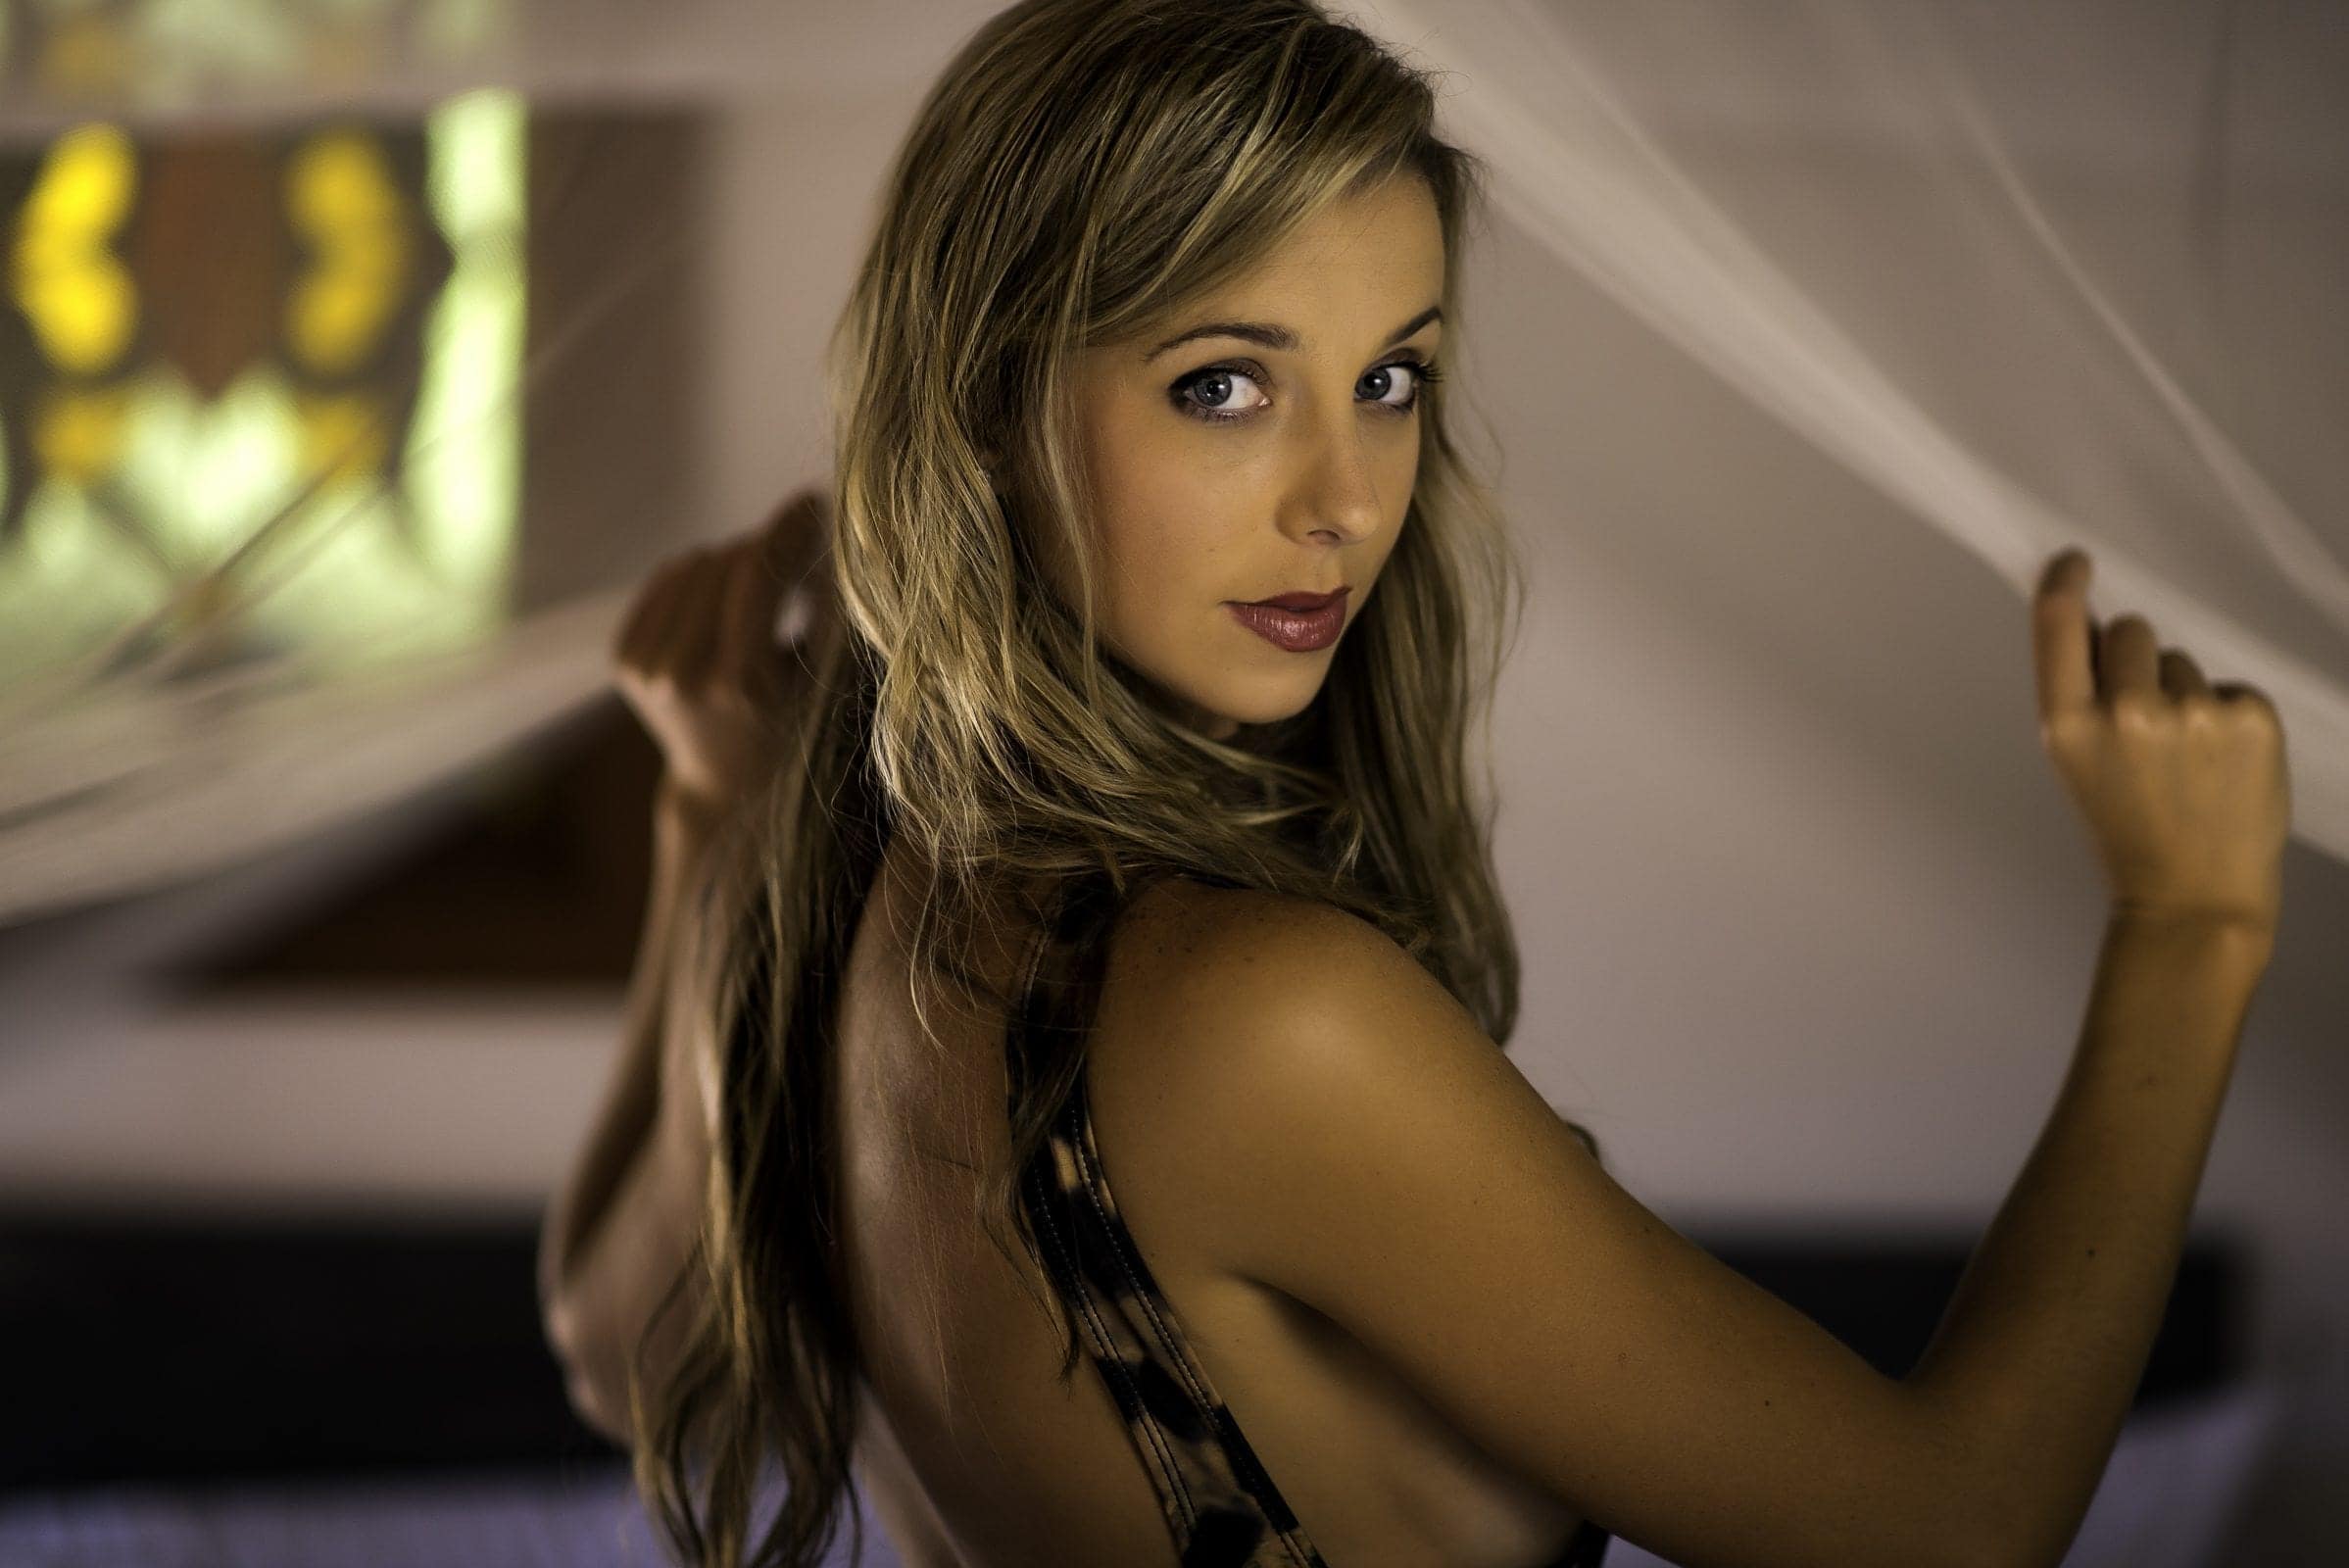
3: Flash Though A Diffuser
 If you’re luck, you can find some shade from harsh sunlight. That gives you soft light, but it often robs you of directional light.
Shadows are your friend. They define features and add dimension to your subject. The way to get those shadows is to use directional light.
In this case, all I needed was a bit of fill flash through a 3×3 diffuser. Without the diffuser, it’s just a harsh light. Great for rim light, but then you lose the softness of the ambient light. With the diffuser, it adds the sense of direction we need without sacrificing the softness we desire.
When To Use Simple Portrait Lighting Techniques
I have a plethora of lights and soft boxes that I could have brought for these images. They’re good to have. It’s always nice to have options to solve problems. However, not all of your problems are about light.
Sometimes the problem is how to travel light and still get the shots you need. With lights and soft boxes comes lightstands, sandbags, clamps, and other crap that just makes it harder to move.
On the other hand, you can find ambient light sources and soften them with a diffuser. That’s what happens with window light. That’s what I did with the LED work lights and a small flash.
They key to remember is the size of your light relative to your subject. Make it big and you can have beautiful light at your disposal.