Affiliate Disclosure: We earn a commission if you purchase through one of our links at no additional cost to you.
I’ve watched a lot of training about creating Photoshop selections, but I’ve struggled with it. What always seemed so simple for the instructors never quite worked on my images. I really wanted to overcome my problems and get great selections, because everything else in the image depends on that step. Corey Barker showed me how it’s done.
Learning To Make Photoshop Selections With Kelby Training
No, I haven’t been hanging out with Corey. I learned the simple secret to great Photoshop selections by watching one of his courses on Kelby Training.
It wasn’t a course that most photographers would even watch. Corey showed the tip in a course called 10 Things Every Photoshop Designed Should Know. Even if you’re not a designer, it’s a great course to watch. When you think about it, compositing photos is more of a design skill than a photography skill. We photographers ought to have a solid foundation in the basics of design techniques.
Corey’s lesson showed:
- The basic considerations of a selection
- The ideal conditions to photograph a subject for selection
- That a selection doesn’t have to be great to get started
- How most of us are over-using the Refine Edge tool
- How to overcome one of the most frustrating problems with Refine Edge
Corey’s selection lesson took under 9 minutes and covered everything. When I was done, I almost wanted to smack him like a bobble-head. Not because he did anything wrong, but because his method is so simple, yet so effective, and I never would have thought of it on my own. This kind of knowledge just isn’t natural.
How To Make Photoshop Selections The Easy Way
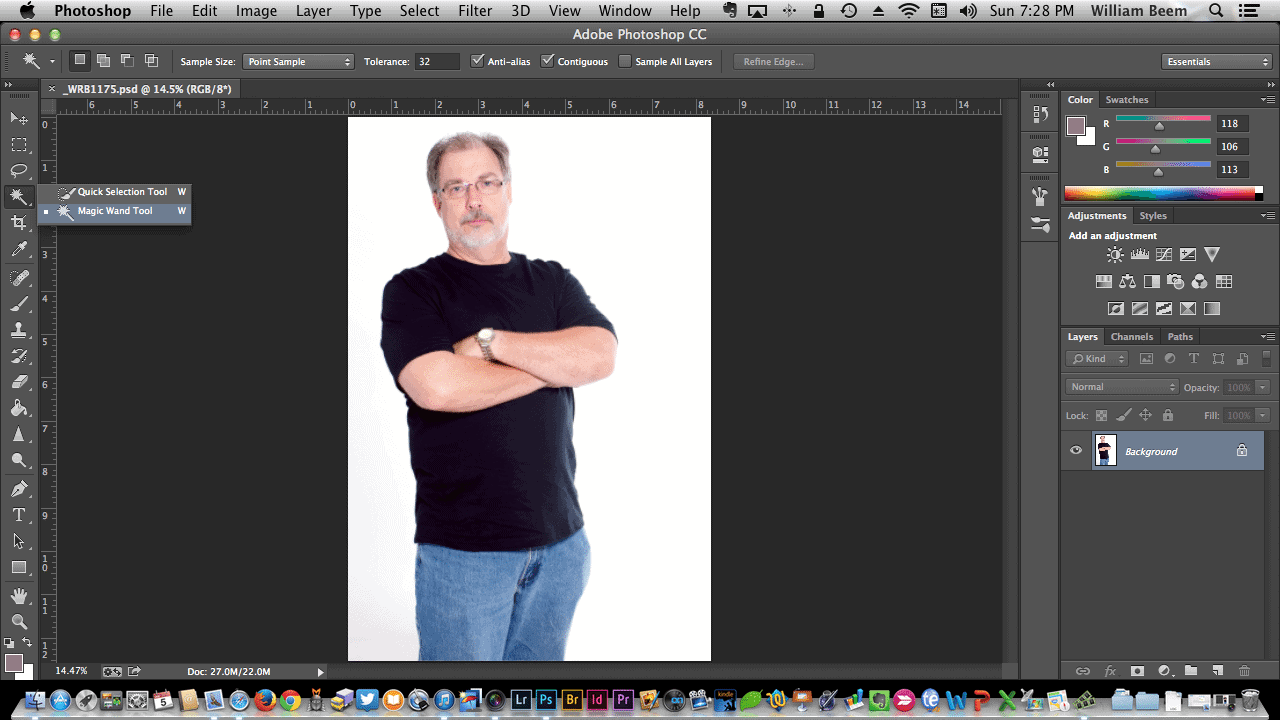
Let’s start of with some basics. I want to make a selection of a subject to use in a composite photo. We’ll use this shot of my friend Steve.
Corey’s tip about ideal conditions to photograph your subject was on a white background. I’ve heard similar advice before, including Matt Kloskowski’s advice to let the background fall into a neutral grey color.
The nice part about having that consistent color is what make’s Corey’s next tip so powerful.
You can see in the image above that I’m choosing the Magic Wand tool – something I never really use. Since this shot has a consistent white background, one tap of the Magic Wand selects the entire background.
Next, inverse the selection as shown below.
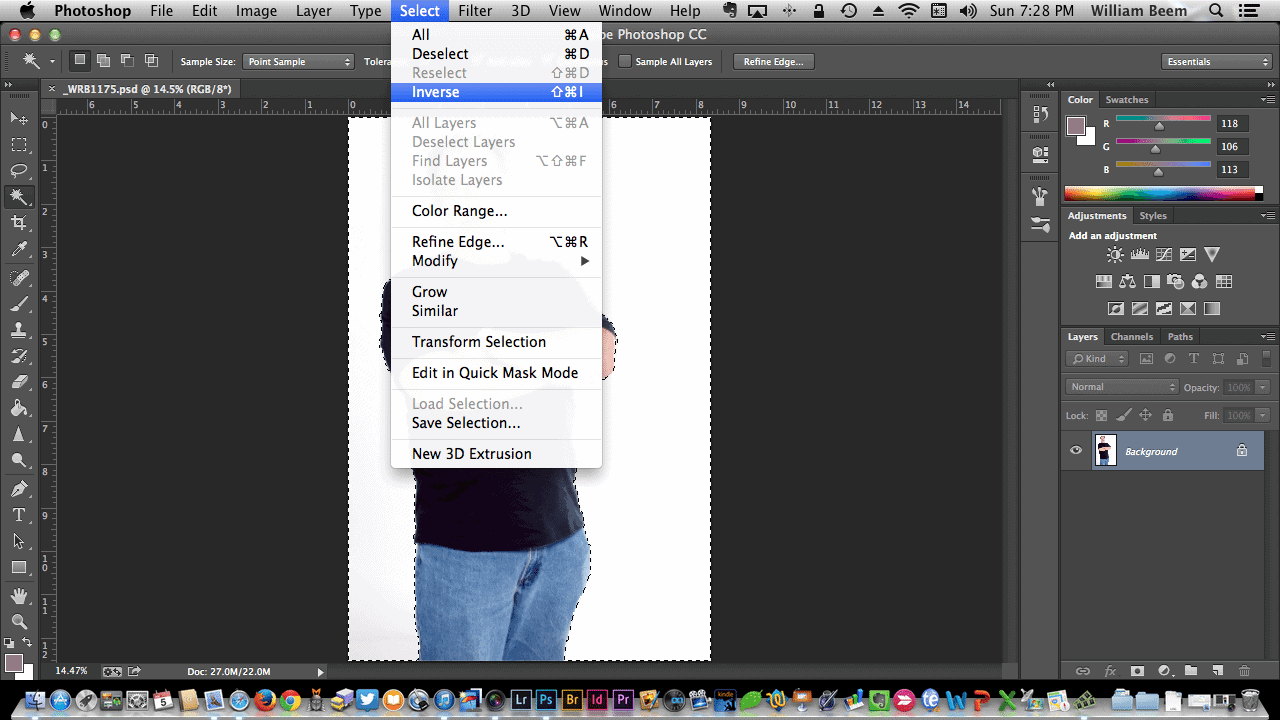
The nice thing about this shot is that Steve doesn’t have any gaps in his arms, but that’s something to check before you inverse your selection. Make sure you’ve spotted all the white background areas. Just hold down the Shift key and tap the Magic Wand to add those areas to the selection before you inverse the selection. If you make a mistake, just inverse the selection again, add the part you need, and make one more inverse selection to grab your subject.
Of course, this may not be perfect, as shown below.
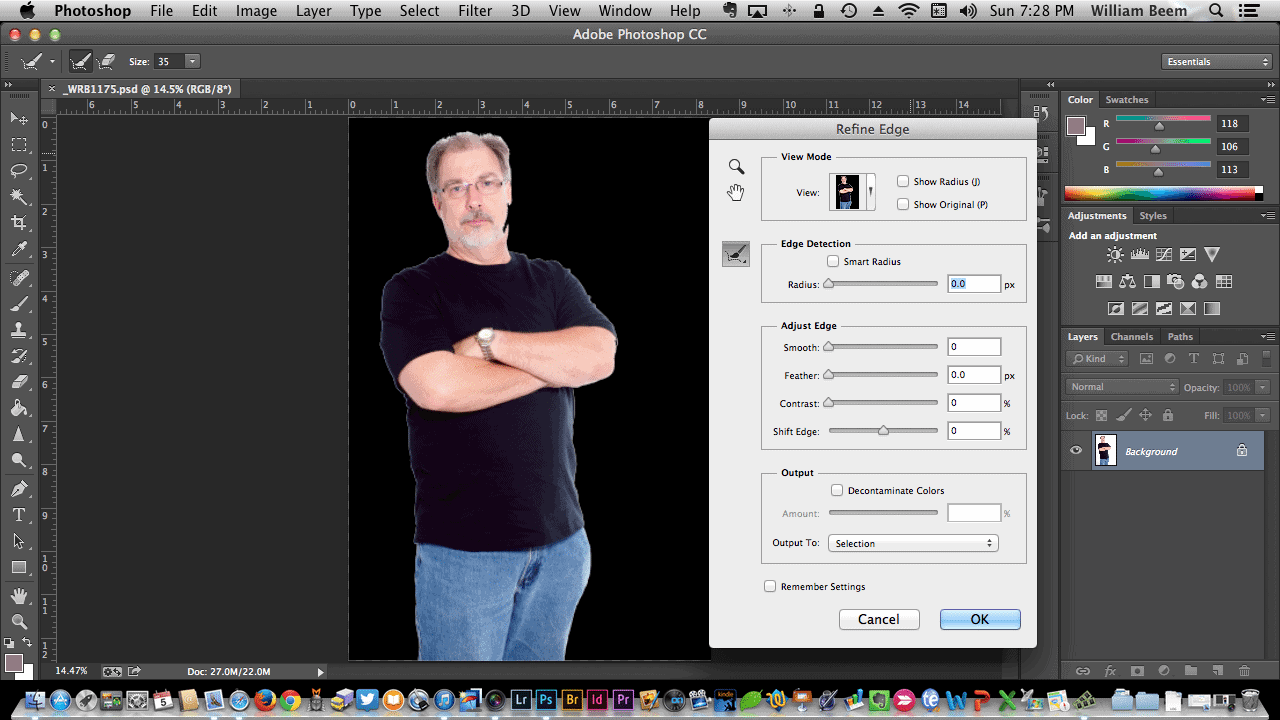
For this example, I decided to change the View Mode to Black. You can see a black line on Steve’s face where the selection isn’t quite right. Instead of his cheek, his face is turning transparent.
This is exactly the kind of problem I’ve had with selections, and it’s where I usually went wrong in trying to correct it with Refine Edge. It turns out that there’s only one thing you really need from this panel.
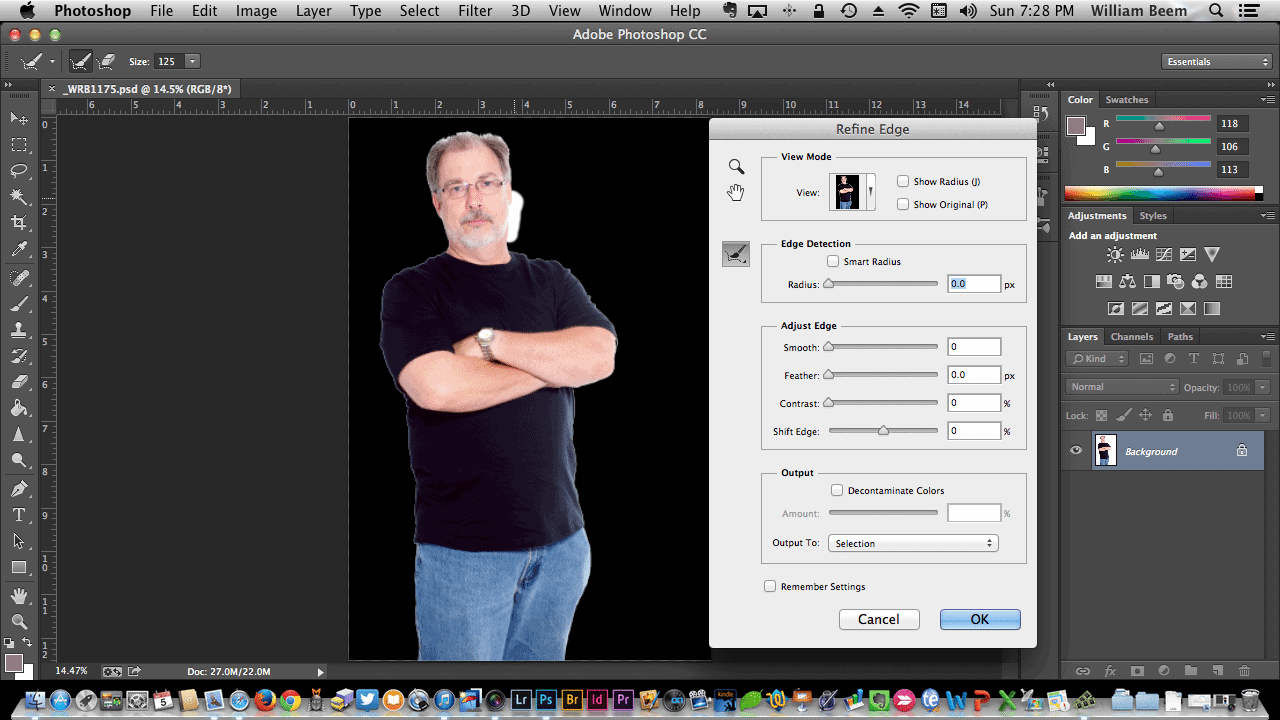
All I had to do was brush the transparent area by Steve’s face, shown above. No messing with Smart Radius or the Adjust Edge sliders. Just a quick brush. Here’s a closer look after I brushed the area on Steve’s face and directed the output to a New Layer with Mask.

Not what you expected, is it? Were you thinking that brush would magically work here? To be fair, the brush works wonders in a lot of situations. It just isn’t perfect. Sometimes you need to take another step.
This is where I was frustrated in the past. I thought the solution was to try and manually mask in the missing part of the selection with the underlying image. My results in that effort were often feeble.
Now comes the amazing part of Corey’s tutorial.
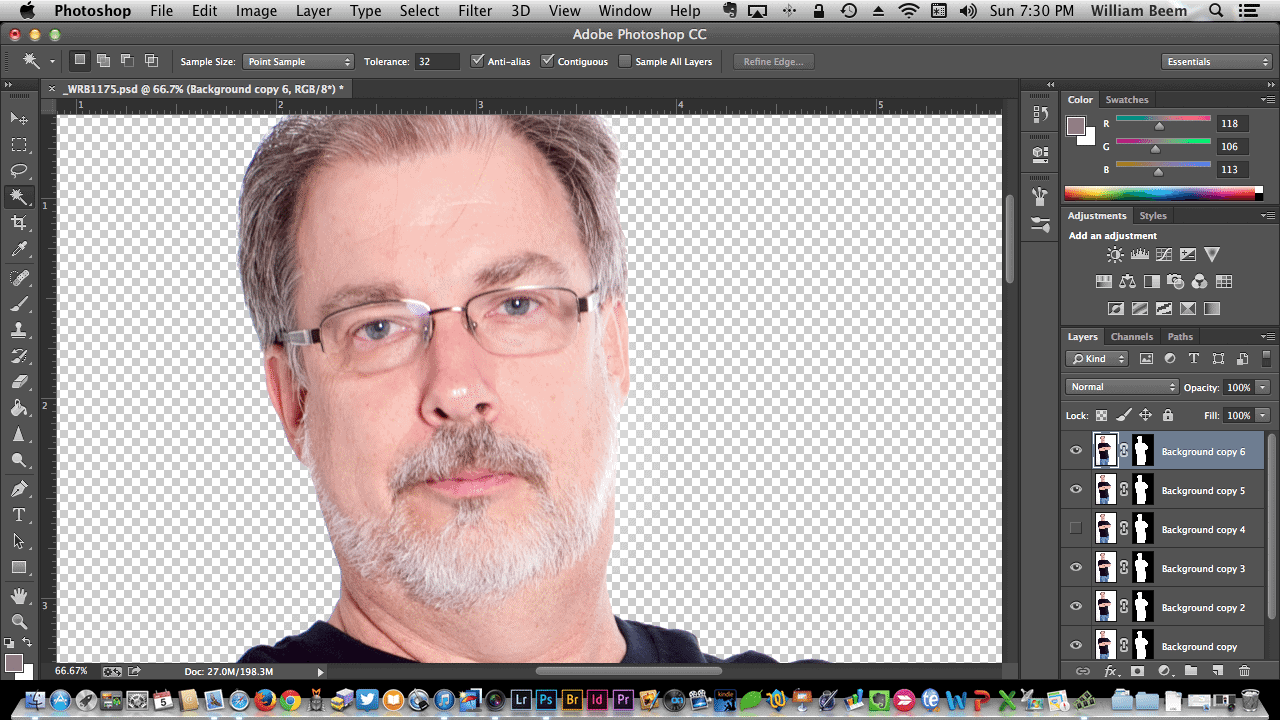
Steve’s face is whole again! What did I do between this image and the previous one? The answer lies in the Layers palette.
Corey’s tip was to Duplicate the layer a few times. How much depends upon the image. As you duplicate the layer, the missing information seems to magically fill in the transparency.
Keep in mind that the background layer isn’t selected, so it’s not showing through the transparency. If it were selected, we’d also see a white background. As I said before, I wouldn’t have ever conceived of trying this solution, but it works.
I’ve been clipping out various subjects and the trick with Duplicating the Layer hasn’t yet failed to fill in the missing information.
What If Your Subject Isn’t On a White Background?
You may not have a perfectly white or grey background for your subject, but the same process works even for environmental shots. You would use the Quick Selection tool instead of the Magic Wand, but the idea is consistent.
- Get a general selection of your subject
- Use the Brush to clean up the edges as best you can
- Output to a New Layer with Mask
- Duplicate the Layer a few times until the transparent areas fill in with substance
The rest of the course is full of other great tips, including tutorials on working with type, layer styles, motion graphics and more.
One of the things I’m really enjoying about Kelby Training lately is a wealth of foundation content. They’ve already had wonderful courses by a lot of great instructors, but sometimes I felt like I was coming into the middle of a conversation without knowing enough of the basics.
Now those foundation courses are there for photography, design, and even topics like Wedding Photography. Then they take it a step further with In Depth courses. So where this course by Corey covers a lot of different areas to give you a foundation, the In Depth courses cover a specific topic like Layer Styles or Blending Modes. You can quickly transition from noob to knowledgable with these courses.
Personally, I’m thrilled with this tidbit because it helps me solve a problem I’ve had for years. Going through the foundation and In Depth courses is giving me a better understanding of the tools at my disposal in Photoshop. Check them out on KelbyOne (affliliate).
Want to learn more about Photography software? Click below to check out articles about Adobe, ON1, Skylum, and more.
Photography Software Articles