
Affiliate Disclosure: We earn a commission if you purchase through one of our links at no additional cost to you.
I use the Nik Collection almost by default when processing photos. At least, I use part of it. Over and over, I use the same filters. It turns out that some of the filters in the Nik Collection that I’ve ignored are just as useful if you have the right image.
A Simple Studio Portrait
I started with some portraits from a white seamless photoshoot. In that post, I mentioned adding a bit of color to the background. Before we get there, we have to start with our options in the studio.
One method that comes to mind is to use gels on flash to light up the wall and determine its color. It’s not a bad option at all, and I thought about doing it. The only drawback I found was that it would be harder to change my mind about the color after the shoot. If I shot the photo with an orange gel on the wall, it would take a bit more work to change my mind and make it green or blue in post.
There’s a reason we like neutral colors. They’re pliable. Easy to manipulate.
So we begin with a shot of a couple – Bich and Doug.
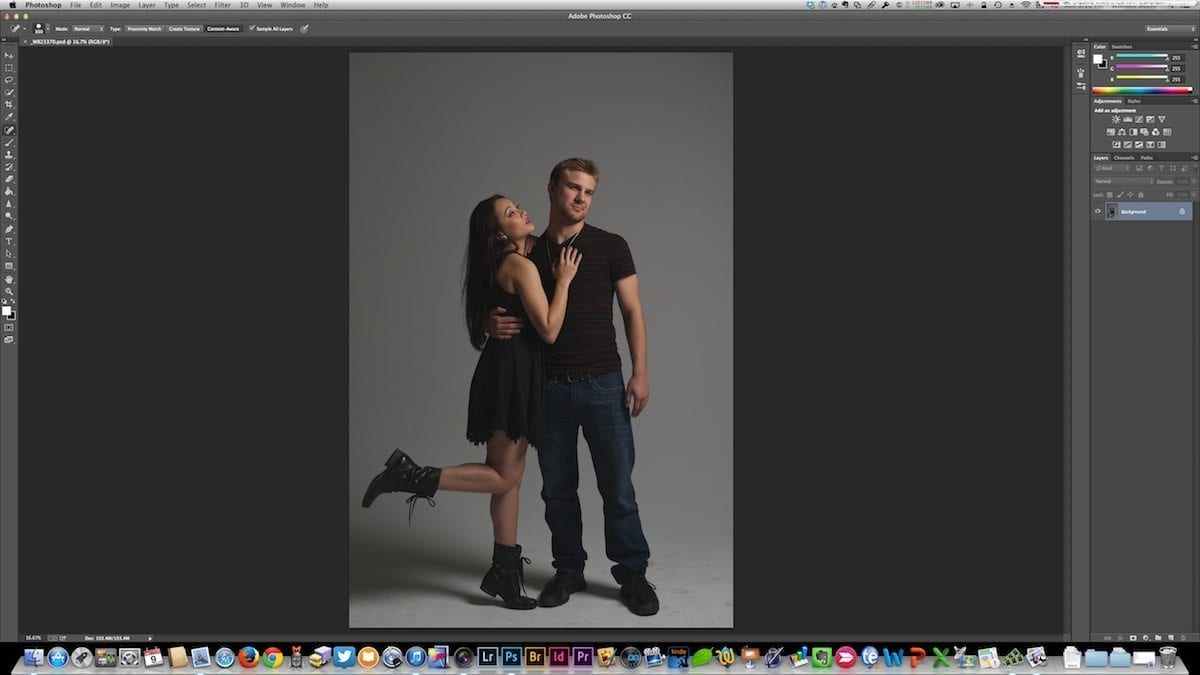
Basic Photoshop Cleanup
There’s a bit of a mess here. My camera sensor was full of dust spots. The floor is littered with stains. There are even stray hairs on the floor from the previous shots of Bich and some other models jumping through the air.
My first step is to add a layer and start getting rid of as much of that mess as I can.

Not perfect, but close enough. I used a combination of the Healing Brush and the Patch Tool to do the cleanup work before I decided to start calling it “ambiance” instead of “mess.” Consider that an artistic decision.
Next, I wanted to tweak the image slightly in Camera Raw.
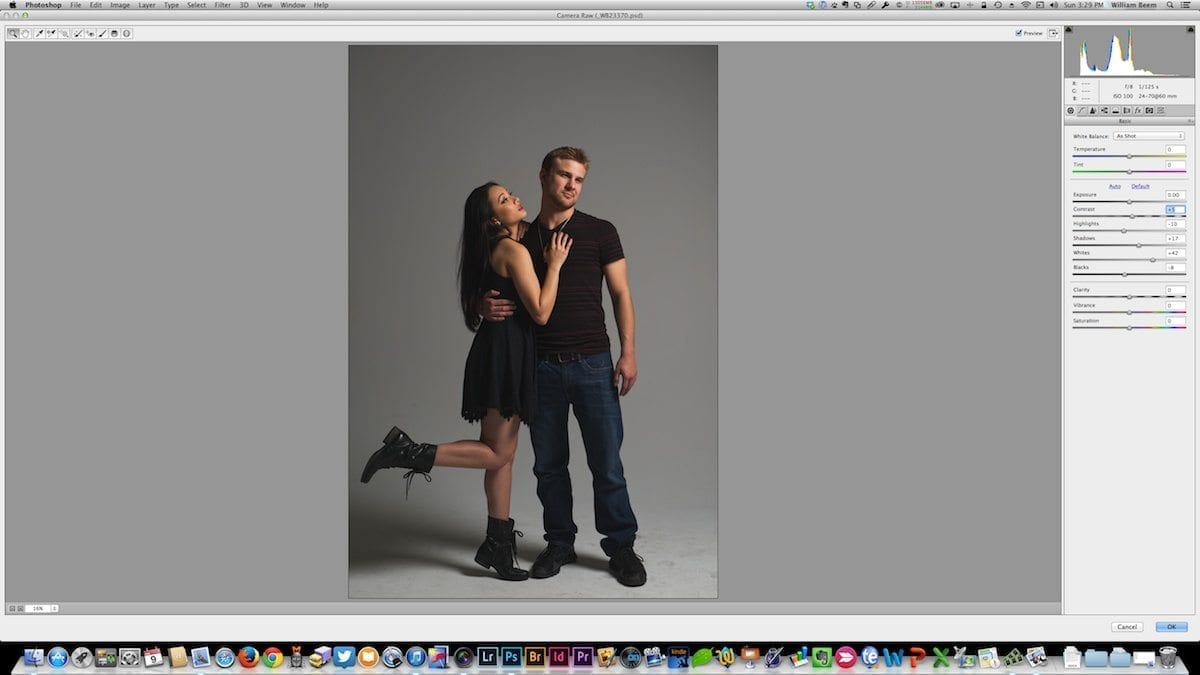
It’s a simple thing, but a few adjustments in Camera Raw give an image just a little bit more pop than the shot right out of the camera. You can see my settings in the panel to the right. It’s not a recipe. Every image gets its own look and feel. That’s why I’m not a huge fan of presets.
Working With The Nik Collection
With the basic cleanup out of the way in Photoshop, it’s time to open Color Efex Pro in the Nik Collection. I always start with the Pro Contrast filter.
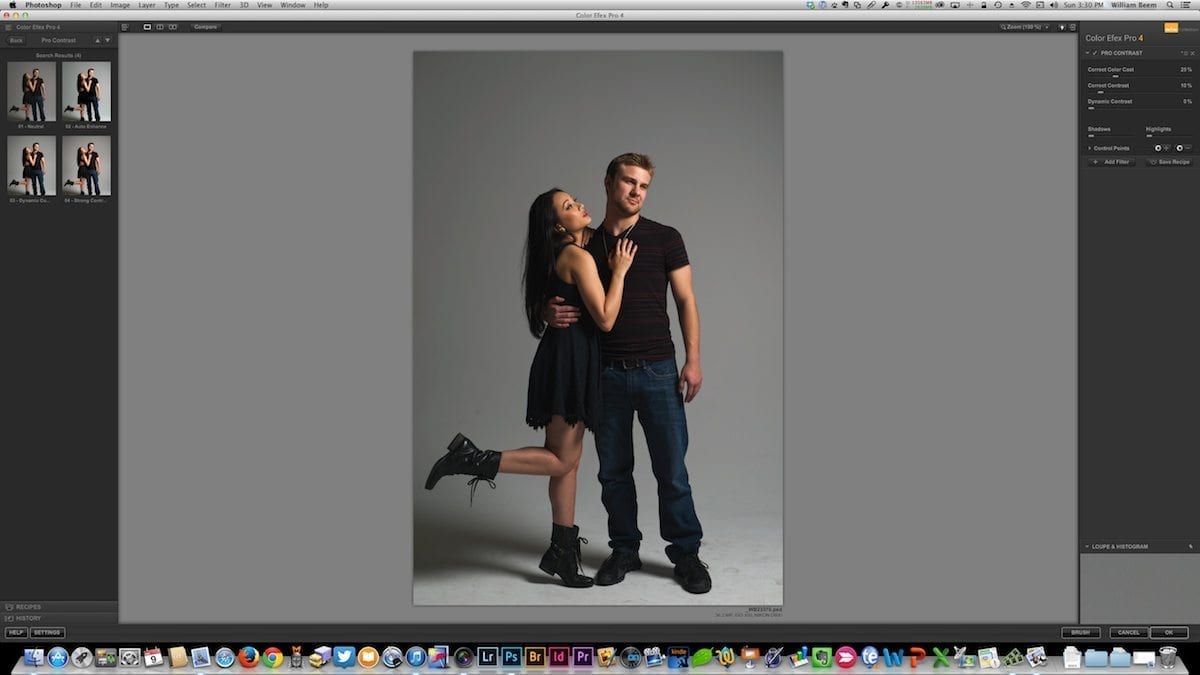
Pro Contrast gives you some presets to use. Again, I typically ignore them. For my taste, they’re often “too much” for my images. I’ve developed my own starting place over time. For 90% of my images, I prefer setting each of the three sliders to 25%.
Even that was too much for this image, so I pulled back on the Correct Contrast slider and completely disabled the Dynamic Contrast slider. As with Camera Raw, it’s a slight change, but it provides just a little more pop to the image.
Now it’s time to add some color to the background.
There are a number of ways to make it happen, but it’s just so incredibly easy with Color Efex Pro. If you don’t have it yet, you’re in luck. It’s much less expensive since Google bought Nik – only $149. If you attend some photo conferences, Google is even giving it away for free to attendees. There’s no excuse not to have the Nik Collection when you consider what you get for the low cost.
There are a number of filters to use to add color here. I’m going to use the Photo Stylizer here but play around with some of the Cross Processing and other filters with some funky color effects.
I didn’t want the filter effect on my subjects (with one small exception), and this is where the U-Point technology in the Nik Collection really helps. You simply drag and drop points onto your image – either positive or negative – to influence the effect on the area of the image where you drop the point.
Sadly, my screen capture doesn’t show all the points I used on my models and on the background but take a look at the mask it created.
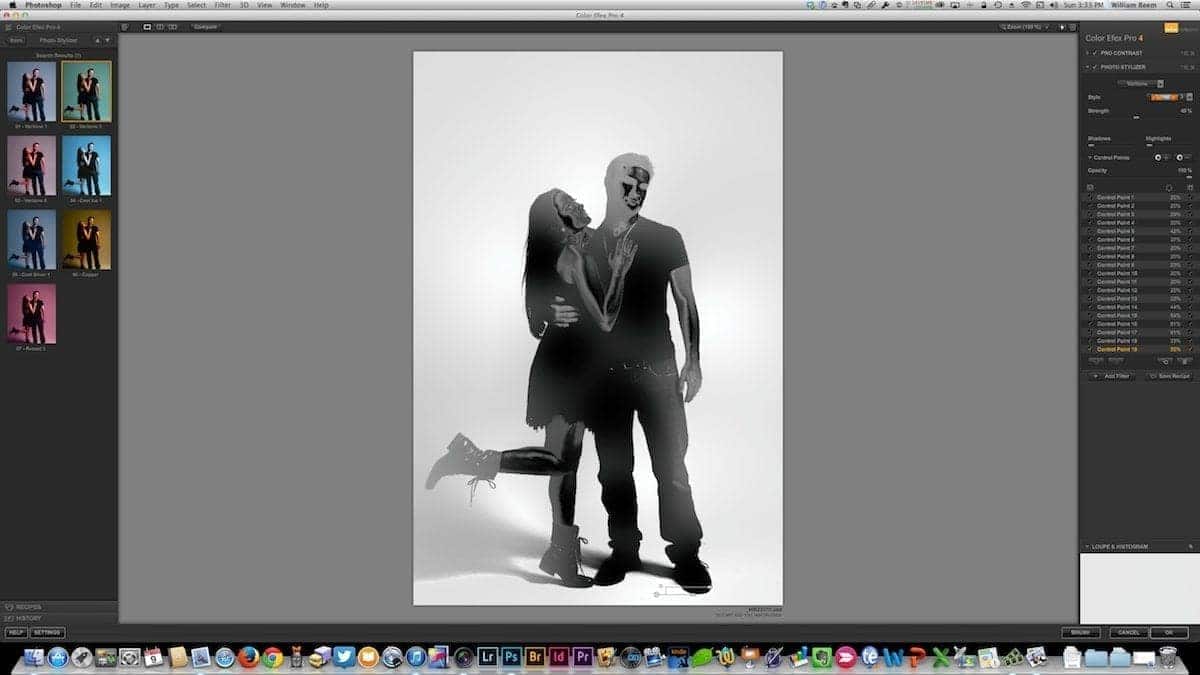
I’m not good enough with Photoshop to create such a detailed mask, but it’s pretty simple using Nik’s U-Points. You can see how many I used in the panel on the right side. The only one that shows in this screenshot is by Doug’s feet.
The sliders on each U-Point control the opacity of the mask and the size of a circle the affects the area of impact. If you look at the mask, you can see that I left some areas so they weren’t completely blocked from the Photo Stylizer filter.
That let some of the filter effects appear as a slight reflection or color cast, such as on Bich’s boot. If you shot the same image using gels on the wall, you’d have the potential for some color wash coming back, but you probably couldn’t color the floor without that gelled light spilling on your models.
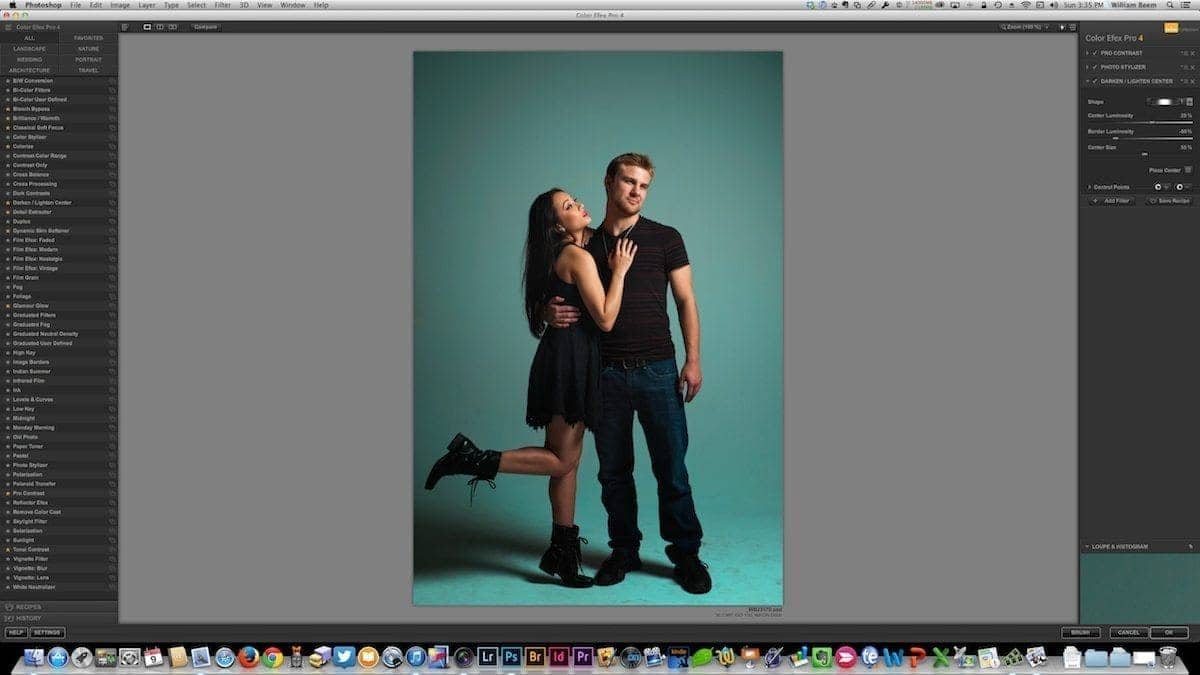
To tighten up the image a bit, I used the Darken/Lighten Center filter to add a vignette effect.
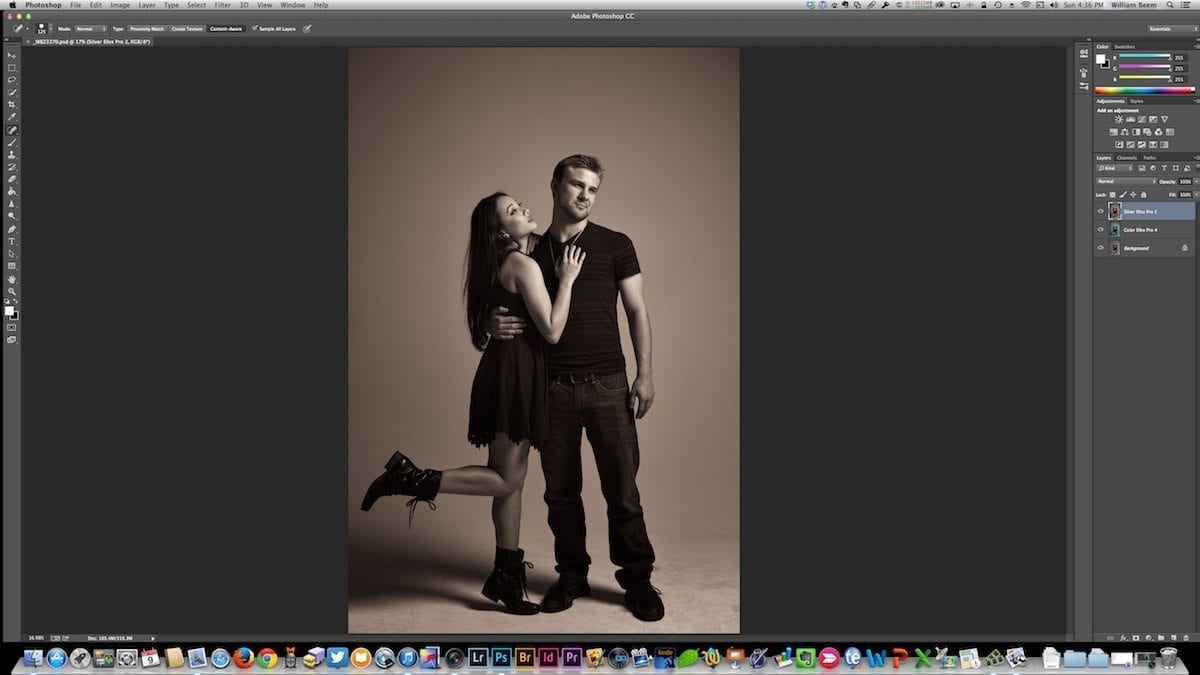
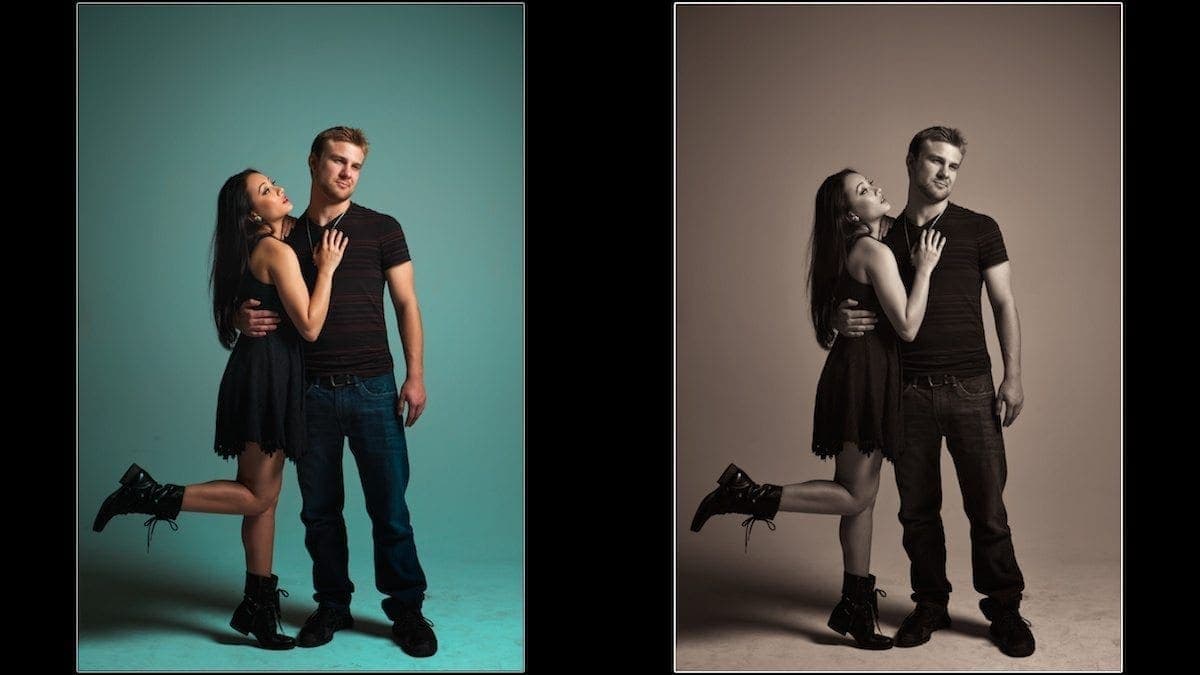
By the time I completed these steps, a few more blemishes showed up to fix that I previously missed. After a quick cleanup of some dust spots, I decided to completely change direction to a sepia image in Nik Silver Efex Pro 2.
Working with the Nik Collection made the whole thing very simple, quick, and easy. I’d hate to be without it.
The Nik Collection is a suite of eight plug-ins that will unlock your photographic potential. Use Nik Color Efex to apply stunning and imaginative effects with the world’s most comprehensive filters for editing color, tone, contrast, and more. Master the art of black-and-white photography with Nik Silver Efex, using a comprehensive set of darkroom-inspired controls and a refined interface to let you create stunning monochrome images.
Other tools in the collection correct perspective, apply to sharpen and provide many photographic effects to your images.
It works with Adobe Photoshop, Lightroom Classic, and as standalone software for Mac and PC.
Want to learn more about Photography software? Click below to check out articles about Adobe, ON1, Skylum, and more.
Photography Software Articles


I used to use NIK quite a bit with Aperture, but now using Capture One 9.1 and its fantastic RAW converter and its Color Editor I find doing what you just did, much easier and quicker with it.