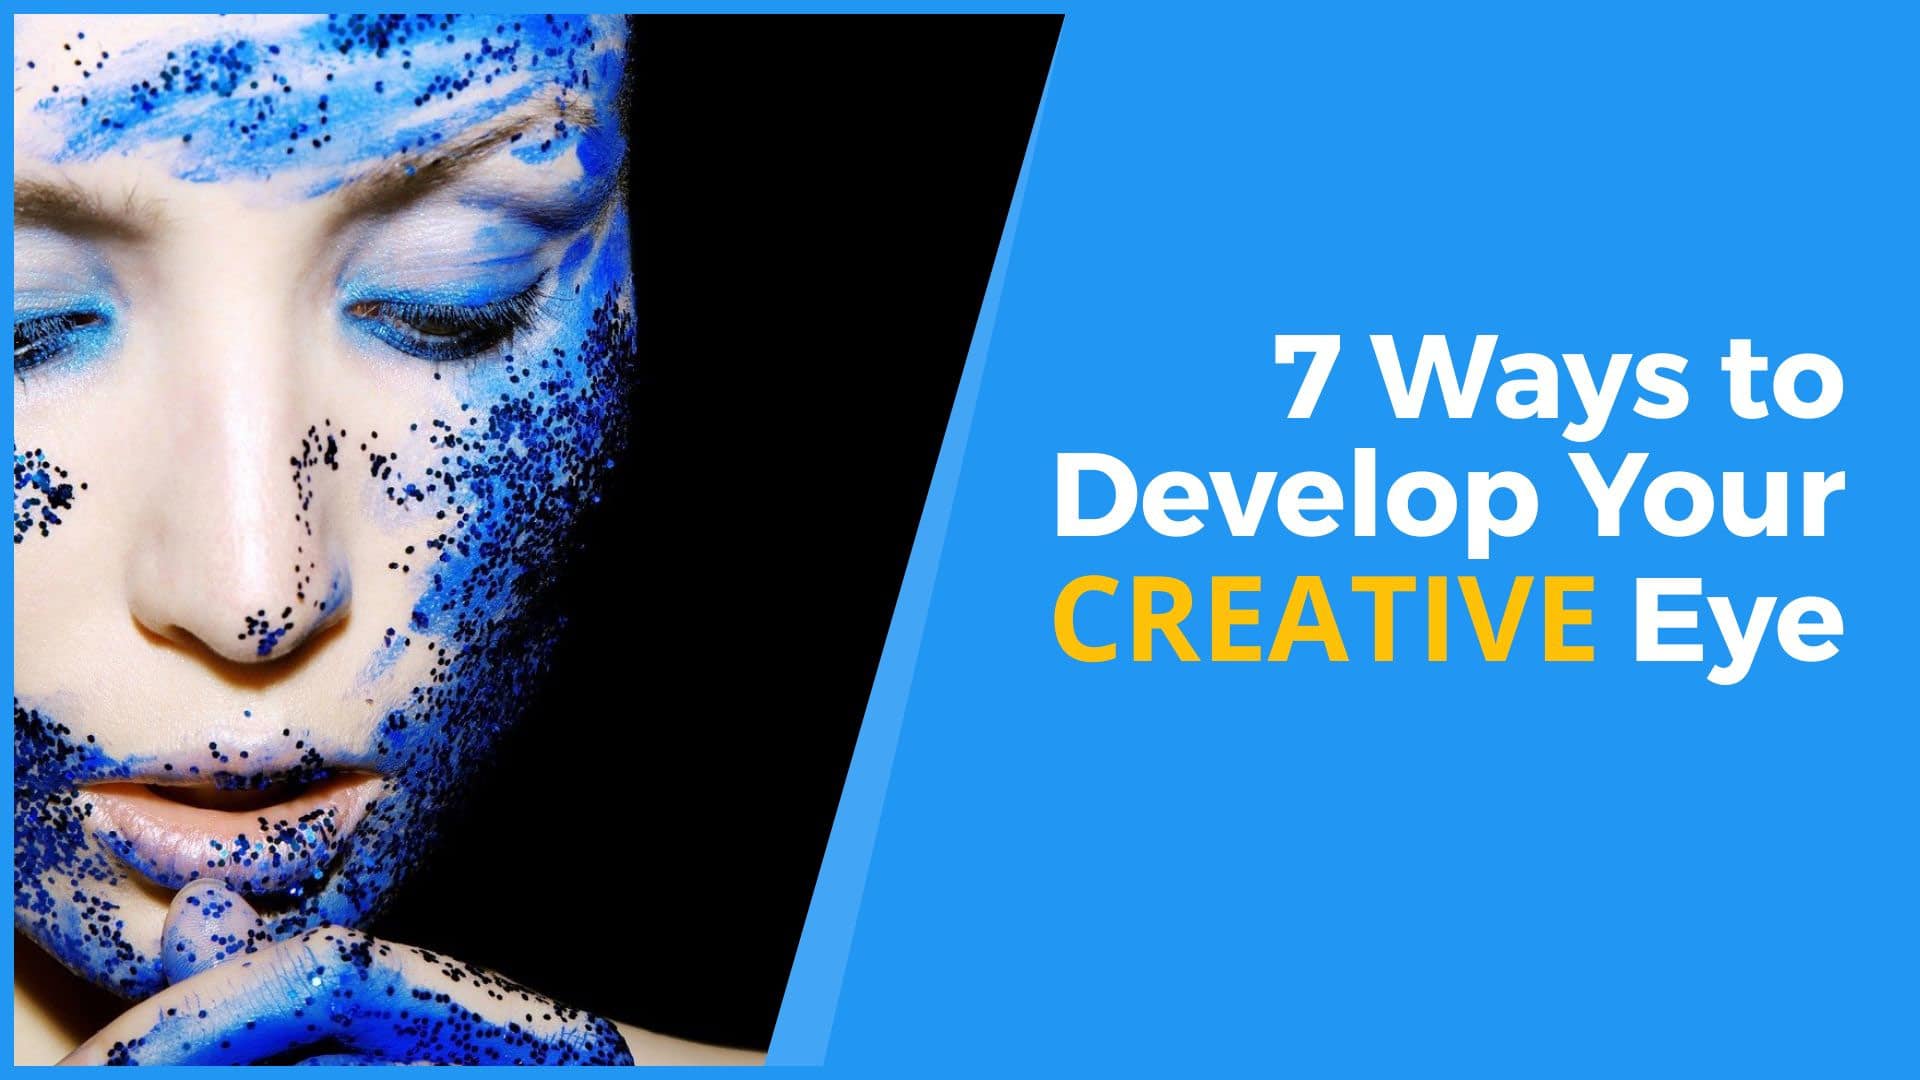
All creativity begins with curiosity. Develop your creative eye so you can enhance your photography and give your audience something unexpected, yet desirable.
In creativity, we try to learn new information, look for inspiration, and visualize our thinking. You can also develop creativity by finding similarities between different things.
Creativity is a characteristic we all have, but you can develop it through practice. Read this article to get our seven tips to develop your creative eye.
Why You Need to Develop Your Creative Eye
The simple truth is that lack of progress is just stagnation. Photography, like all of the arts, has room for progress. You’ll get much more enjoyment from your photography as you make progress, but it takes a bit of work.
Don’t worry, you don’t have to dig ditches or do other hard labor. All you have to do is spend a bit of time thinking about your craft, learning how to translate the things you see every day, and turn them into concepts you can use to share a bit of yourself in your photography.
Below, we’ve shared seven tips to help you develop your creative eye. Maybe eight. It depends upon your point of view.
1: Use your eyes to see what is around you – notice the colors, shapes, and lines
Try developing creativity by observing the objects around you. For example, look at the colors in the background. Is the color of a leaf green or yellow? Observe whether there are lots of curved or straight lines.
Also, think about how close objects are to each other. Sometimes creativity can be developed by just noticing things that we normally take for granted- this can help creativity because we learn more about the world around us and get creative ideas from it.
2: Practice drawing different things in a variety of styles
Drawing is a skill that all aspiring photographers should master. A lot of creative thinking goes into composing a good photo, and being able to draw can be the difference between an image that’s great or not so great.
Drawing is important for photographers because it trains them to see their shots in perspective, paying attention to visual details like lines, shapes, shadows, and gradients.
It also offers relief from staring at screens all day! If you intend on becoming a serious photographer, drawing will help you stretch your creative muscles with more frequency than ever before.
Practice drawing different things in a variety of styles. This will helps you develop your creativity both for creativity’s sake and for practical purposes.
3. Take pictures of everything you find interesting with your phone or camera
Especially if you’re trying to advance in photography or create a portfolio of work for submission purposes, as well as making every shot count in terms of what it captures and what technique you capture it with!
Take pictures of everything you find interesting with your phone or camera. As a photographer, taking pictures of anything and everything that is interesting to you can help open up creativity. You will start looking for angles from which to capture light in different situations, as well as being able to anticipate how your shot might look before pressing the shutter button.
4. Read about art and artists from history – learn about how they developed their style and techniques
Many photographers are not usually familiar with other art forms. Many photographers do not study art history and they rely on creativity alone, which is insufficient to create a stunning photo.
A photographer who studies art history is more likely to develop a creative eye for photography because other styles of art approach their work differently. Photographers may like to see what they get. Artists tend to know what they want and figure out how to get the desired result.
As technology evolves, creativity will become increasingly more important for photographers to include their own perspectives and interests.
A photographer can create an illusion of creativity, but it may not be deep creativity that touches people’s hearts and souls. Learn from other artists to evoke emotions with your creative eye.
5. Ask yourself what you like about the things around you, and try to find more of those things in your life
If you want to develop or improve your creative style, start sharing a bit of what you like.
Try to understand what makes something impressive.
What do you like about the things around you, or what is it that inspires creativity within you?
don’t think just about the surface-level stuff (setting, composition, and subject matter). Dig deeper into what attracts you to an image – why do you find it appealing? What is it that speaks to you emotionally?
Once you can answer these questions, start to observe your surroundings and look for things that tick the boxes. Those are the things you should photograph – or trying to create yourself.
This is a hard one, but if something doesn’t interest you or inspire creativity in you, it is best to avoid photographing it. Some photographers spend time photographing rare events that they honestly don’t care about. Well, why would anyone else care about it?
You’re opening your soul and communicating with your audience by taking photos of the things you like. That’s how you develop a style and evoke an emotion in others.
6: Evaluate photos that impress you, or are used in advertising
Creativity breeds creativity.
To critique a photograph, examine the composition first. The composition is the arrangement of shapes in the frame. This is where creativity first begins.
In terms of creativity, composition is extremely important. A good photo has an interesting arrangement of shapes and lines leading into it. A great photo has an artistic balance among the elements in the frame.
When critiquing a photo, be sure to look at how an artist successfully manages his or her creativity through both visual creativity and creativity put into their photographs.
Look at the creativity used to compose images that you like.
Is it creativity you can learn and imitate? If so, try to figure out why the photograph works.
If not, what about the photo still impresses you, even if your eye can’t tell you why exactly?
Find the balance between creativity and technique.
7a. Try photographing the same subject from different angles and distances
It’s good to get the creativity flowing and experiment with different ways of photographing the same subject. A good photographer can tell you the best angle or distance from which to photograph a subject in order to accentuate their particular qualities. That’s due to practice and experience.
Instead of just shooting like crazy when you see an interesting subject, try to think first about how it may look if you change your viewpoint. This makes you think more carefully about the possibilities.
Changing your perspective in photography allows you to tell different stories. In this way, you may take a series of shots that are all about the same subject, but in each case, you present it from a different angle.
Taking simple pictures of ordinary subjects and changing your viewpoint can help train creativity. Changing viewpoints in this way will make you look at things from different perspectives. How do you feel when you see the same subject photographed from a different point of view?
This sort of creativity can mean that you are more likely to come up with an interesting photograph. It can also help develop your creativity and take it in new directions.
7b. Look at the colors in the photo – are they vibrant or duller than usual
Colors are very important to photographs. They can draw attention and lead the viewer away or towards certain subjects. Depending on the photographer or photo editing software, colors can be dulled or brightened.
Is it better to make your colors stand out than have them blend? Experiment and find out.
Think about the emotional appeal of colors. What mood do you want to set? What emotion do you want the viewer to feel? How to the colors make you feel?
Try taking a picture of a subject using all one color (blue sky, yellow flower) or an extreme range from darkest to lightest in the same photo (dusk with stars, sunrise over water). Look at the colors in your photos – do you see patterns? Do you feel different if you take photos of the same subject surrounded by different colors?
Say you are taking a nature photo – take one with bright colors, then try another where the colors have been muted. Take a picture of the same subject or scene several times and see if it looks different each time.
Visiting the same location during different seasons reveals a different story about the place. Likewise, changing colors for portraits or still life can tell different stories.
Save on Luminar Neo and Get My Course for FREE
If you purchase Luminar Neo using my coupon code – BEEM – send me a copy of your receipt. Once I validate it, I’ll grant you access to Luminar Neo Elements for free.
Time Stamps
If you've ever spent time looking at your own photographs and thinking, you know what? These just aren't up to the level that I think I should be. Chances are you may need to do something to kind of work on your creativity, and that really starts with your creative eye. And that's what we're going to talk about today on I Like Your Picture. I'm William Beem.
Welcome to I Like Your Picture. The show that helps you improve your photography with visual storytelling. What is visual storytelling? It's a method of approaching your photography with a knowledge of who you're trying to serve with your photos and what emotion you want to make them feel. We encourage you to concentrate on your subject, light and background to create a photo tour audience loves.
I'm glad you found us. Hi, I'm William Beem and we're sitting here recording in the middle of August on a hot summer day and the air conditioner's broken down. So if we talk fast, that's why, Hey, in this episode, we want to give you seven ways to develop your creative eye. And the idea is to understand, you know,
the benefit of having a creative eye. We're talking about the seven ways that you can develop your creativity and knowing that this is a continuing journey, not a destination. In other words, you're going to continue to get more and more creative as you go along. But the idea behind these tips are to kind of give you a bit of a jumpstart and hopefully give you something that maybe you haven't thought about before,
or remind you of something that you already know and aren't practicing. We'll start with number one. And I'm always going to ask Lee the first question. It's not even a question, but Lee, tell me what comes to mind when I mentioned this to you. Use your eyes to see what is around you. Notice the colors, the shapes,
and the lines. I think there's a difference between looking and seeing. When you start looking for something, you start to see things that were there, but you didn't see them, or maybe didn't see them the same way when you weren't specifically looking for them. So what are you trying to see? When I say, notice the colors, shapes, and lines,
it's different than when you're going around day by day, you see the same things over and over again. You kind of take them for granted. What are you trying to see that you don't normally pay attention to? I think this is going to depend on what the problem is that you've identified or the area of your photos that you feel need help.
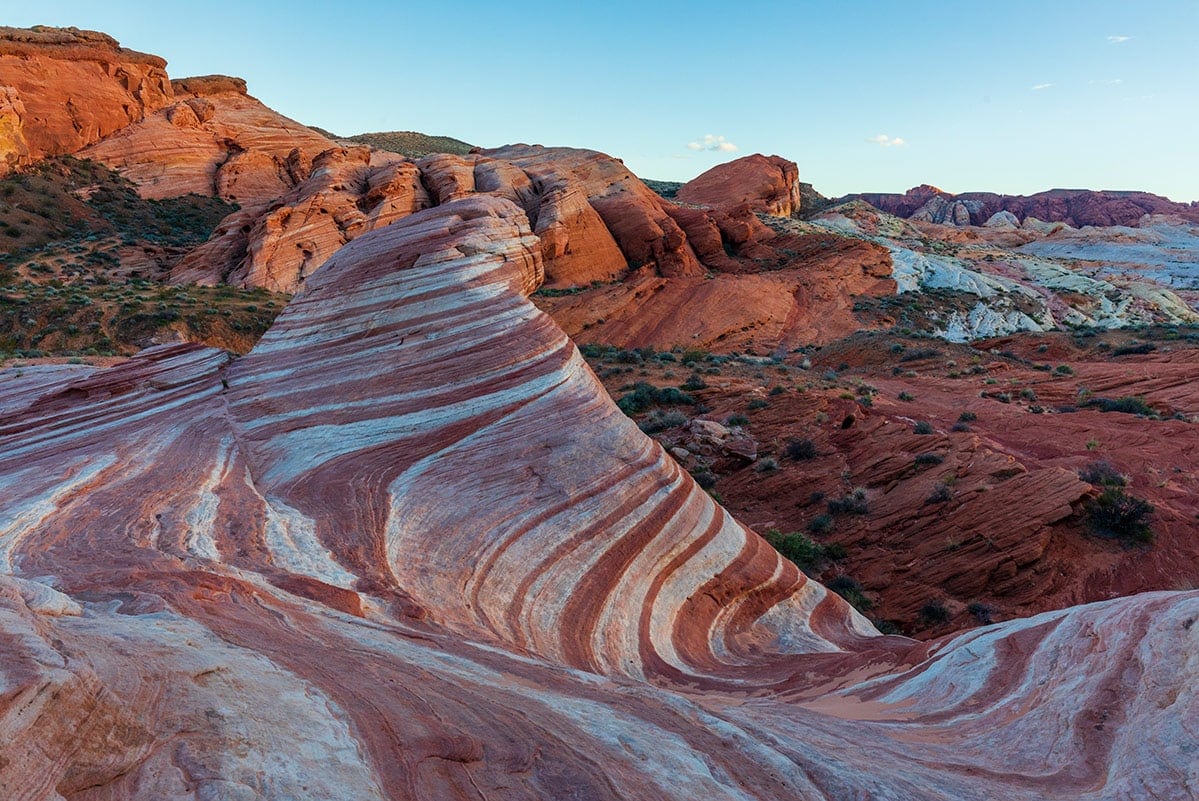
So for example, if it's composition, you may want to sit and look at your photo and say, okay, there's a composition area. In that case, I would look for shapes that kind of occur. And your shapes will change as you change your angles. It may be a color balance thing that kind of upsets an otherwise decent composition. So then you might be paying attention to colors or contrast or something like that.
You know, maybe your colors are blowing out everywhere in the photo, and it's too much. You kind of start looking, look at colors and see how they get used. Not just the nature, but often when people design a building or design a room or, you know, anything that's being put together is usually being put together with some kind of thoughts of how the colors work.
A there's a bit of a color scheme. Like for example, I've used this example many times. If you go to Santorini in Greece, you have all these white buildings with some blue roofs, and then you see the blue of the ocean out there. If you go down the Caribbean, there are certain pastel colors that work in buildings together. You know,
just yesterday we were eating at a restaurant called BJ's Brewhouse. And even inside of there, they have a color scheme. They've got these stones on the floor that are just kind of a dark chocolate and black, you know, mixed in. There's the wood on the bar. Everything works in the same color scheme. Once you go inside that restaurant, if you go inside of an Olive Garden or any other restaurant,
there's usually some kind of a color theme that brings everything together. We went to a fish, you know, it was kind of like a shack, almost, over the weekend we were away. And even that place, it was green, which I usually find hideous inside of buildings. But you know what? There was something about that nautical theme that they had going on in there.
And it worked, everything worked. There was a color scheme to it. When we talk about, notice the colors, it's not just, okay, that's a green, that's blue. It's like, how are the colors coming together? Are they working in a complementary fashion or they're working collectively? Are they working? You know, like different shades and tints of the same colors?
If you look at things like that, you can think of things I believe that will work inside of your photographs. The second one is one that Lee does far more than I do. And that's because she's an artist. She can draw things, whereas I can't draw a stick, but the second item is practice drawing different things in a variety of styles.
So when you hear a variety of styles, what does that say to you? Well, there are different ways to do things. Now, if you're going to be drawing in a variety of styles, I'm trying to think, are you drawing like maybe angles? Like, is it, are you drawing something from the top down? Are you drawing it as if you were a child's point of view or are there different types of drawings?
You know, is it pencil? Is it charcoal? Or when you think about styles, what comes to your mind if you're trying to work on how to see something creatively? You've got different mediums that you would use. So somebody who's using watercolors and painting kind of in the traditional style, you're going to have tends to be softer, very flowing colors,
not that many detailed lines, maybe just a few four accents that get added at the end. That's a style. It often looks a little bit two-dimensional to me. I'll always think that watercolors have a tendency to look more two-dimensional than, than other types of things. Thinking of something that looks flat rather than something that looks three-dimensional? And you can achieve this in your photographs as well,
depending on how you put them together. It does not necessarily need to be a top-down or otherwise called flat lay photo to get that two-dimensional style. Have a look at how the things appear. You know, children tend to draw things when they start drawing, they do it for you sort of, you know, looking straight in from the front. There's no shadows,
there's no angles, there's no lights or anything. The head is more or less round. They'll do some kind of circle. The body comes down. So there's a stick. They're looking at things almost in a very flat sense. I somtimes look, it's like, where do I want the, you know, I'll start shading things. And when I start shading things in putting the shadows
in, the first thing I'm thinking when I'm drawing is which side is the light coming from? Because that's the part I don't want to get much, If any, shading on it I want it to be lighter. I'm more of a pencil person when it comes to actually drawing. But I do sketch things out and not necessarily for my photography, but actually that's not true.
I've done rough designs for layouts. I mean, you don't have to be able to draw. This is not about being an artist. Only. You need to know what your plan looks like. You don't show the rough drafts of what you're doing to somebody, you know, to a client. If you're gonna give them a finished project. That's your kind of rough working and that's for you to kind of get your head together.
And that's pretty much how I use it. You know, even if you just had a circle and said, okay, the bowl of grapes is going to go here and you do it a little oval and say the wines, bottle's going to be over there and try and figure out where the light is. Have, you know, put things down on paper because it's sometimes easier to at least get your things in the right place before you start jiggling them.
When you take a photo and rearranging to get the, you know, the lights and shadows in the right place. If you've got a rough idea of your composition, you're tall and short, you want the balance to be there. And depending on how you're going to set this up. Sometimes, you can use common everyday shapes to help you draw things, to get your ideas together.
So I had a tutorial once where they said, you know, use a keyhole. When they said, keyhole, thinking about like an old-fashioned style thing. So it's like a little circle at the top and it comes down almost like a bell at the bottom. And that's what their idea of the keyhole was about. Great. Well, the circle, you just draw a little,
a couple of dots in there for the eyes and maybe a smile, draw some stick, arms and stick legs. So what happens if I want a dog? Oh, turn a keyhole on its side, draw the legs down and pull the tail on it. What happens if I want a cow? Well, turn the keyhole on its side,
draw the legs, put on a tail that's drooping down. And if you want a bull, put some horns on it. And if you want a cow put a snout on it. But the idea is you can take something very simple that you understand like a keyhole shape and turn that into different people and animals and say, okay, this goes here and this goes there.
And that helps you get your ideas together of what you wanted to Do. And this is for personal reference. Yeah. You can also use it. Let's say if you're trying to say this is the way I want everybody posing. Okay. You show them your little key hole drawing. Like you're here, you're here. You're lying on this thing over here.
It gives them the idea. It's a way to communicate. But what we're talking about here is a way for you to communicate to yourself what it is that you're trying to create. Maybe if you're not creating it, there's, I guess there's a difference. When are you going out and capturing something that exists someplace, like a landscape or travel photo or food photography,
or are you setting up a specific composition, like the flat lay photography that Lee likes to do, or a portrait session that you to create? Or is it maybe that you just want to do some fine art stuff with a vase and some flowers or whatever your subject, you could do it with wrenches if you want it to. Yeah, but the idea is draw it out,
see what happens and then draw it in a few different styles to see if you get some ideas of how you're going to position things or how you're going to position yourself in relationship to your subject. Number three, we do all the time. Take pictures of everything you find interesting with your phone or camera. Lee and I walk around with our smartphones quite a bit.
We take pictures of all sorts of things, and then it's not enough to take the pictures. You've got to go back and look at them and say, why did I find this? Interesting. And then, how do I use this to create an interesting photograph? Not just the snapshot that we did with a phone or something to to gather our ideas, but how do I take these photos that I've been collecting and how do I use them to inspire me to make something better?
Well, I also take photos that. Now this could be used in your photographs as well, but for references and ideas, when I'm doing, I'm really into crafts and papercrafts, and other kinds of crafts as a hobby of mine. And it works very well with my photography. And there's actually a lot of overflow and connection in the way that I function when I'm preparing and viewing how I approach photos versus crafting.
There's not actually that much difference. It's just that I'm working with different tools. For example, yesterday, we were somewhere and we're having a look at some wooden signs and some little paintings. And it gave me some ideas. I liked the colors on some, it was like these ceramic jars, kind of farmhouse kitchen style. And they had paintings. I liked the colors.
I took photos of them because I can, I'd actually like to put together some of those color schemes in a few flat lay photos and also in some crafts. And obviously, those are two totally different things, but I like to have that reference. And it was this, you know, when you're looking for inspiration, as people call it, people tend to hit up Instagram or some kind of place with photos and they scroll through and you just going through everything and it just,
eventually, your head feels like it's going to scream at you. It's like, I'm not seeing anything. Cause there's too much stuff. If you're taking pictures of things that you find interesting, create a folder. I don't know if all phones are able to do this. I know the iPhone, you can make a little folder for your photos. And I do that.
I've got one for crafts, that's all. And that includes my photos, you know, my photography and I just slide them all in there. And I'll often just go through there and see what was it about this? You know, sometimes it's a color, sometimes it's a shape. Sometimes it's the style of a sketch from drawing something. Maybe it's a,
you know, the use of black and white without doing a black and white photo. It's using black and white in a color format photo at. And if that makes sense, you're looking at contrast and it does look different when you do that to what you just convert it to black and white. There is something different about using photo with blacks, grays,
and whites in the thing and doing it in color, even though there's no color. So yeah, there's a lot of interesting things. I think when you do stuff like this, play. Just play. And That's really where you learn is when you're playing around with ideas, you may not get hit upside the head with the idea right away. And then when you're not thinking about it,
it'll just hit you and just say, oh, let me try this. All right. So that was number three. Our next one is number four, read about art and artists from history. So you want to learn about how they develop their style and techniques. One that really every photographer who's into portrait photography ought to know would be Rembrandt. We talk about Rembrandt lighting.
That was part of his style. You forget about all his talent and technique as an artist, we don't expect you to be a painter, but look at the lighting techniques and the shading techniques that some artists use. And you can use that to determine how you're going to set up your lights. If you're a portrait photographer, or if you're a still life photographer.
And even if you're not setting up lights, you can do as Lee does, she puts her tabletop stuff next to a window and she moves the set around to get the lighting just right. Artists have a wonderful grasp of light and shading. And that's how they make their sketches, their paintings, and so forth. Look three-dimensional because they understand how that light falls. Very true.
Actually, I think reading about artists is more helpful than reading about photographers. And I say this because the photographers will start talking about the camera and the composition and the technique and stuff. If you really want to work, learn how lights and colors and shadows and things behave. Look at the artists. They have a very, very deep, fundamental understanding of it.
It's almost less technical. They're looking at the finished result and how to make it look. So we've seen paintings that look almost photographic. I thought, well, how do they do that? It's because artists are trained in a different way than photography. They start from the finished result and work backwards to the big, you know, through the steps to get to the beginning.
And I think with photography, like with many other crafts and skills, we tend to teach people the other way around. We teach them from the basics all the way through. I think it may not be a bad idea to look at the finished thing that you want to get and then go back and kind of backtrack and then start again. You know,
you go from the end results back to the beginning and then step by step, work your way back. Let me put it in another way, a lot of photographers will set things up and say, let's see what we get. Artists don't see what they get. They know what they want. Then they see how they do it. So as Lee said, it is kind of working in a different direction.
If you're doing, let's see what we get, you don't really know what you're doing or how to get it. So the idea is to start thinking with the end in mind. What is the result that you want and then figure out how am I going to get that result? And you may find some other happy things that you do along the way,
but don't stop. Keep looking at wow do I get the result that's in my mind? And that's what you're going to learn, I think, from studying artists. Yeah. Okay. So we're up to number five. Ask yourself what you like about the things around you and try to find more of those things in your life. In other words, when you're looking for something to enhance your creativity,
you want to add a little bit of your own personality into the things that you're photographing. Well, what better way to do that than to share the things that you love? Yeah, I agree. I mean, I, and I think this is such a personal thing as well. There's no right or wrong answer. What you love is going to be unique to you.
And that is going to be one of the foundational elements of what is your style? Because it's you expressing yourself in your photography. You know, I'm drawn to color. I love colors everywhere. I look, I see colors and I notice colors out. It's not just for photos. I just appreciate color in different ways. You know, whether it's specific shades that I like.
Do you want to see how it's used in context with something else or how colors are used together or just colors that you like? Sometimes just even the contrast with color. I really enjoy that as well. I've seen beautiful photos where you have like a color theme and you have different shades of blues. You know, for example, I very rarely do that.
And I guess that's just because it's not where my eye is trained. I appreciate it and enjoy it. But my style is a little bit more vibrant or I tend to go for a bit more of a stark contrast. Even when I'm going, subtle. There's a definite contrast. Maybe for me, it's just shadows and lighting that also affects the colors and you'll find your thing.
It might be shapes. It might be angles. That might be your, you know, the way that you do your composition. Like, you know, you might find that you enjoy shooting things from a certain angle and that's your thing, but you'll find what works for you and why. Ask yourself why. What you love about it as well.
Yeah, absolutely. And it could be a subject, it could be colors. It could be shapes. It could be shadows for that matter or, you know, stark lines, whatever it is. The idea of this exercise is to think, what do I like and why do I like it? And how can I find different ways to photograph things that I like? Lee mentioned,
something that I kind of picked up on. She said that she likes seeing shades and tints of the same color, but she doesn't really go for that. Sometimes you may need to force yourself to try something that you typically don't do, and you may or may not like it. That's okay. The exercise of going through and trying, it may open your eyes to some other possibilities with things that you like more.
So don't be afraid to try something that's a little bit different or off of what you typically do. All right. Number six, we've talked about this one briefly, but evaluate photos that impress you or perhaps are used in advertising. And this is something I really love to do, because one of the things I like as far as portrait photography is actually low light portrait photography.
Some people are looking at things with body scapes. I don't necessarily go for those because although I'm impressed by, I call it edgy lighting on very fit people. I don't do nudes or anything. That's boudoir with that kind of lighting. I'm impressed by what I see, but I'm thinking, what else can I do with this? There may be times when I could even just not do a portrait,
but I could do an object, you know, a still life with that kind of edgy lighting. I really like that kind of lighting. So that low light, a little bit of mystery coming out and just, yeah, and it's just being revealed. I liked that. And that's something that I want to try more, but that's not the only kind of photography or artwork that I like.
I enjoy some good travel photos. I enjoy some good lifestyle scenes and I really enjoy nice photographs of food that I want to eat. The problem with that is I've got to go out and find the food and buy it. There are styles of photography that will work better with certain genres than others. And for some of them just not at all, you know,
like you, when it gets them thing, pretty like a nice soft sunrise scene where it's peaceful and there's maybe a beach. And, you know, you've got the pastel colors in the sky and the water and the soft sand. That kind of coloring and soft lighting is just not going to work on a totally ripped athlete or bodybuilder in the gym. So there was,
you know, a lot of this, sometimes your subject matter and the setting determines, or at least eliminate certain options from the mix. It could be, it Could be that, or maybe you're looking at a mood for your photograph and the mood that's appropriate for one subject may not be appropriate for the other. So you change the lighting and the colors to go with it.
Like, for example, if I were trying to take newborn maternity photos, I would not use that edgy rimlight tyle that I was just talking about. Mama would not be happy. No, but this is really about what do you like and evaluate the photos that impress you. If you want your photos to be more impressive, look at the things that impress you and see if you can try some of the styles or subjects or colors or whatever it is that impresses you and include that in your own photography.
All right. I said, there are going to be seven tips and there are, but the last one I broke out to 7a and 7b. And you might think that's really eight tips, but it's not. We just liked the number seven. Yes we do. All right. So 7a. Try photographing the same subject from different angles and distances.
Think about this. Let's say you talk about distances. I was in San Francisco when I wanted to shoot the Golden Gate bridge. And this is a story I've told before I was at dinner. I was cleaning my lens. I turn it upside down and the front element fell out and cracked. I could only take the photo with a wide-angle lens that I had,
and I got a very different photo than I anticipated. It would have been nice if that zoom lens hadn't cracked, because then I could've zoomed in and zoomed out and got different shots. There are other places I've been where sometimes you want the closeup shot and sometimes you want the faraway shot. For example, maybe 10 years ago, or so. I think I was in Washington DC.
I've got a photograph of the White House. The last thing I wanted in that photo was that wrought iron gate that was around it. So I put my camera on a tripod. I leaned up against the gate and took my pictures. Then this secret service man came out and said, you can't touch the gate. And I went away. After I got home,
I saw someone else's photo that was taken from further back. And then you could see the White House and the gate and the people, and it was all-inclusive. And I thought, you know what? I really liked that photograph too. I wish at the time that I'd been there, I'd experimented with taking photos from different angles and different locations. And then see what you like.
So don't just go up to the usual spot that everybody takes the photograph, snap it. And then they, I got it. There's my trophy. I'm done. Now walk around, move around your subject, try different angles, try different distances, try different focal lengths and see how that works for you. This is very helpful when you have, when you are not able to move things around and you have to,
you have to move around or let your lens do some zooming in or out. For example, if there are things in your way, sometimes it's easier to zoom in and eliminate some of the distractions on the side, but that might not give you something as wide as possible. So look at taking a totally different type of photo. Maybe you're going to take more detailed,
close up and not get the whole scene. And then alternatively, try and zoom out like way out as far as you can, depending on you know, what you've got with you. And, and once you get and see if an overall scene works. And let me give you another example of this. Lee and I both did a lot of photography at Walt Disney World.
The Magic Kingdom. We like to photograph the fireworks. I always want to get up close to the castle, so there were no people in front of me, and shoot the fireworks. Lee would be further back on Main street, so she could see the street filled with people, the castle in the distance, and she'd get a wider angle of the fireworks. And then all the lights on the buildings.
And then one year we had some friends who stayed at the Contemporary hotel and I took photos from the balcony there. And I looked and thought, there's fireworks going off all over the park that I never knew about because I was always so close and upfront. I've got fixated on my location for the shot that I wanted and I missed other possibilities. So this is why we're saying don't fixate,
move around, try different places. Different perspective gives you a different story, Right? 7b, look at the colors in the photo. Are they going to be vibrant? Are they dull, are they muted? What story are the colors telling you? And can you do anything to change the colors either if you're creating the set or maybe in your post-processing? Remember this,
the finished photo that goes out that says something about you. I agree. I don't use Photoshop for post-processing. I only use Lightroom. So as far as changing colors, I can work with what'
s there, but I'm doing the color switch is not, that's just, I'm very lazy with stuff. I'm not going to sit. I want to get it right as much as I can in-camera,
because to me, if I didn't get the shot and I didn't get the shot, and that's not at all to knock people who have the skill to work on it afterwards, it's just that my passion is more for spending the time before I take the photo. And some people's magic gets worked afterwards. It's just different skillsets. I tend to set up the colors that I want.
I've got control over it first. And if not, I might actually complete the redo the whole set to get something that I do want to, even if it's completely different. And you know what working in camera's important, working in your post-processing is important. It depends on what you like and what your style is. Now, I'm going to throw in a plug here,
and this is for Luminar AI. It has some of the best color grading tools possible. And if you'd like to know how to use it, if you buy Luminar AI, I've got a course that goes over everything in there. And I'll give that to you for free. If you check out with my coupon code, just like my last name Beem - B E E M.
So you can go to Williambeem.com/luminar. check it out. If you buy it with my coupon code, go to Williambeem.com/courses. You'll see where I have my course for Luminar AI there. There's instructions on how you can send me your receipt. I'll validate it. And I'll give you the course for free. And if you've already bought Luminar AI,
but you still want the course it's available for sale for $47. So if that's something that's interesting to you, please go ahead and check that out. And those are our seven seven ideas about how to develop your creative eye. And yes, we cheated with 7a and 7b, but I don't care. I hope you enjoyed this. If you have any questions,
please let us know in the comments. And where are those comments you may ask? Well, go to Williambeem.com/episode267, and you'll find the show notes for the article. And of course, there's a place there where you can leave your comments. Please, if you haven't already, go ahead. Subscribe to I Like Your Picture available on iTunes and Google Play.
If you go to the player on the show notes page, you can see there's a couple of links there to subscribe. You can go to the player. There's three little dots in a circle, click on that and it'll show you where you can subscribe. Thank you so much. We'll see in the next episode